Showing posts with label Patio set. Show all posts

Monday, February 13, 2012

Finishing up with my patio set

Finally the sunny and above freezing day that I was waiting to finish up my patio project had come. 

I was able to build my bench. This part of this project was the easiest one to make.

Here I built the frame then put middle and leg supports

Adding the bigger slats and top apron
Then the small slats

Painting the sofa (a bird got it dirty right away!)
and the bench and of course, somebody can't resist to jump in:-)
Now, the only thing left to do is to buy cushions ( or make them myself if I can save it that way) for the sofa and bench. I might decide to build the corner and short sofa part to make sectional probably in the spring.

Tile top still not grouted, too cold for it to work right
..and the grouted top!

Next project, here I come! Pin It

Wednesday, February 8, 2012

Building my outdoor sofa

I'm done with the biggest patio furniture part, the humongous tiled top dining table! I'm now in the process of building the sitting part. My original design includes sectional outdoor sofa. But, after building the long part of the sectional, it looks like I don't need to build the corner and shorter part of the sectional. So instead of sectional, it would be just sofa. But we'll see, I might decide to build it anyway.

For now, here's how I built my outdoor sofa (you might realize that it's not as difficult as it seems and decide to build your own :-)

I cut 3 pcs. 30 inch long (back legs) and 3 pcs. 18 inch long (front legs) from 2"X4" board.
 

Using circular saw and chisel, I made rabbet and dado cuts.
This way, I can attach the back horizontal supports flashed to the main support as shown below.
I like using this rabbet joint type as opposed to just attaching it directly with 
screw because it can carry more weight than flimsy screws or nails.
Using nail glue and 1-1/2" decking screws, I attached all the horizontal parts onto the front and back legs.
Then the side and middle support.
Adding more support in the middle using 2"X2" boards.
And now the long slats. I used 1"X4" boards for this part (now its starting to look like something to sit on :-)
Then I tested it by standing on top and making all kinds of crazy moves (jumping, wiggling, pushing, pulling its good we have fenced backyard!). I decided it needs 3 more supports on the lower leg parts.

Finally, I added X back supports.
Finishing step will be putting wood filler on the nail and screw holes, file sharp edges and paint it.

Two down, two more to go to complete my patio set! yay!

Note: All my outdoor furniture are built from pressure treated pine wood. Pin It

Monday, February 6, 2012

Patio set-Table cont'd


Today was sunny, so I was able to continue working on my patio dining table.

I attached the 3/4" PT plywood using 2" decking screws.

Next, the 1/4" hardibacker concrete board using thinset mortar and 1-1/4" concrete board screws.

Then, laid my tiles using grey polymer mortar. yay!
 

And....done! just waiting for another day to allow the mortar to dry then I will grout the tile top and some finishing touches.

That is one big dining table!


Pin It

Thursday, February 2, 2012

Patio Set project-Table

Now that we have patio, I thought it deserves nice furniture set, and of course, for us to be able to enjoy it especially when Spring comes.

Today was sunny and a perfect day to start this project.
So.... I ordered my husband to go pick my lumber at Lowe's after his work (I have beep beep car) and got me these...


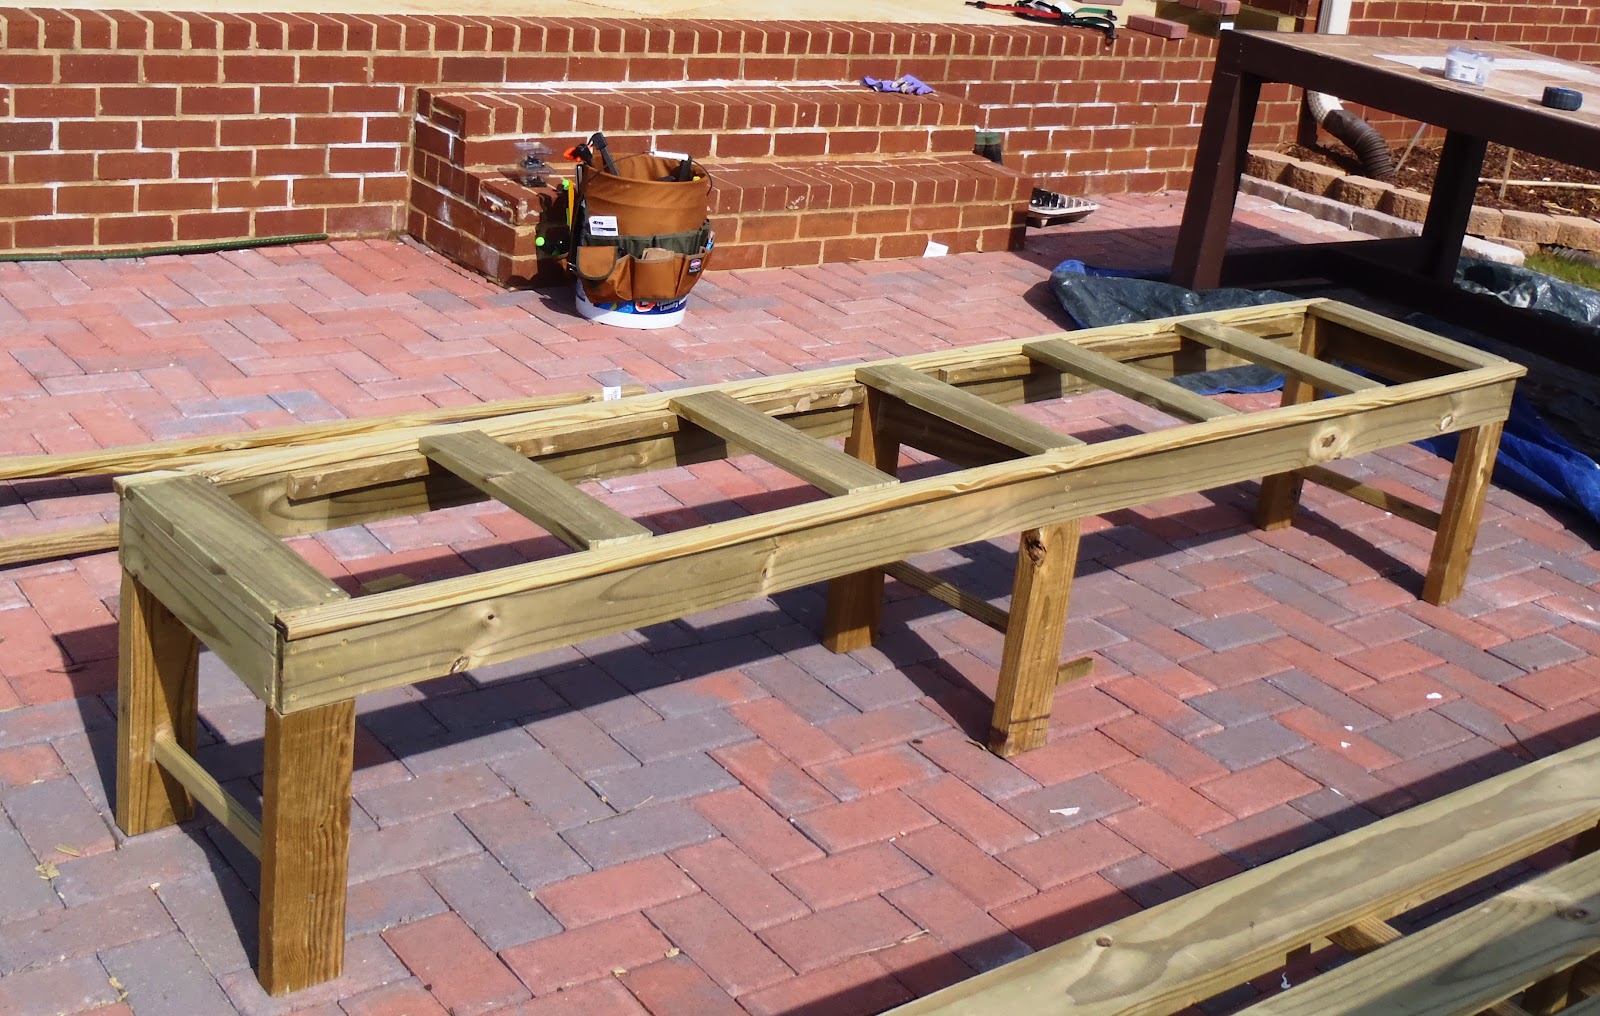
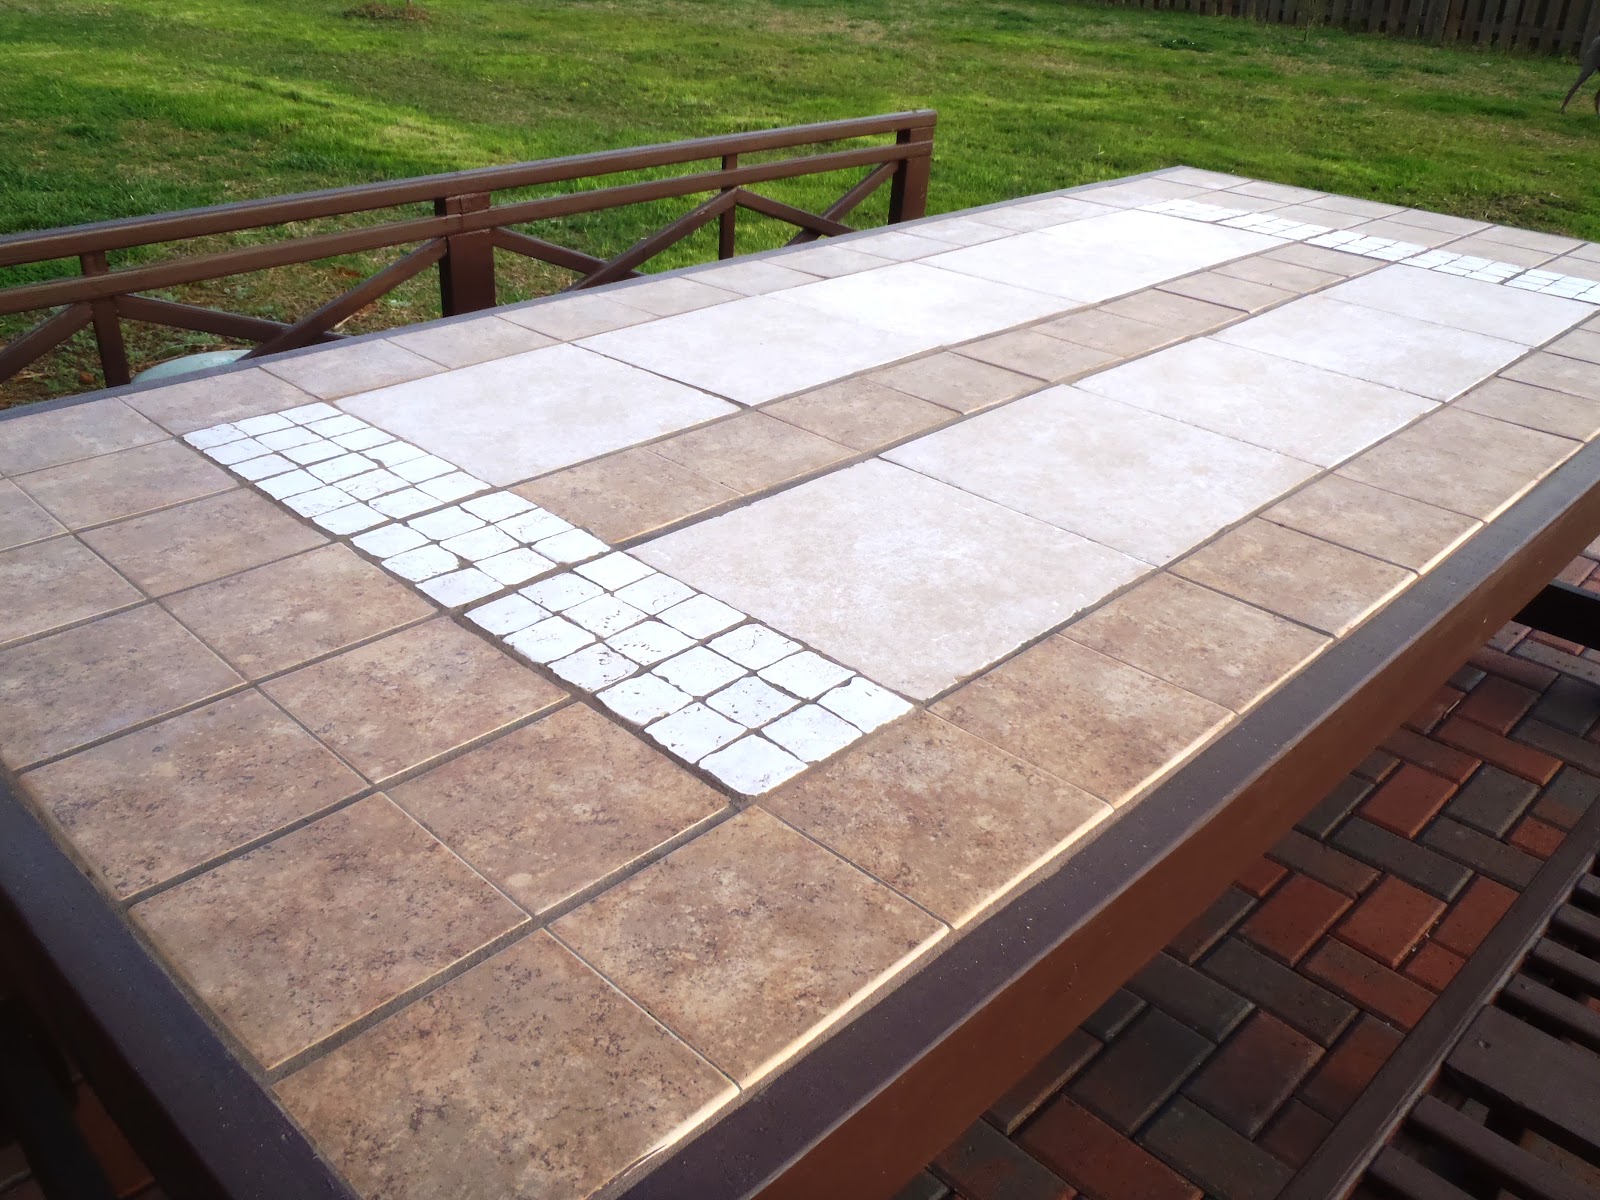
I am starting with the tiled top dining table first. It will measure 42" X 96", sets 8 to 10 people (whoa! never had that many people in our house). Table will stay out the whole time and we thought tiled top will look nicer than plain wood. Well, tiles are very very heavy so I am using 4"X4" legs. All my woods are pressure treated to withstand the weather and resist insect damage.

I don't have a lot of woodworking tools, so in this project, I just used whatever tools I got.

OK, below is my step by step process.

How to Build Outdoor Tiled Top Dining Table (using wood as frame)

I started by cutting the 4"X4" into 30" long, 4 pcs. for the legs (they can't cut it at Lowe's :-( too thick, they said)
 

Then, I cut 1-1/2" depth and 3-1/2" length chunk (L shape) from one end on two sides of each leg for my 2"X4" frame to lay onto (I think this type of joinery is called dado joint)

I dulled the sharp edges of the legs with chisel-file (plane would be nice).

Laying the leg in the right position, I attached the top frame using nail glue and 2-1/2" decking screws.

This made it easier to work because it can stand up without support as shown (as long as it's not windy)

In this way, I was able to attach the other two sides.

 Using folding chair and short boards to support one end, I was able to attach the other end of each top middle frame supports.
 
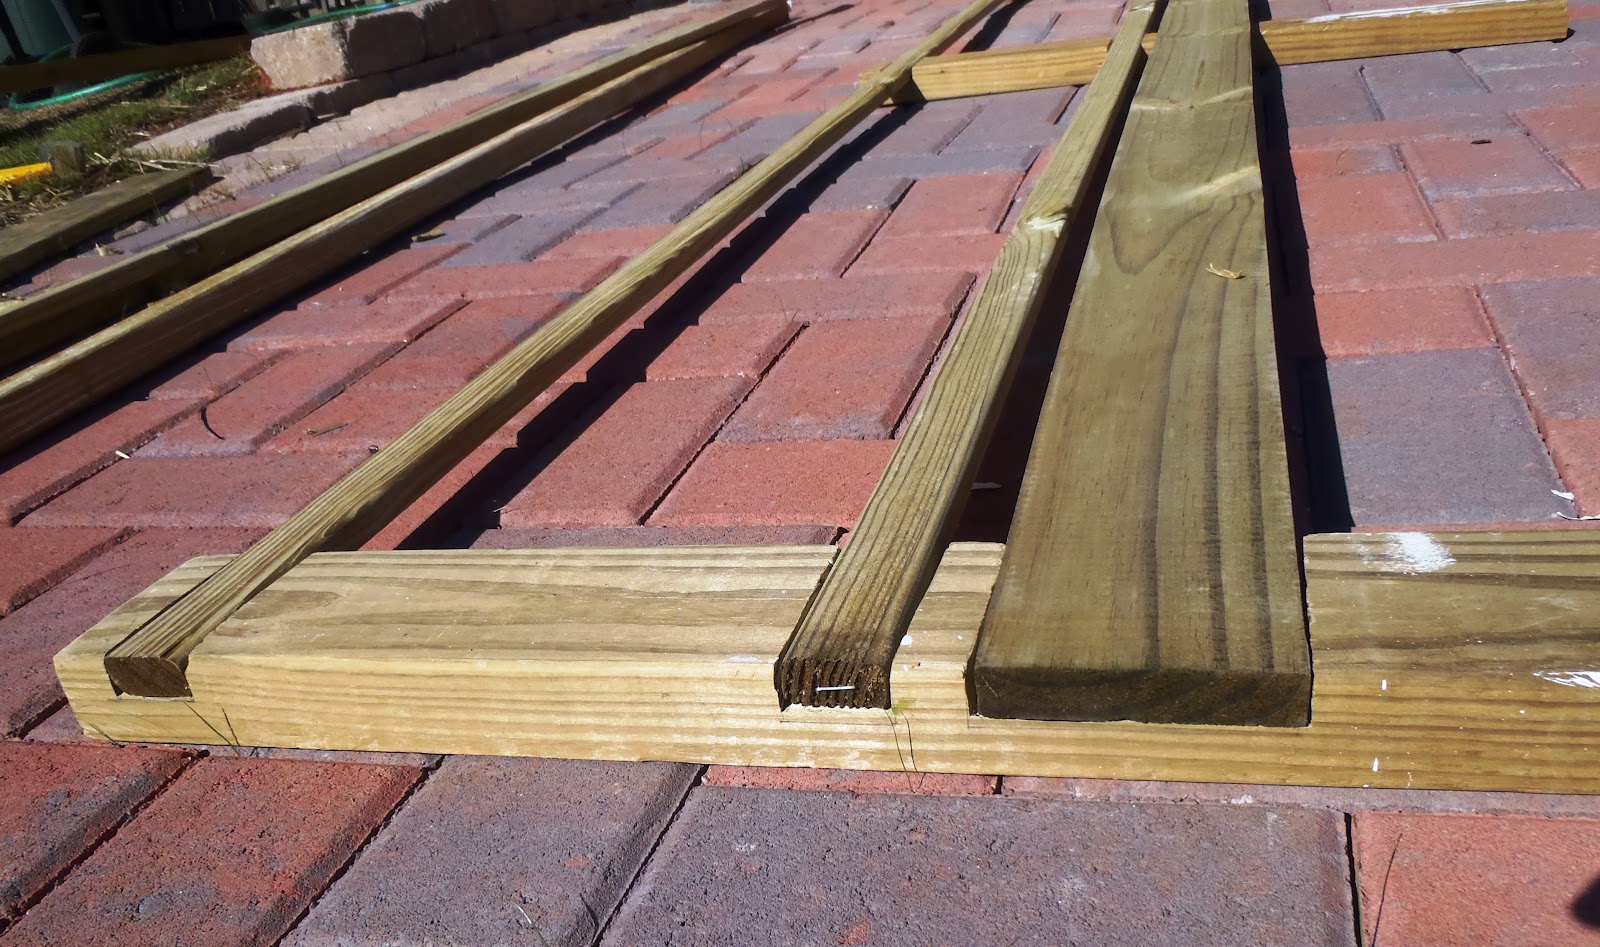
 Finishing the lower and top support. I also attached two strips of 2"X2" PT apron.


I sealed the 3/4" pressure treated plywood cut at 93"X39" using latex premium outdoor paint to further prevent warpage and what not.

 
Then moved to the frame (oh! and somebody photobombed me with her rear end!)


To be continued.......

(probably in three days, since we are expecting couple days of rain, UGH! we're at 4 " above normal already.


Pin It