
 |
| beautiful red oak table detail |

See how I finished my chairs:
- Start by putting the webbing as shown.

-Add X webbing.

-Add more horizontally.
 |
| made two of this particular chair very strong for the king of the house :) |
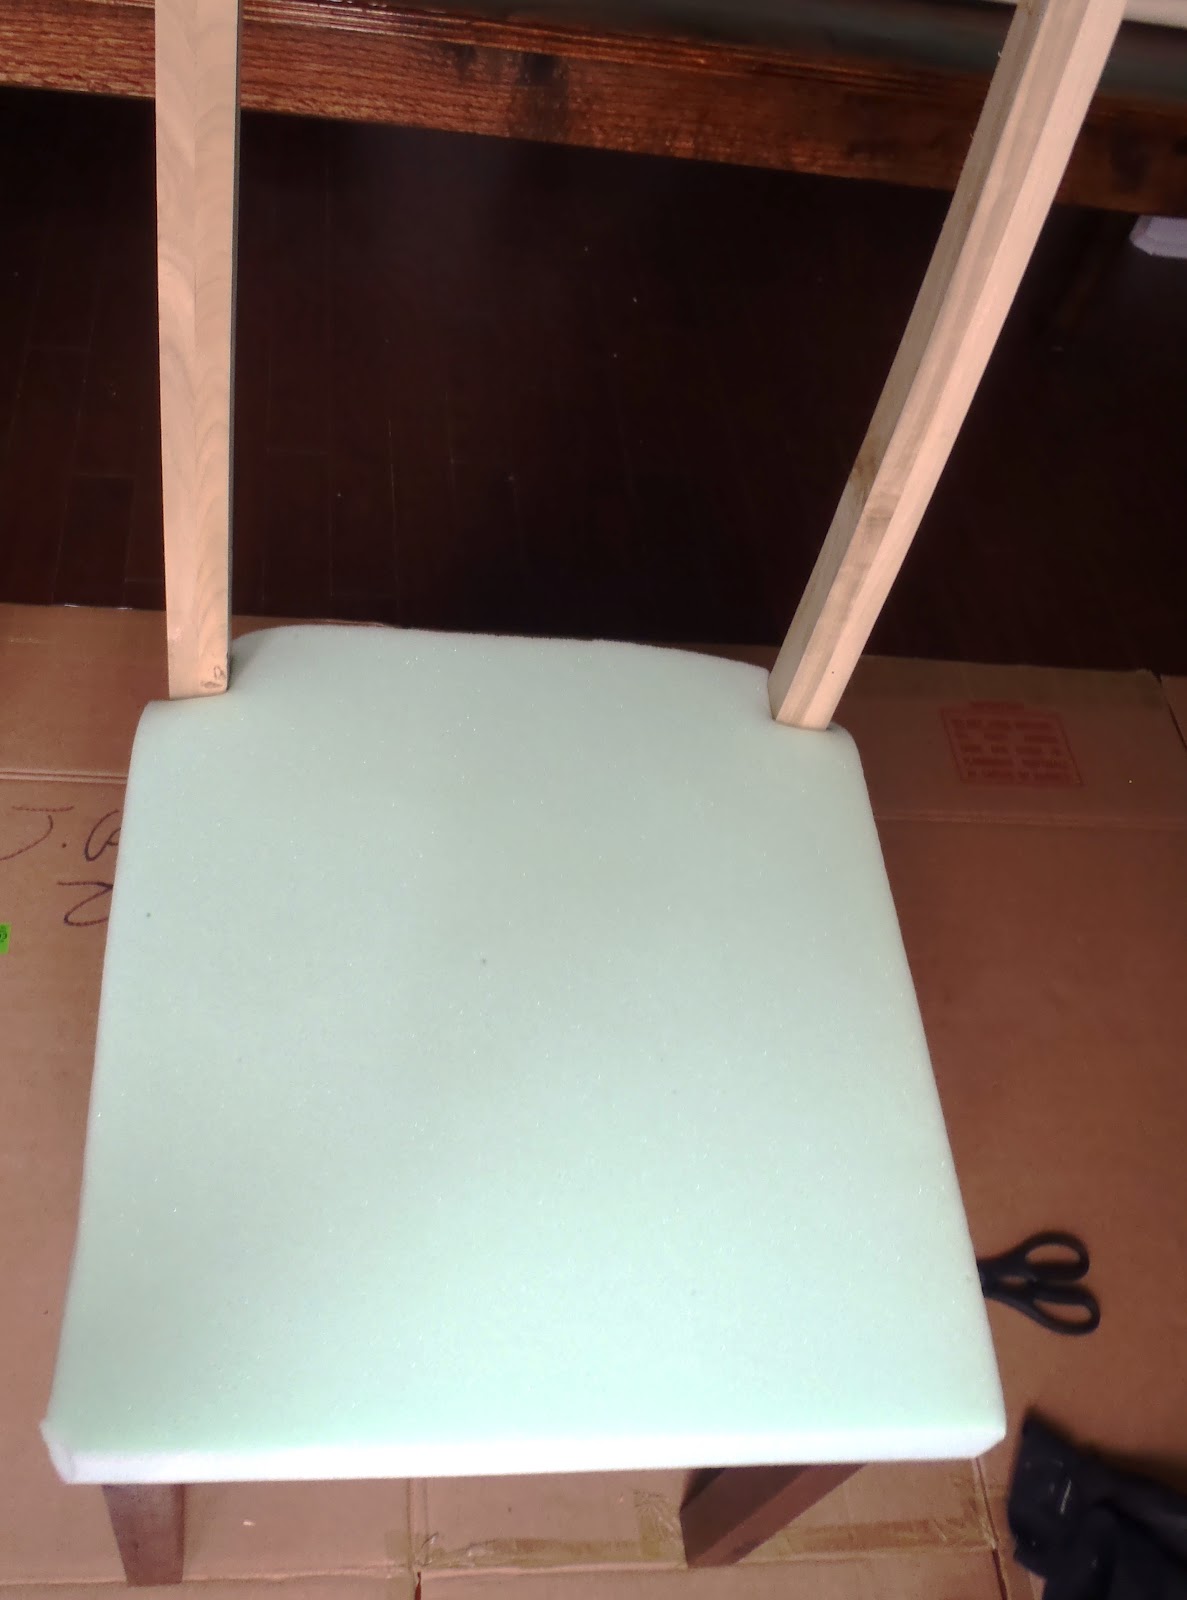
-Attach 1 inch foam (two inch for the seat)

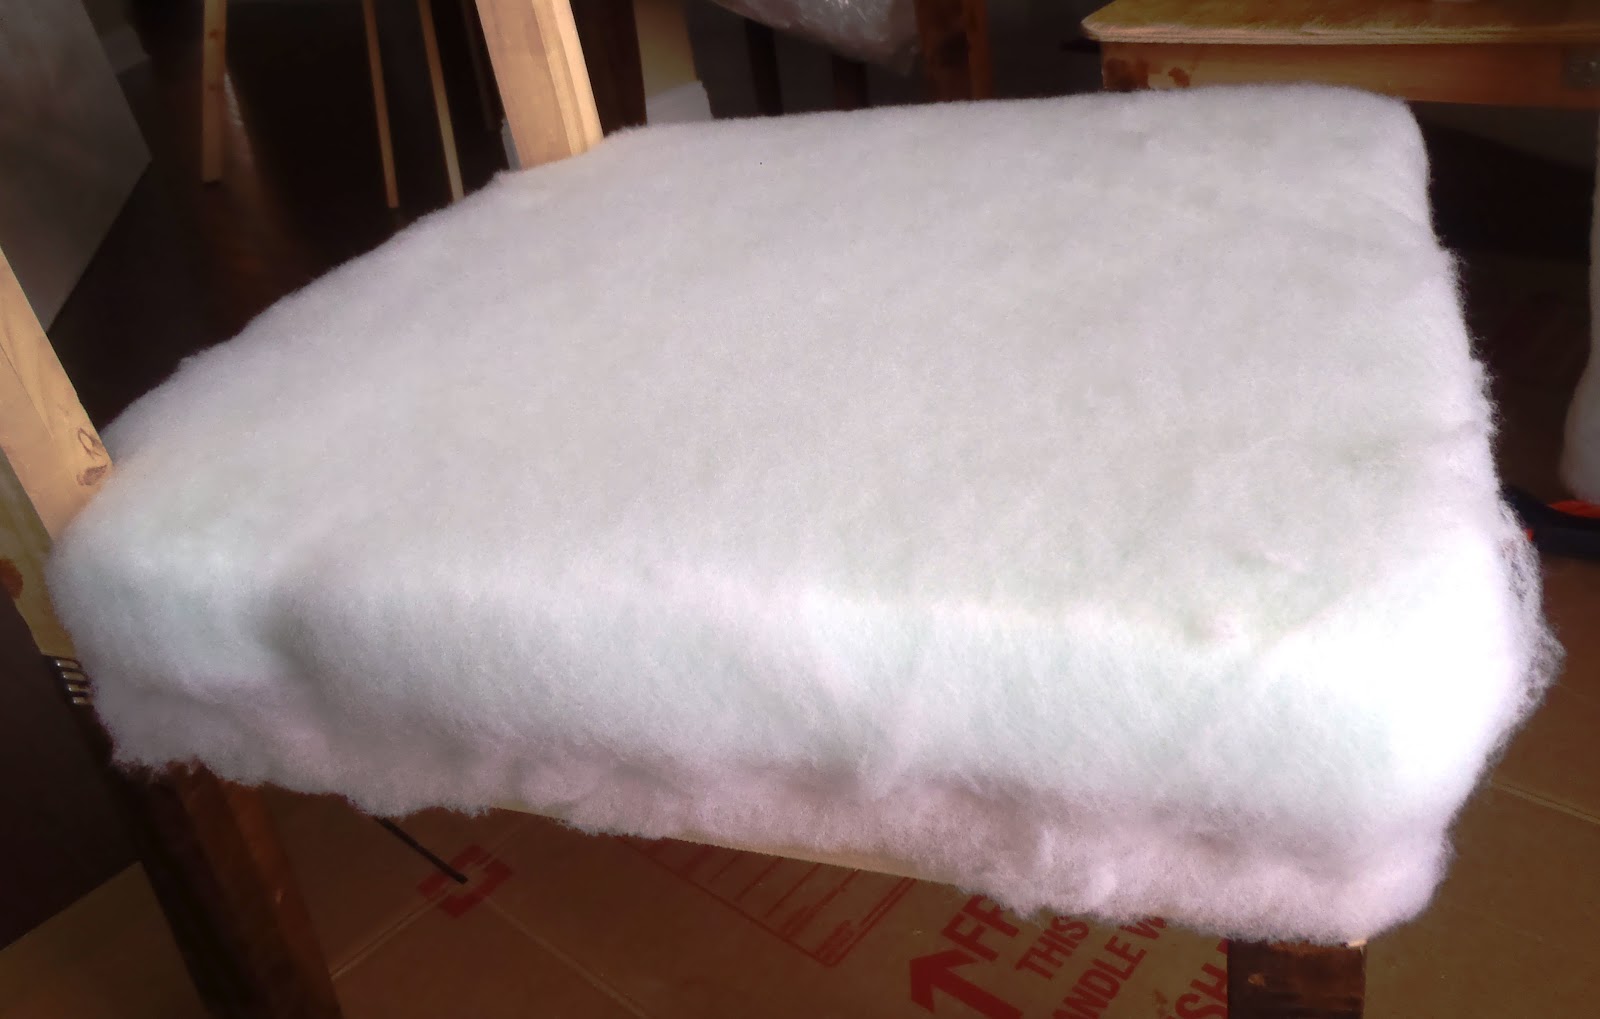
-Then the batting.

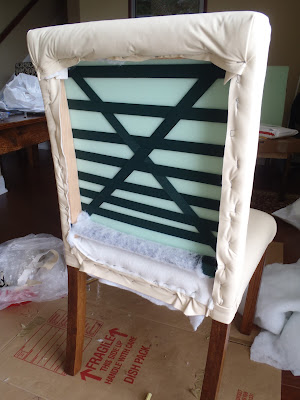
Back view.

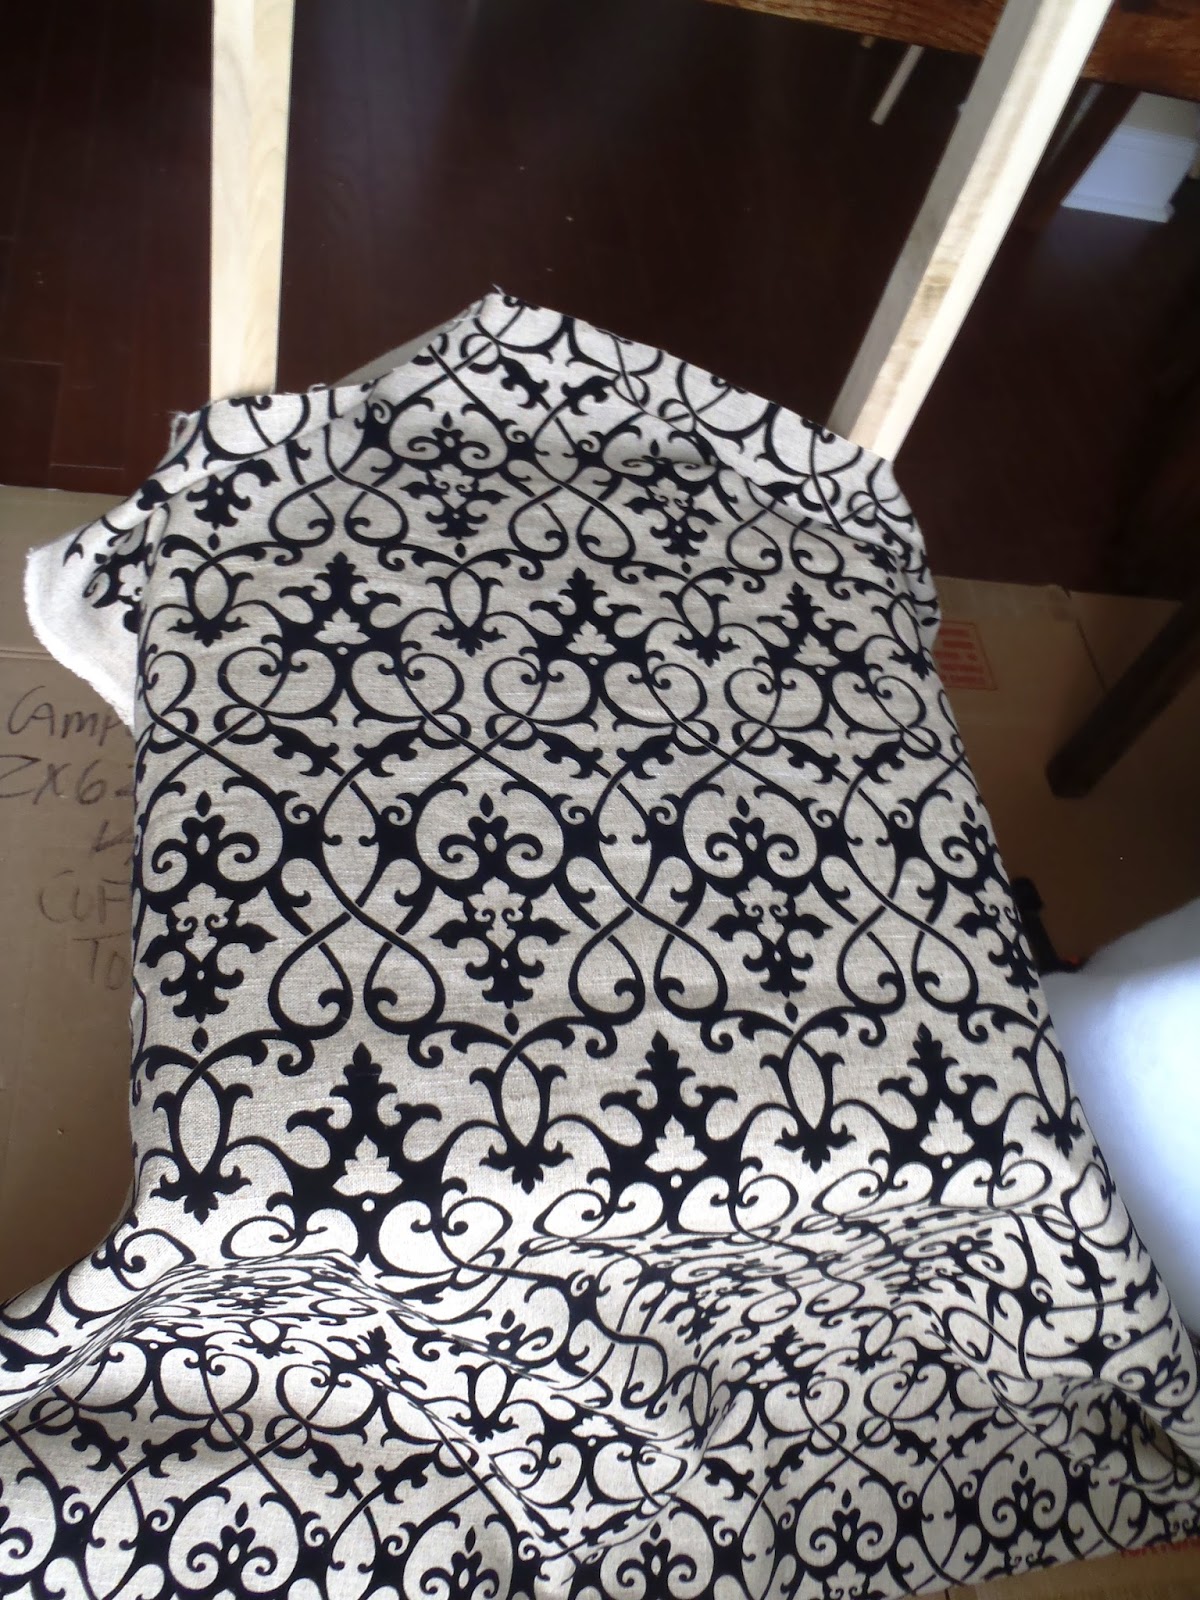
- For the seat cover corner, cut the corner as shown.

-Sew.

The clean corner look.

Do the same with the bigger chair.


- For the back cover, cut slits.

-Tuck the middle part in.

Back view.

- Staple.
- Fix the back corner by tucking the side and fold over the middle part to get this look.

 |
| detail of the large chair |

- And the front part for stronger hold.

Put the back cover using hidden metal tacks strip.

-Make the buttons for the large chair as directed on the package of the button maker.


- Mark where to put the buttons.

- Put buttons using nylon thread.

-Use scraps for the back to prevent the thread from going through.

It's that easy and you got your cute buttons!

- Put decorative tacks on the lower side if desired.

Finished side chair.

Finished large dining chair.

 |
| fabric detail |

All together.
 |
| All the furniture on this room were built from trees damaged or felled by tornadoes near where we live |