


Here are my Parts Lists:

Dowels
Foam (1 X 24 X 41")
Fabric (for upholstering headboard, 1 1/2 yrd)
Batting (1 1/2 yrd)
2 1/2" screws
1 1/2" screws
8 corner braces
4 flat braces
4 heavy duty corner brace (optional)
button maker
staple wires
Steps:
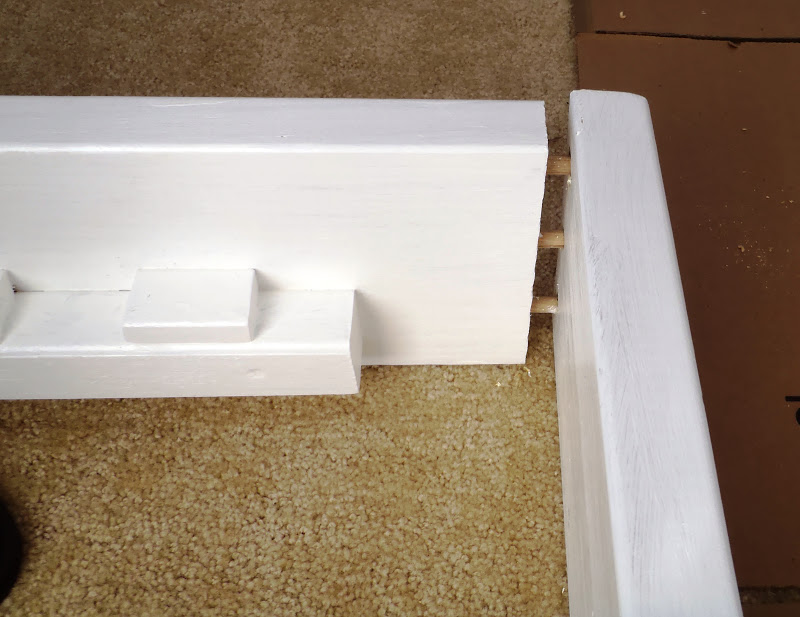
Attach dowels (pocket holes and screws can be used instead, if preferred).

Attach the slat support 3" from the lower edge using glue and screws.


Paint the parts.

Build the headboard.

Mark and drill holes for the buttons.


Turn it upside down and attach legs.

Attach the upholstered headboard.

Put the slats. Repaint scratches. Done!


Pin It


