Showing posts with label Home. Show all posts

Thursday, August 16, 2012

Shoe bench and clothes rack


If you don't have mudroom, this simple shoe bench and clothes rack will do the job.


Here's how I built my shoe bench and clothes rack. I built it small to fit my space, you can build yours bigger.

Building the cloth rack:

-Cut the side part using jigsaw.
-Attach the lower shelf.
-Attach the top shelf.
-Attach back cover.
-Add shelf divider.

-Fill holes,sand and paint. Then attach the hooks and hanger.


Building the shoe bench:

-Attach the sides to the top part using pocket hole screws and glue.


-Then the middle shelf.


-Attach the bottom part.

-Attach the legs ( I used dowels and wood glue)


-Fill holes, sand and paint. Paint the door, attach to the bench and add handle.


-Done!
 I made the patterned back using furring strips, this is to prevent hanged things scratching the wall paint . It's only attach to the wall (using hangers) and not to the rack or bench.

Pin It

Thursday, June 28, 2012

Accent furniture


It's been really hot, I want to move to a place that is cooler most of the time so I can build things every time I feel like building things :)

Quick project for hot days!

Plant stand.


Jar/vase stand.


The jar stand is made from a wood cut from a hickory tree that is at least 100 year old.

 The most beautiful wood I've ever seen (and probably the strongest).


The plant stand plate is made of aspen wood,
 the cross legs are red oak.


Pin It

Tuesday, March 20, 2012

Simple Spring Wreath

It's officially spring!

To mark the beginning of spring, I made a very simple wreath for my front door. It's made of cleyera leaves that grows in front our house. I thought of using this leaves because every time my husband prune this shrub, I noticed it takes so long (can be a month) for the leaves to turn brown, perfect for this project.

And here it is,
...simple and from my backyard.

Here's how I made it.

I used :
-twigs I got from my backyard
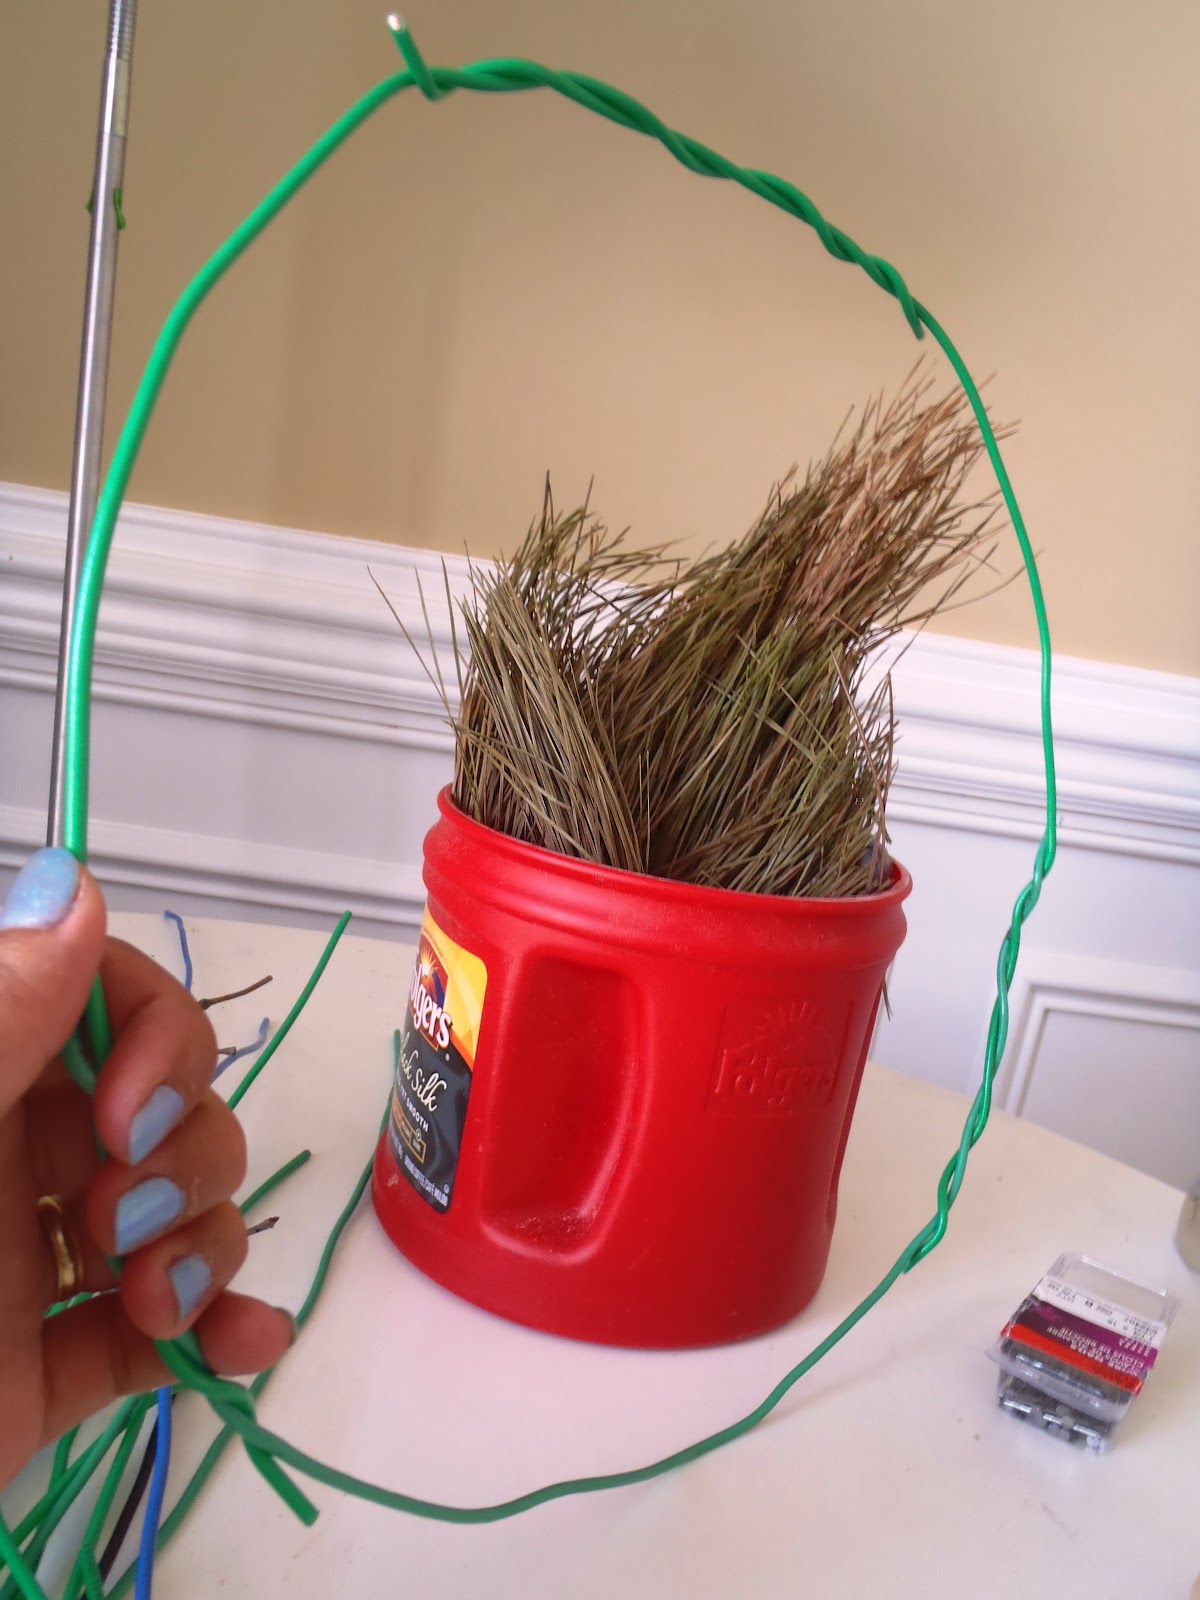
-electrical wire my husband got from the electrician at their office ( the guy was about to throw it away in the trash, my husband asked it as he knows I could use it for any :).
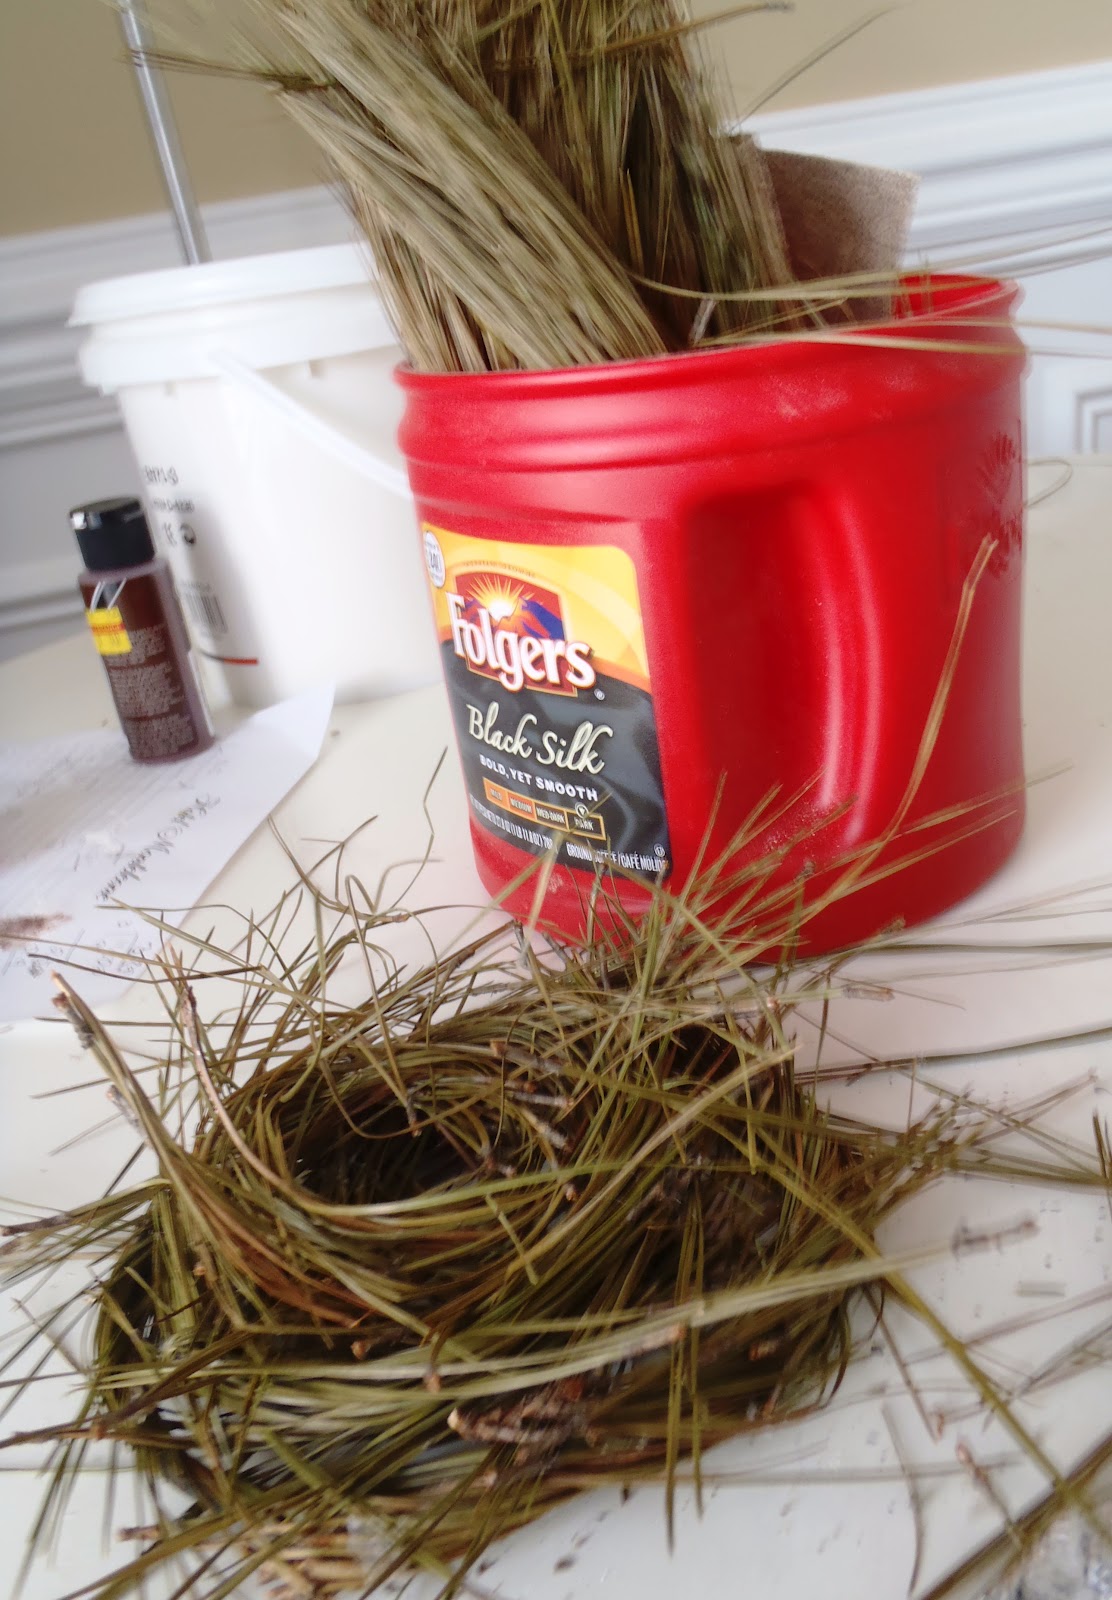
-pine needles I got from my in-laws backyard. 


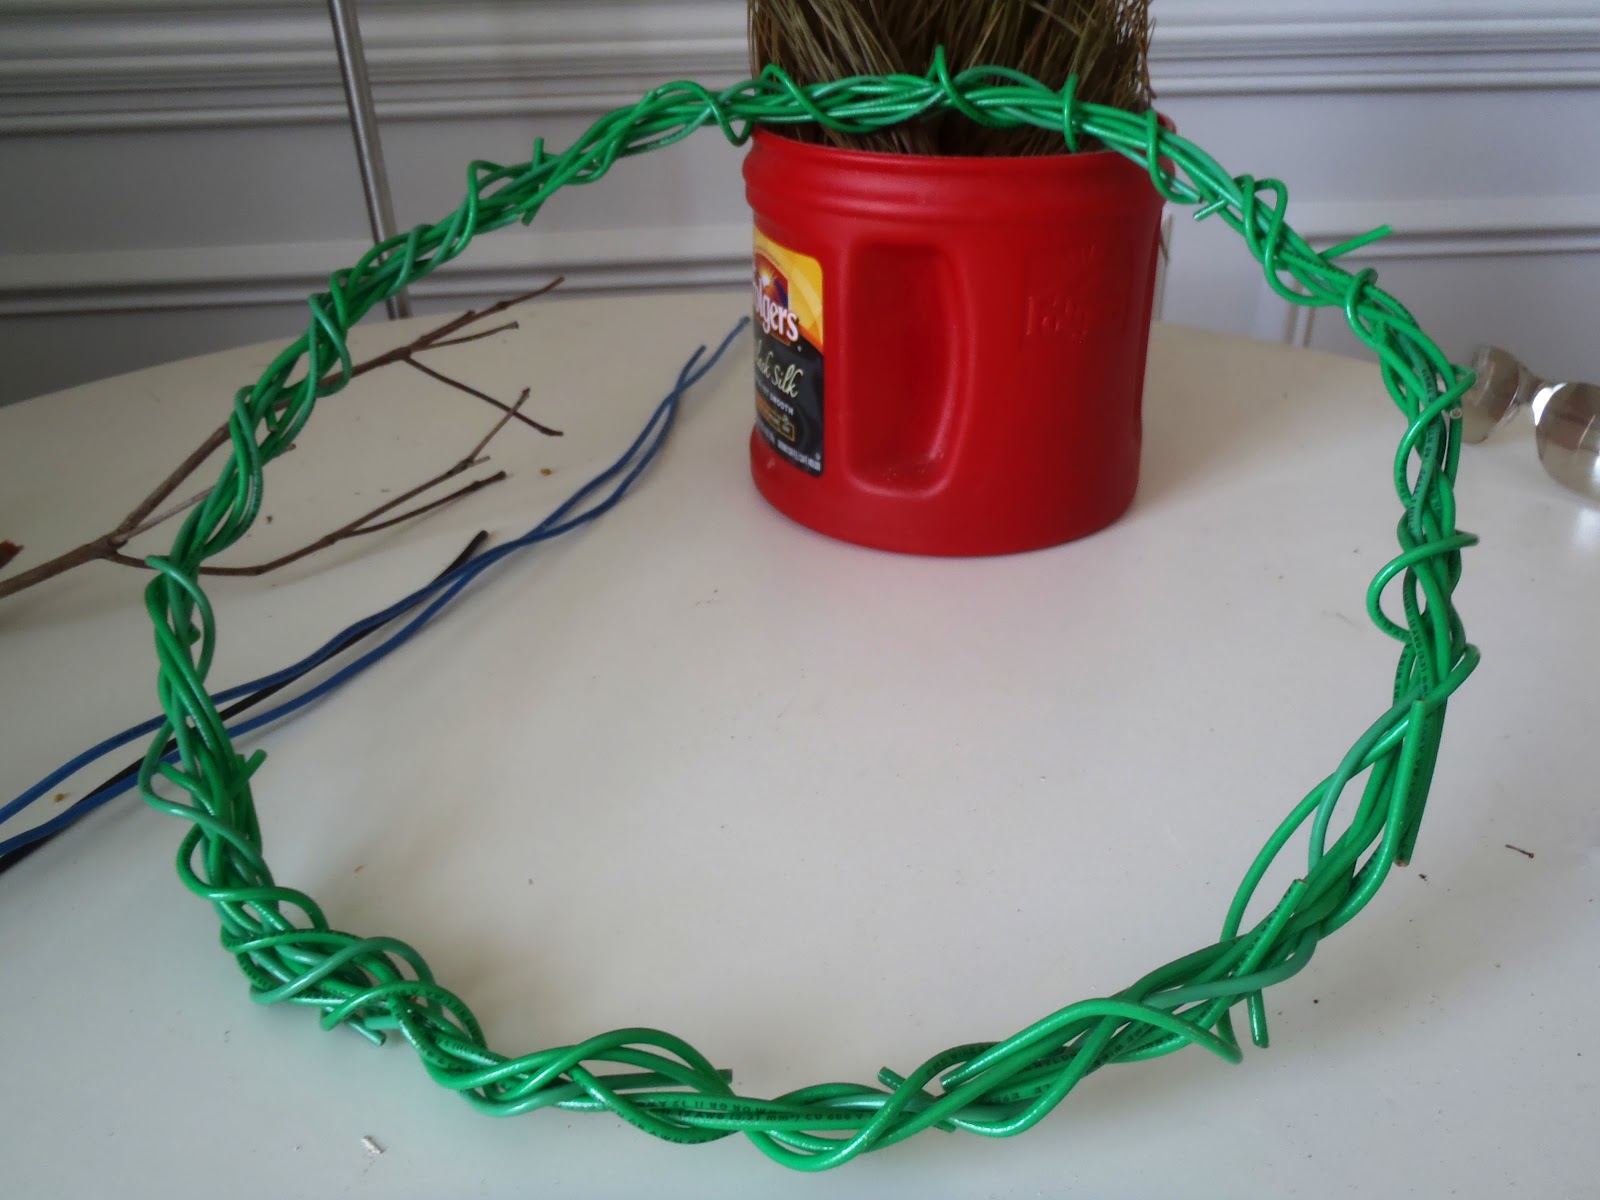
 I started by splicing the wires to make a circle.
 Repeated couple of times.
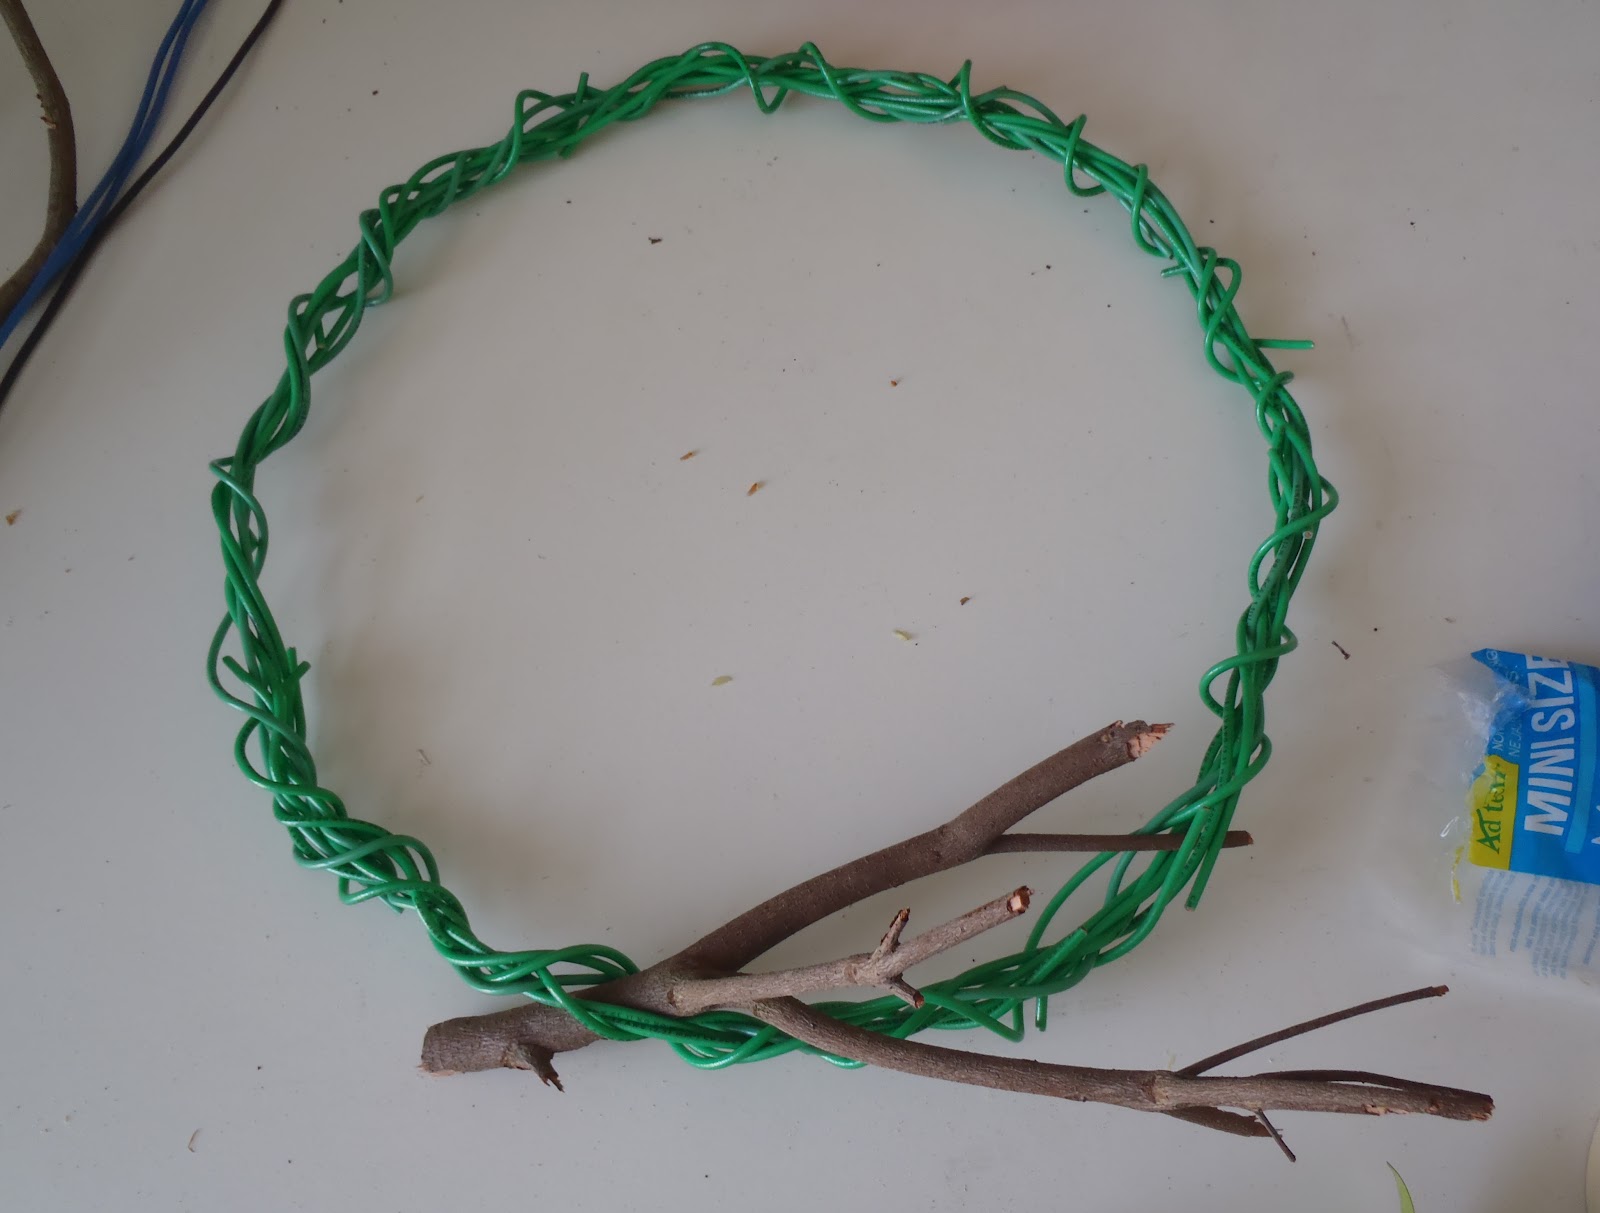
 I did the last couple of wires loosely so I can insert the bush branches.
 Inserted a big twig to hold the nest.
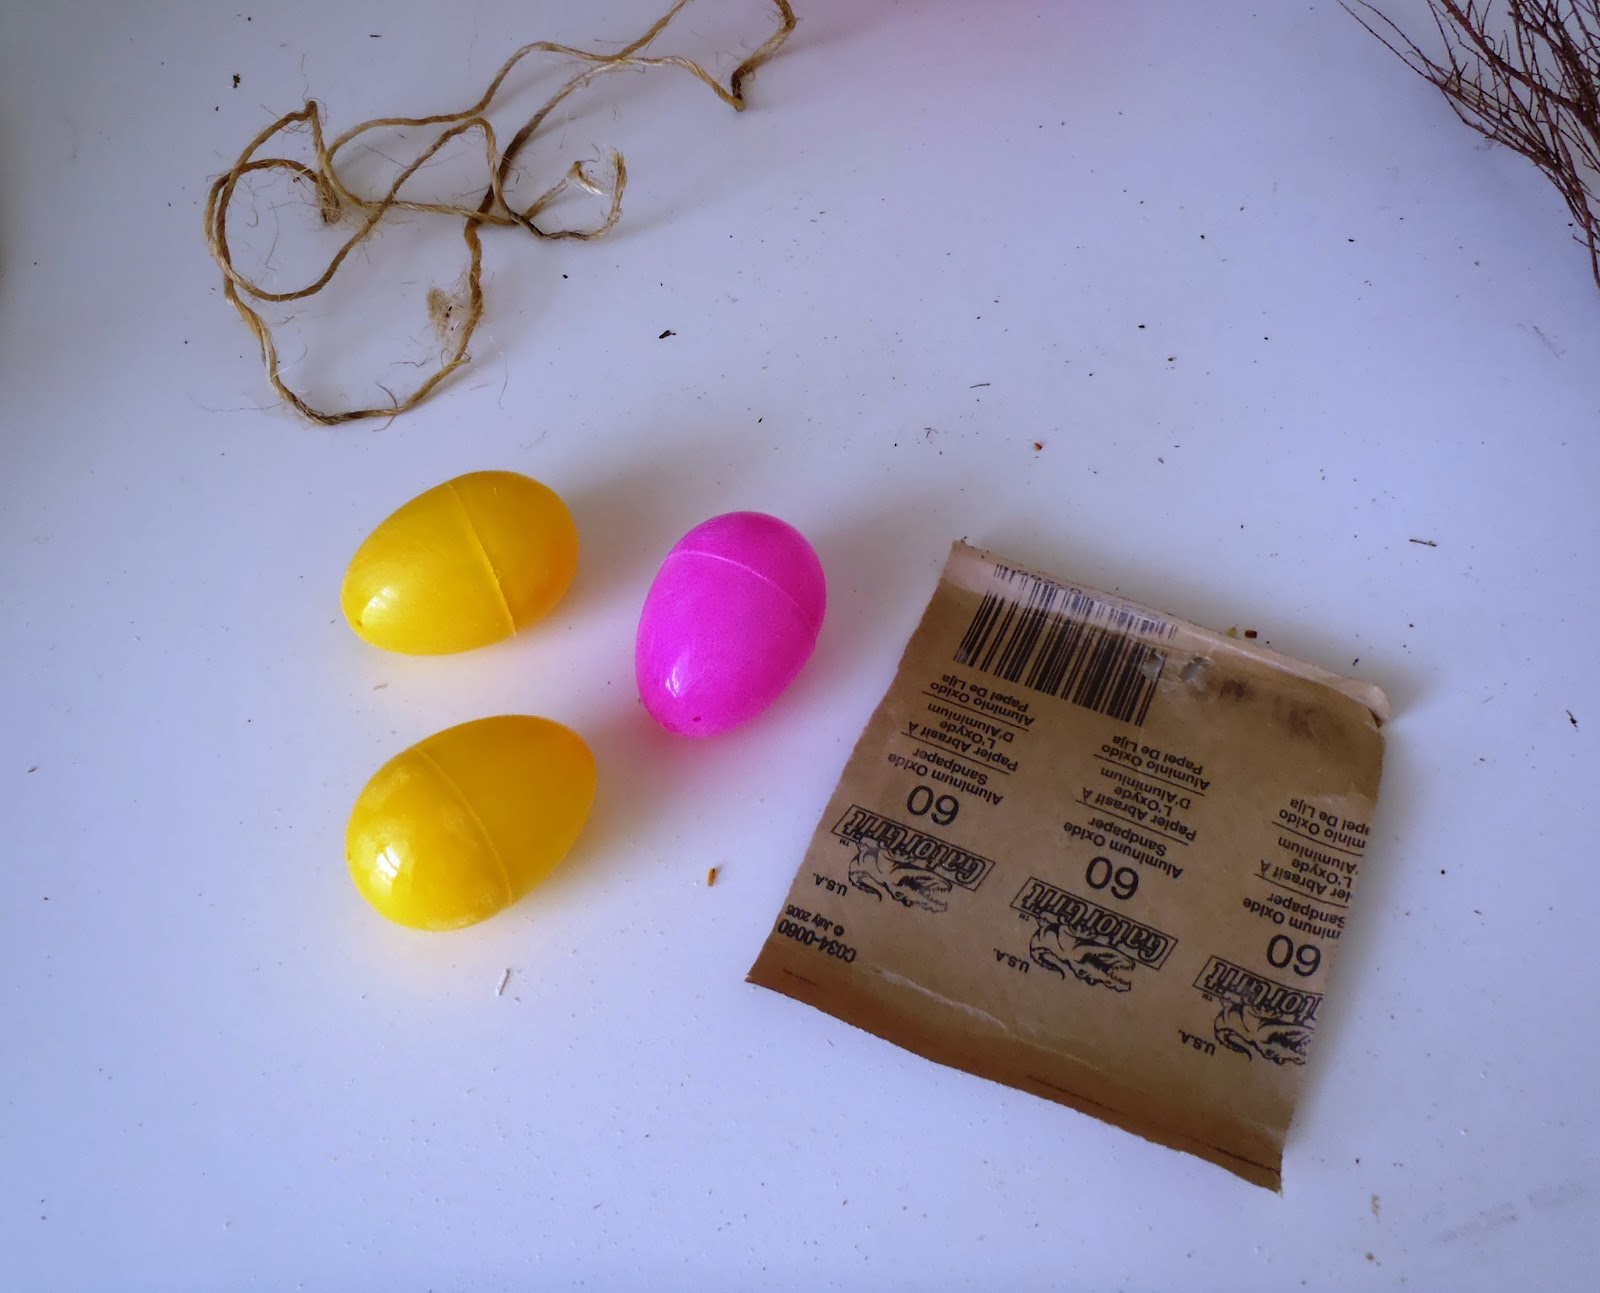
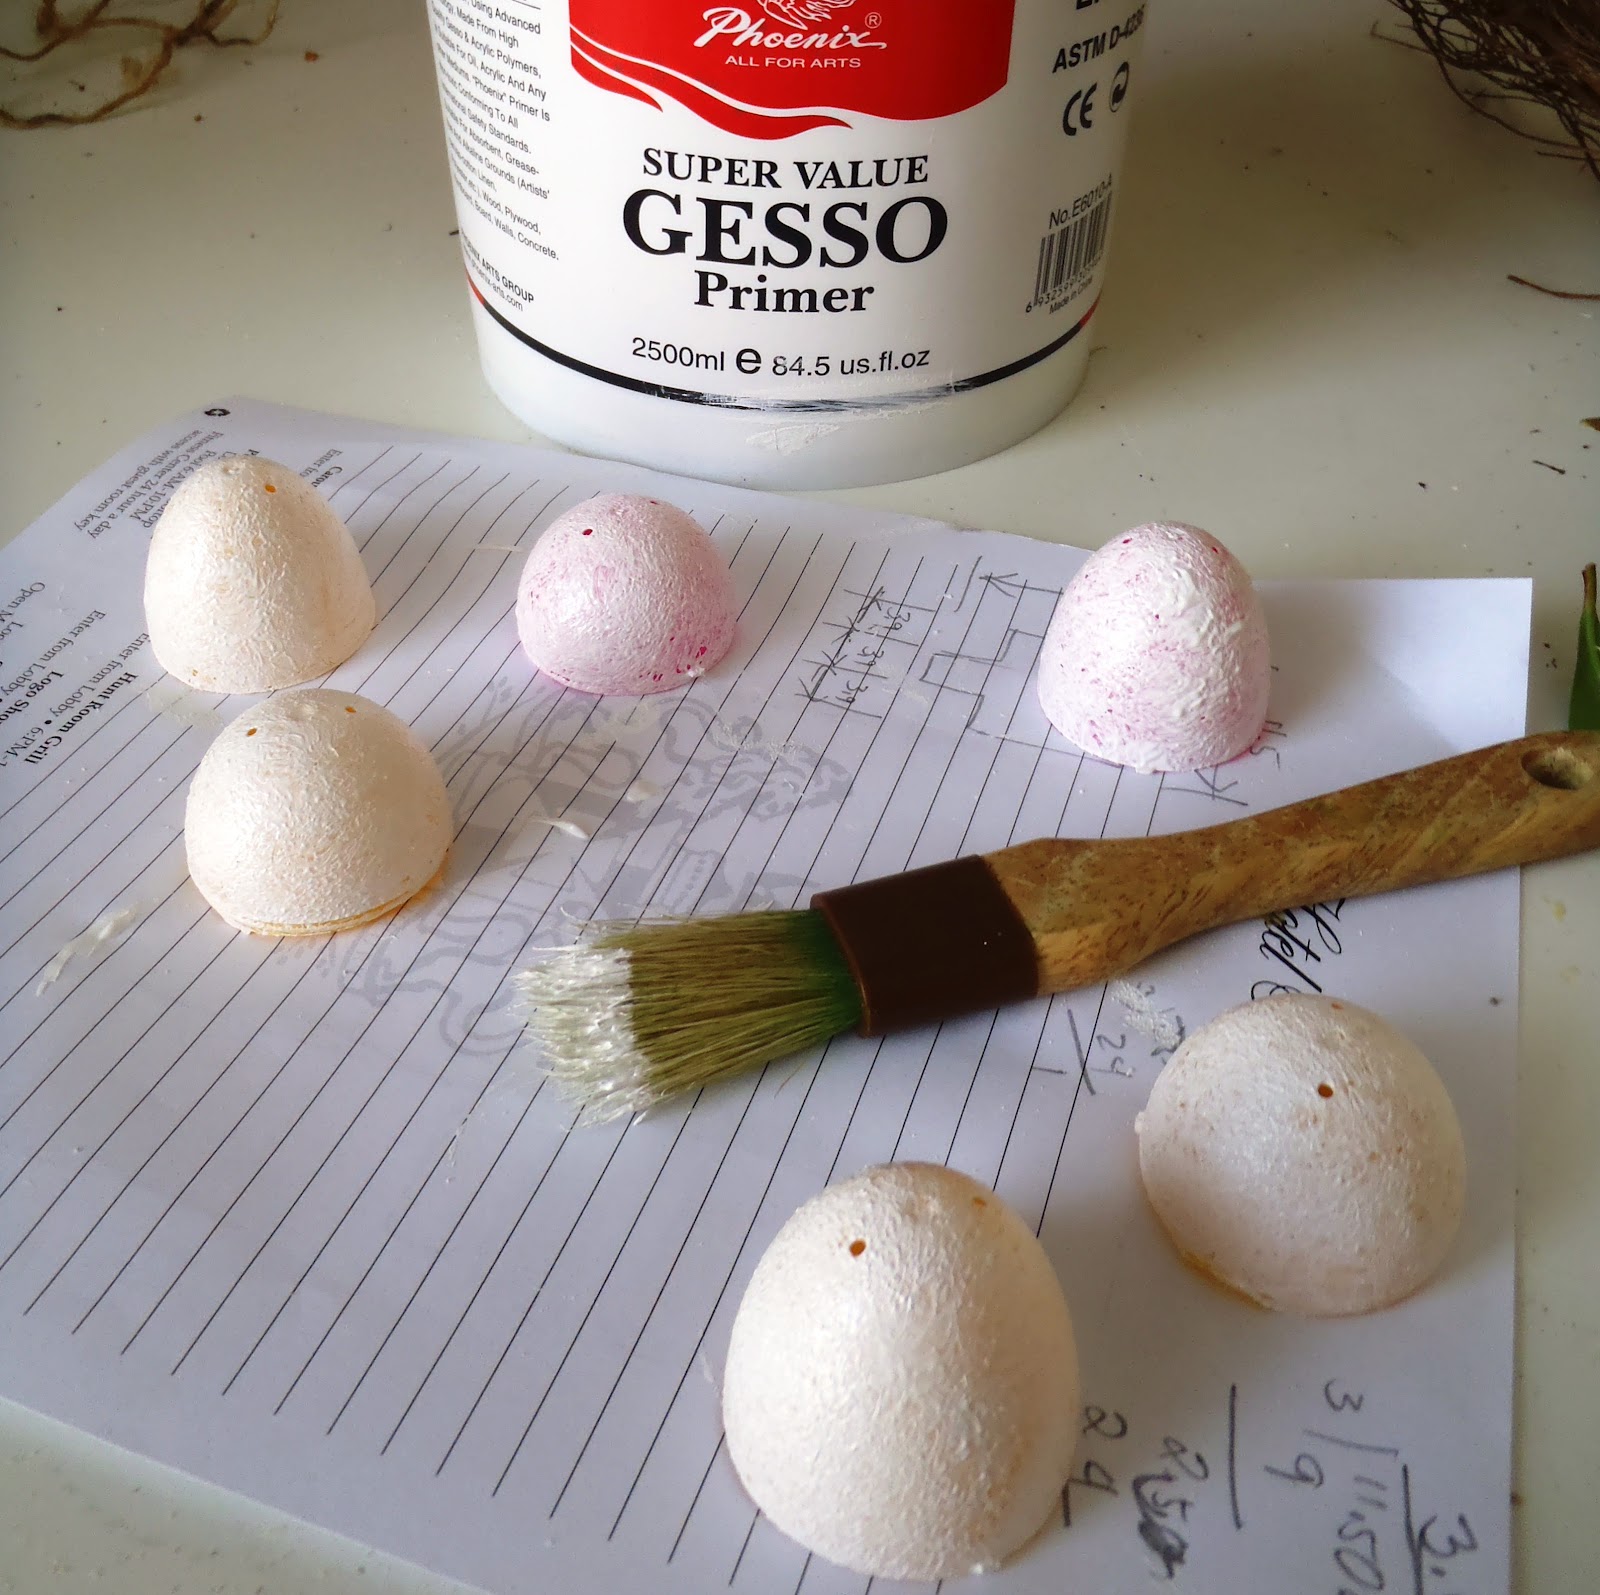
 Sanded couple of plastic eggs so the gesso will stick. Regular paint can be used too.
 Painted the eggs with gesso by dabbing the brush to give an eggshell texture.
 While waiting for the gesso to dry, I inserted the cleyera twigs with leaves onto the wire I made.

 And made a simple nest from the pine needles.
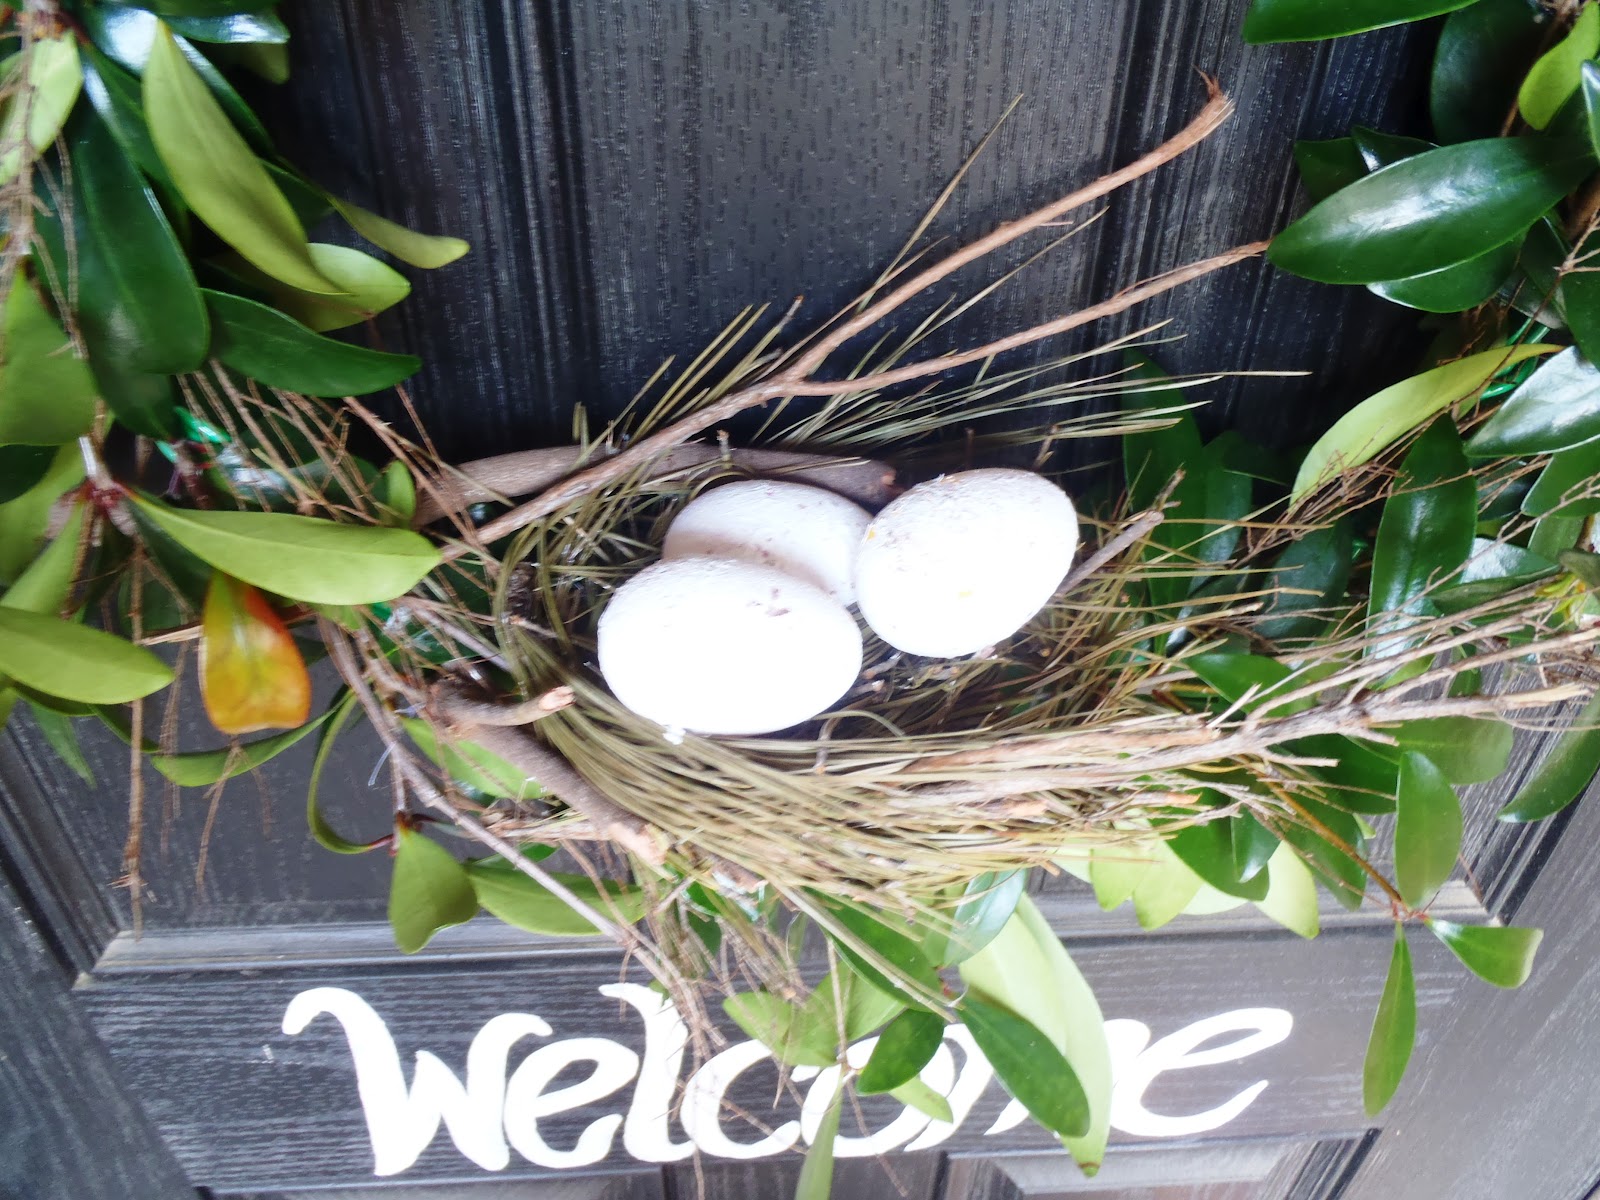
 Using glue gun, I added the nest and eggs.
I put small dots of brown paint on the eggs so it's not so perfectly white...
Darn! that egg looks so real in this photo (I love boiled eggs : )
Nature inspired simple spring wreath.
Pin It

Wednesday, February 22, 2012

Forsythia

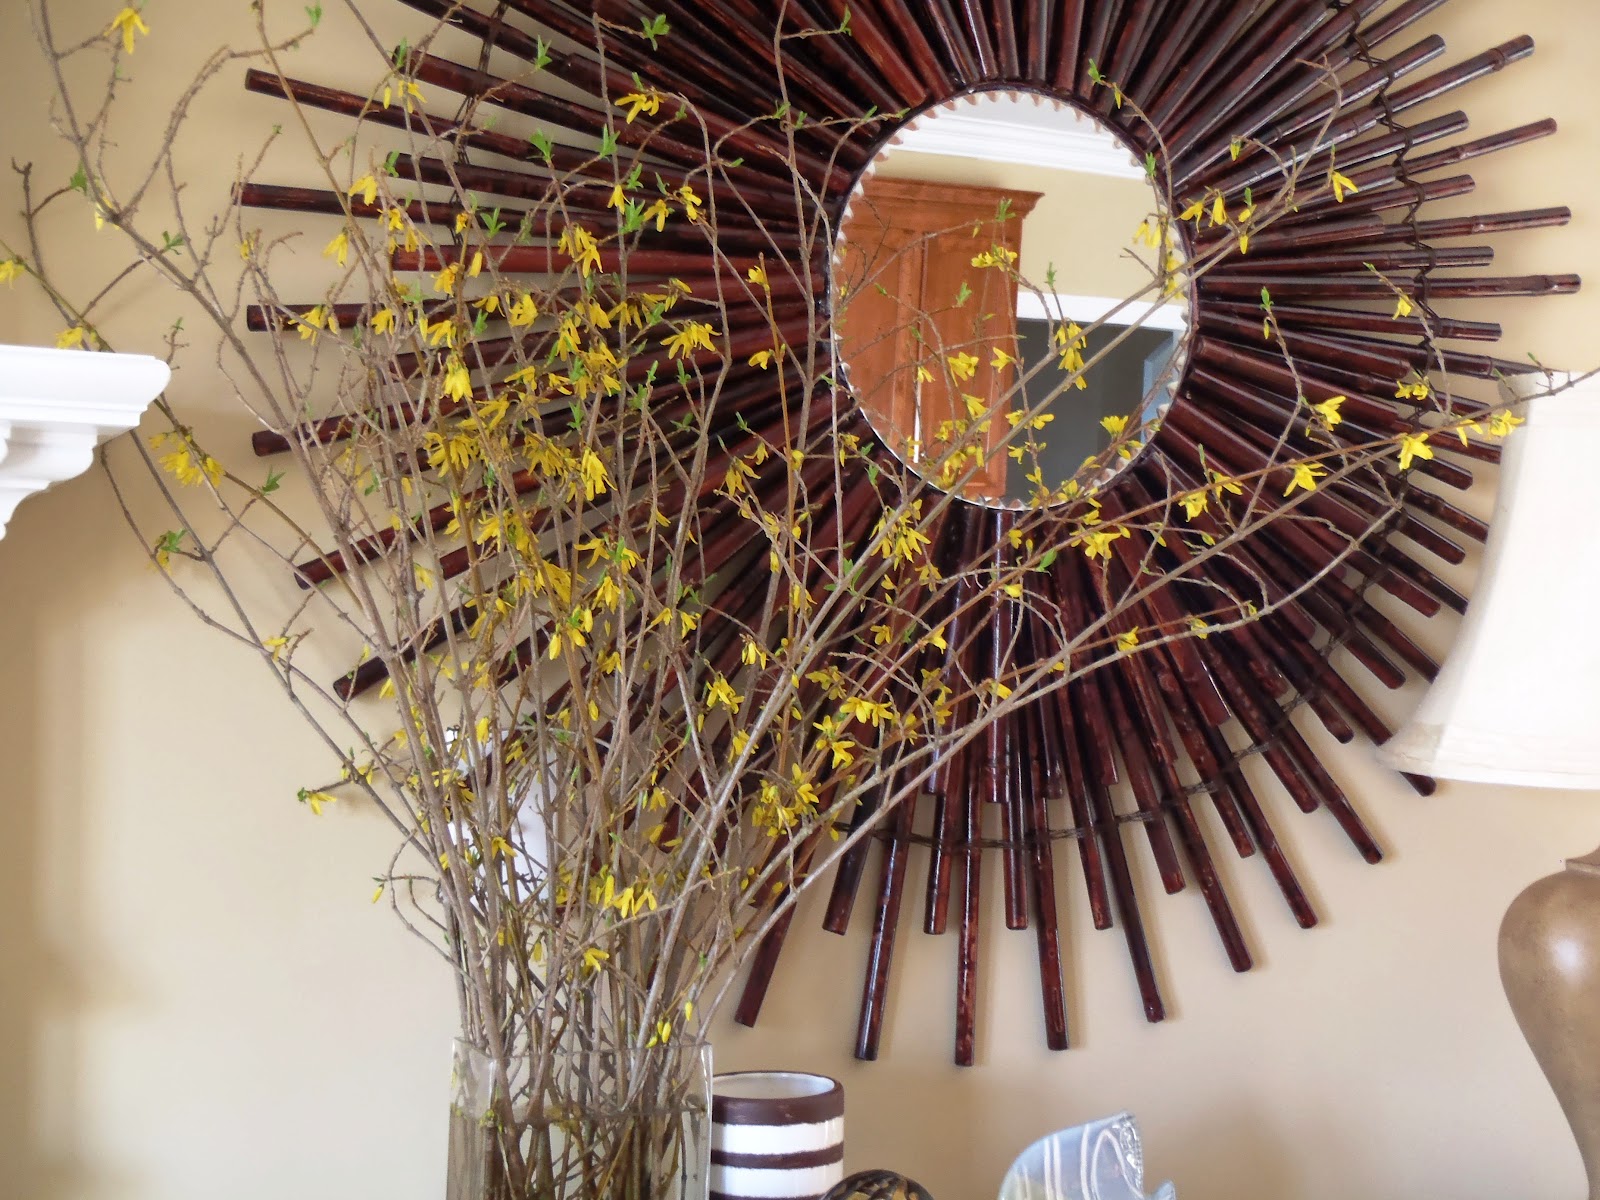
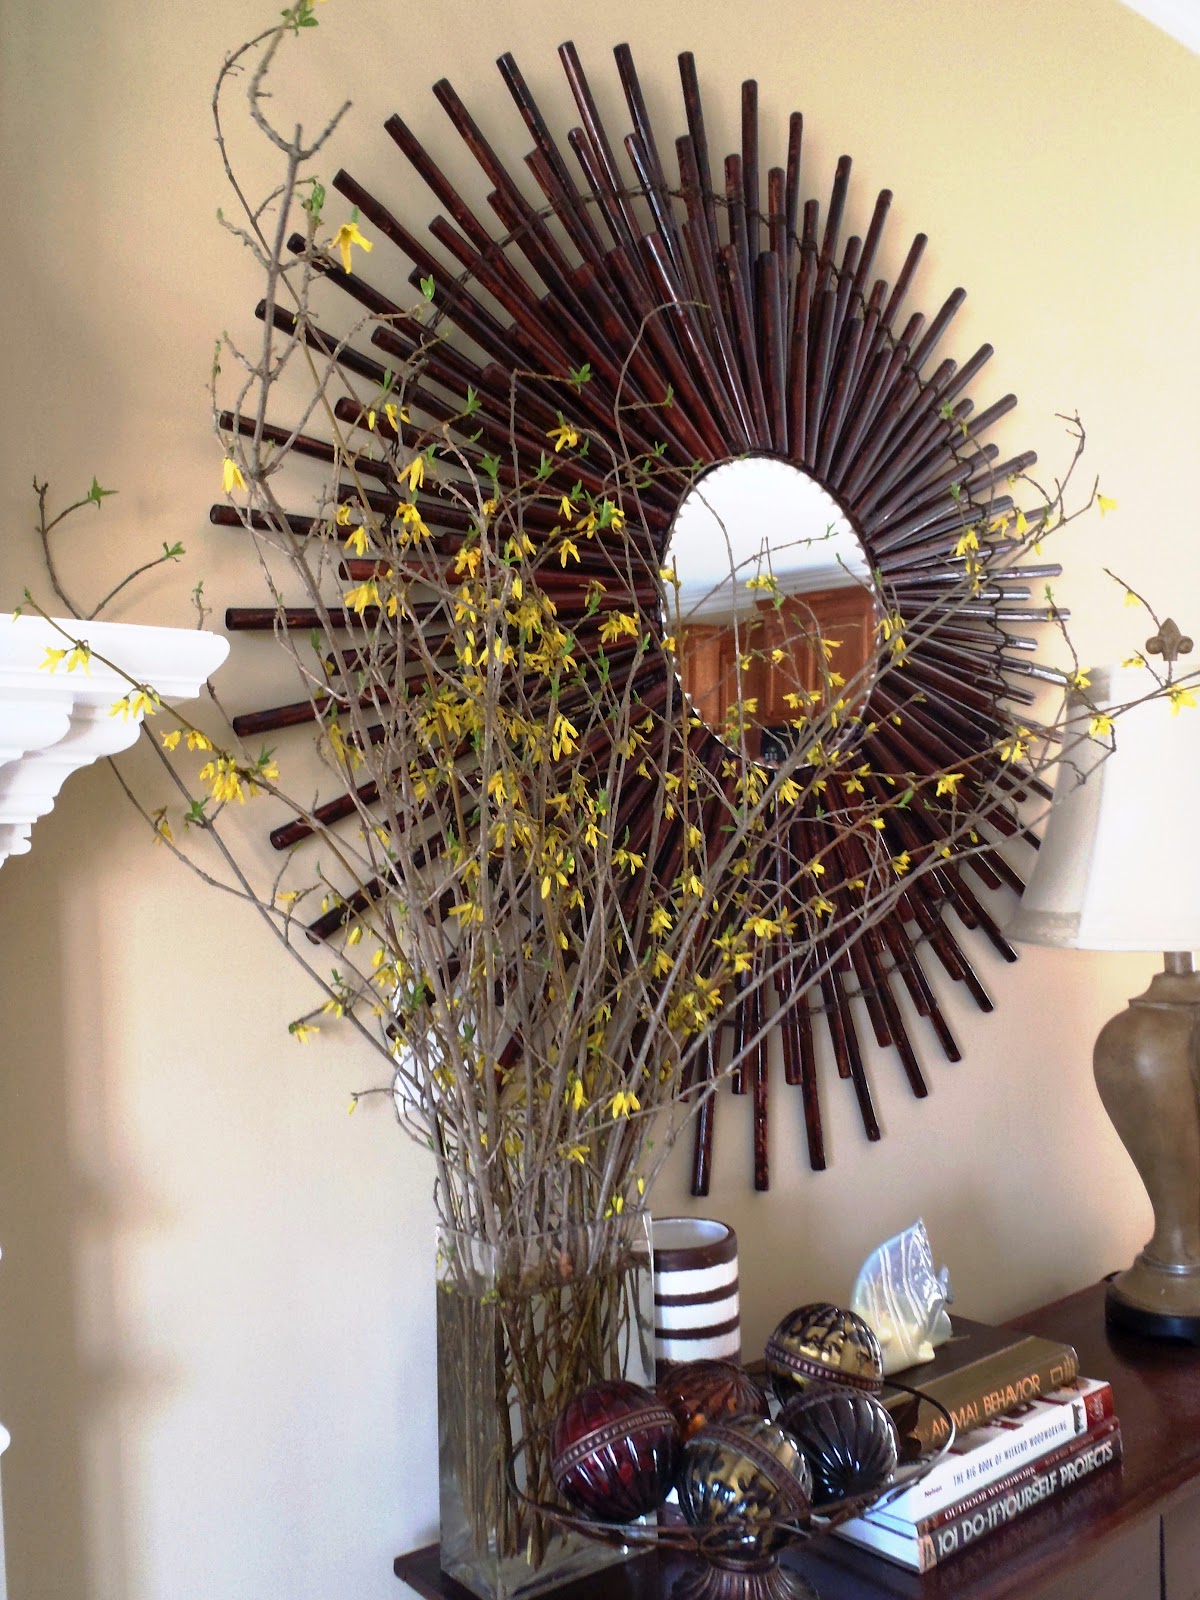
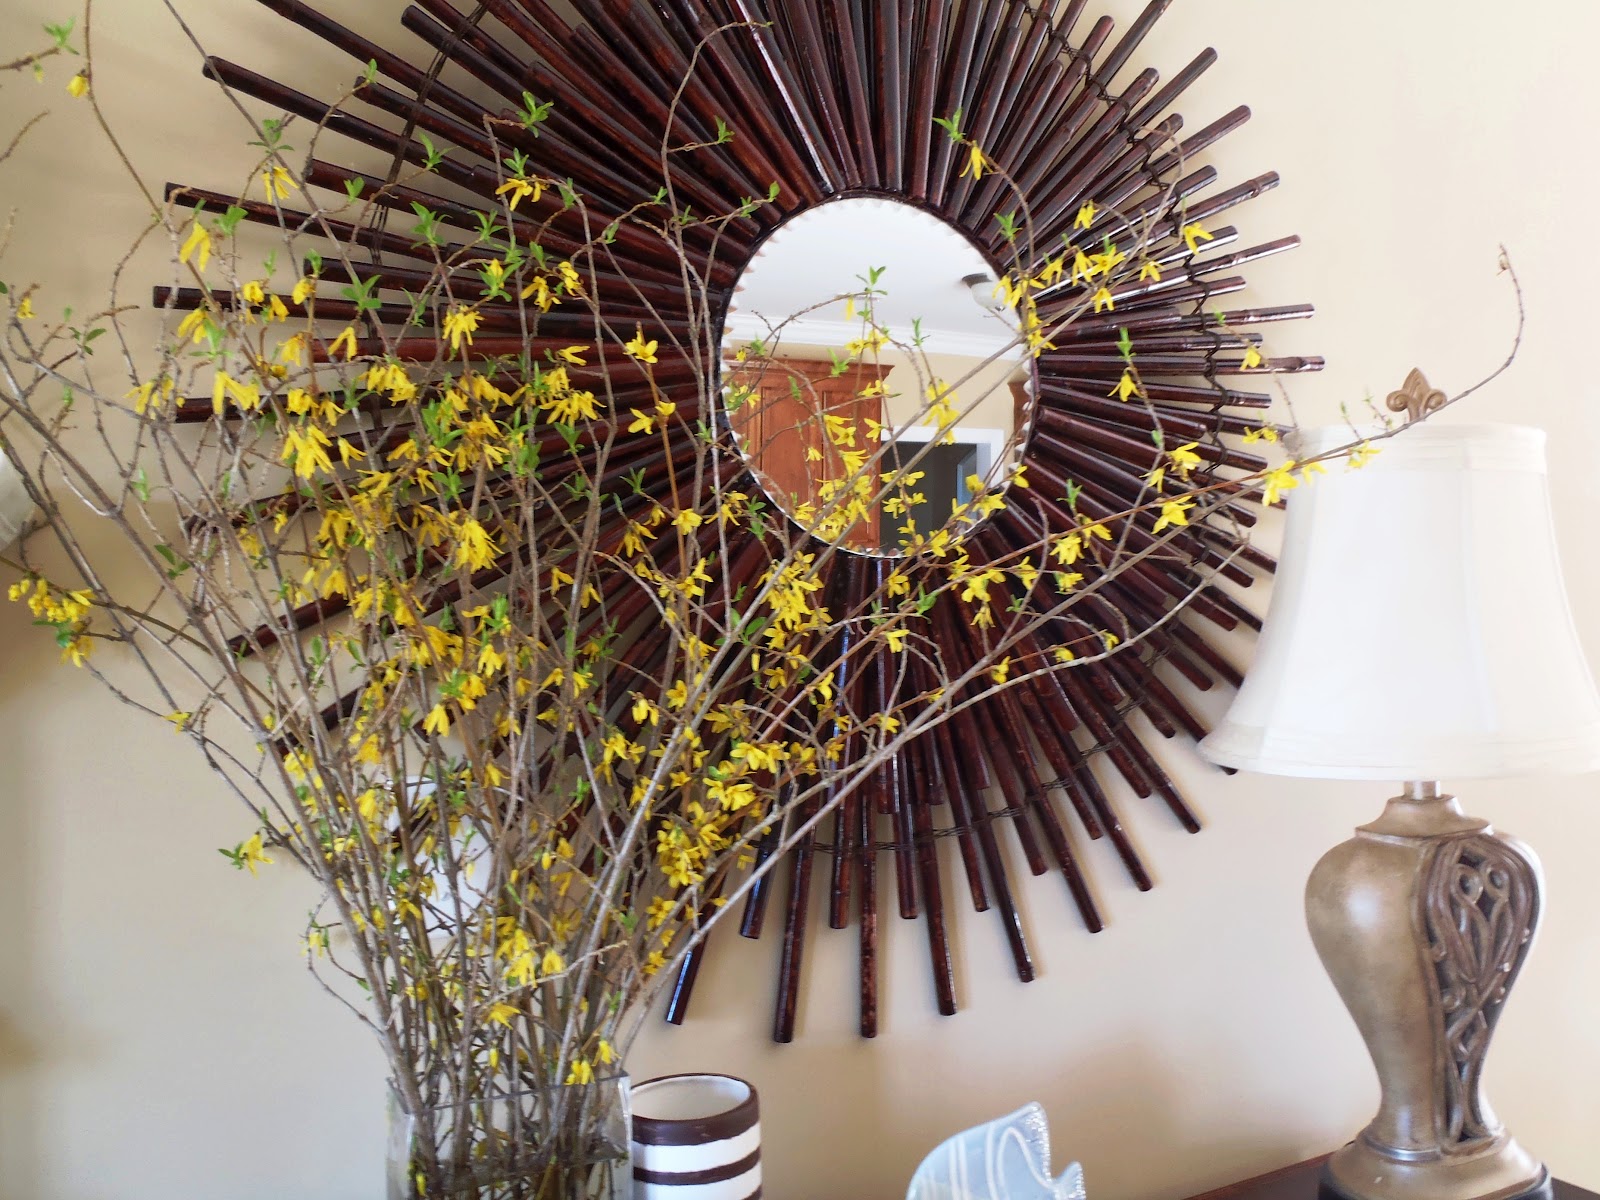
While visiting my in-laws in GA, I can't help but notice that a lot of their forsythias are blooming. We have couple in our yard but temperature in GA is warmer than our place. The tiny yellow flowers looks so beautiful. When we're getting ready to get back home, I can't resist so I cut handful with few flowers in them.


I put small amount of indoor plant food in the water, after one day more flowers bloomed!

 Sooo pretty! I also like those tiny green leaves that popped out, it adds more color. Pin It

Stenciled "Welcome" sign

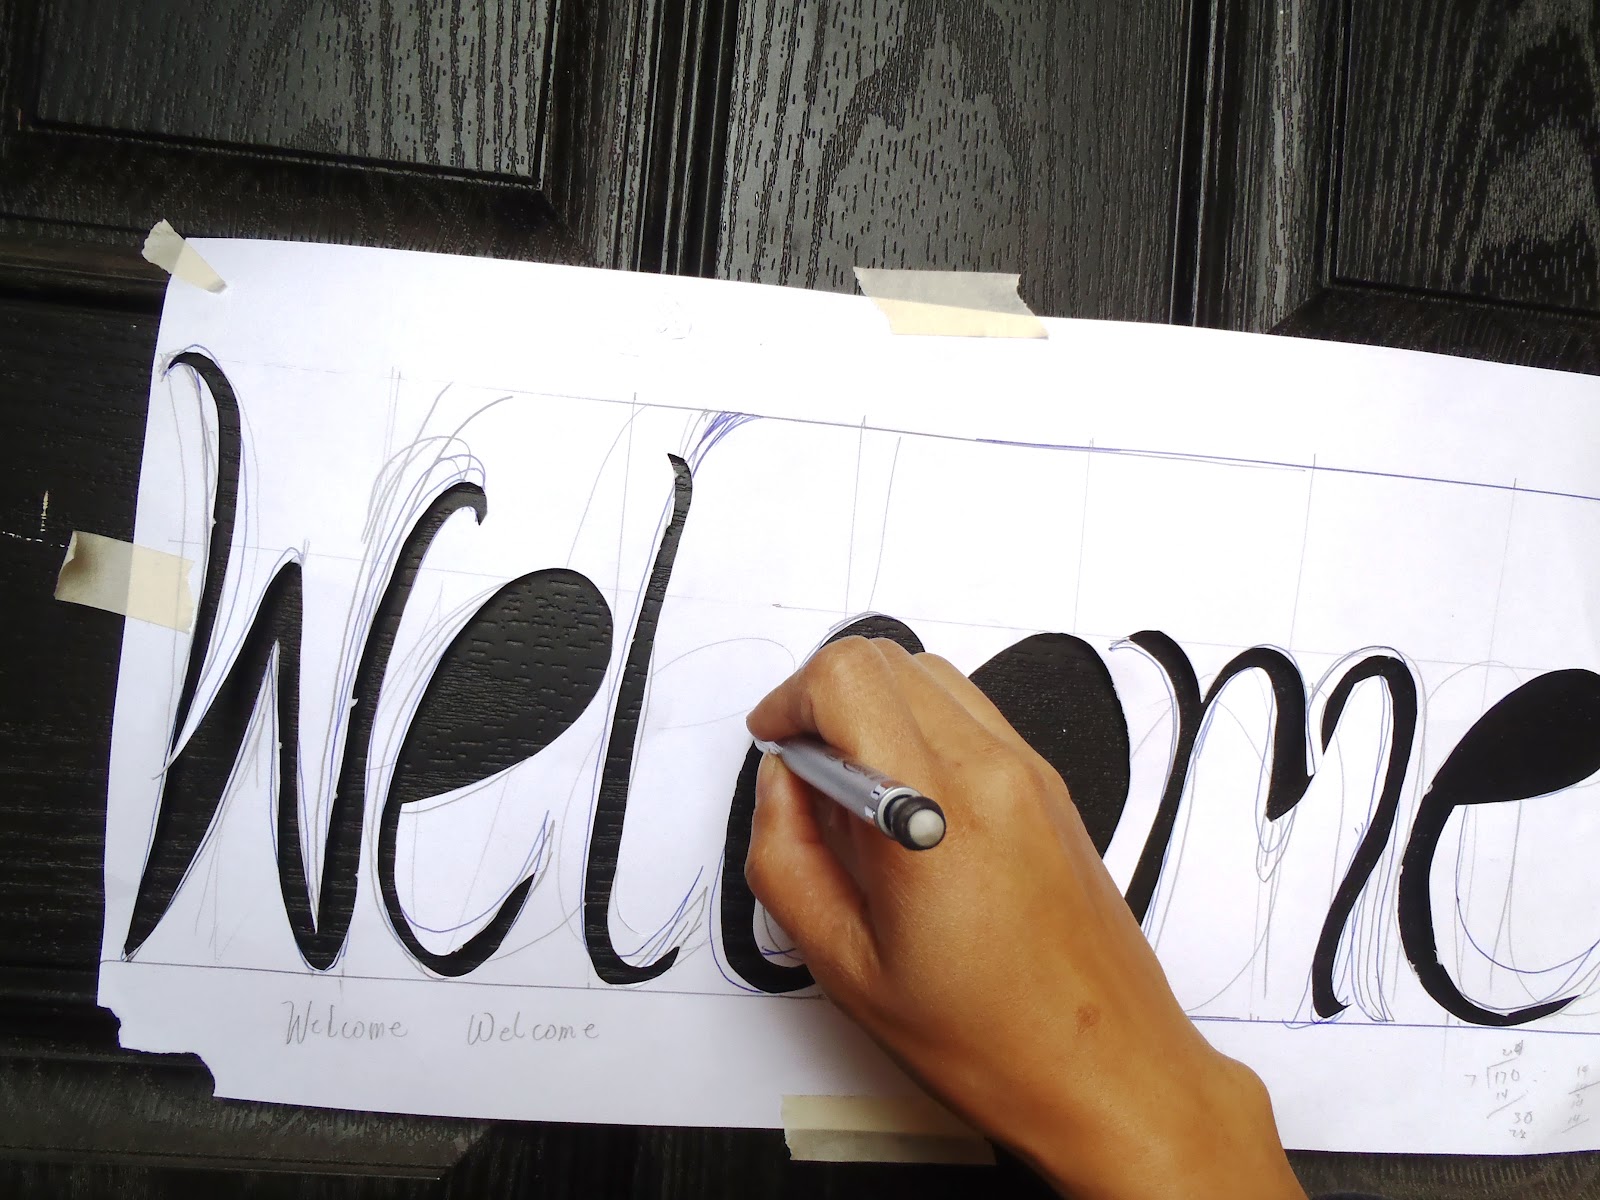
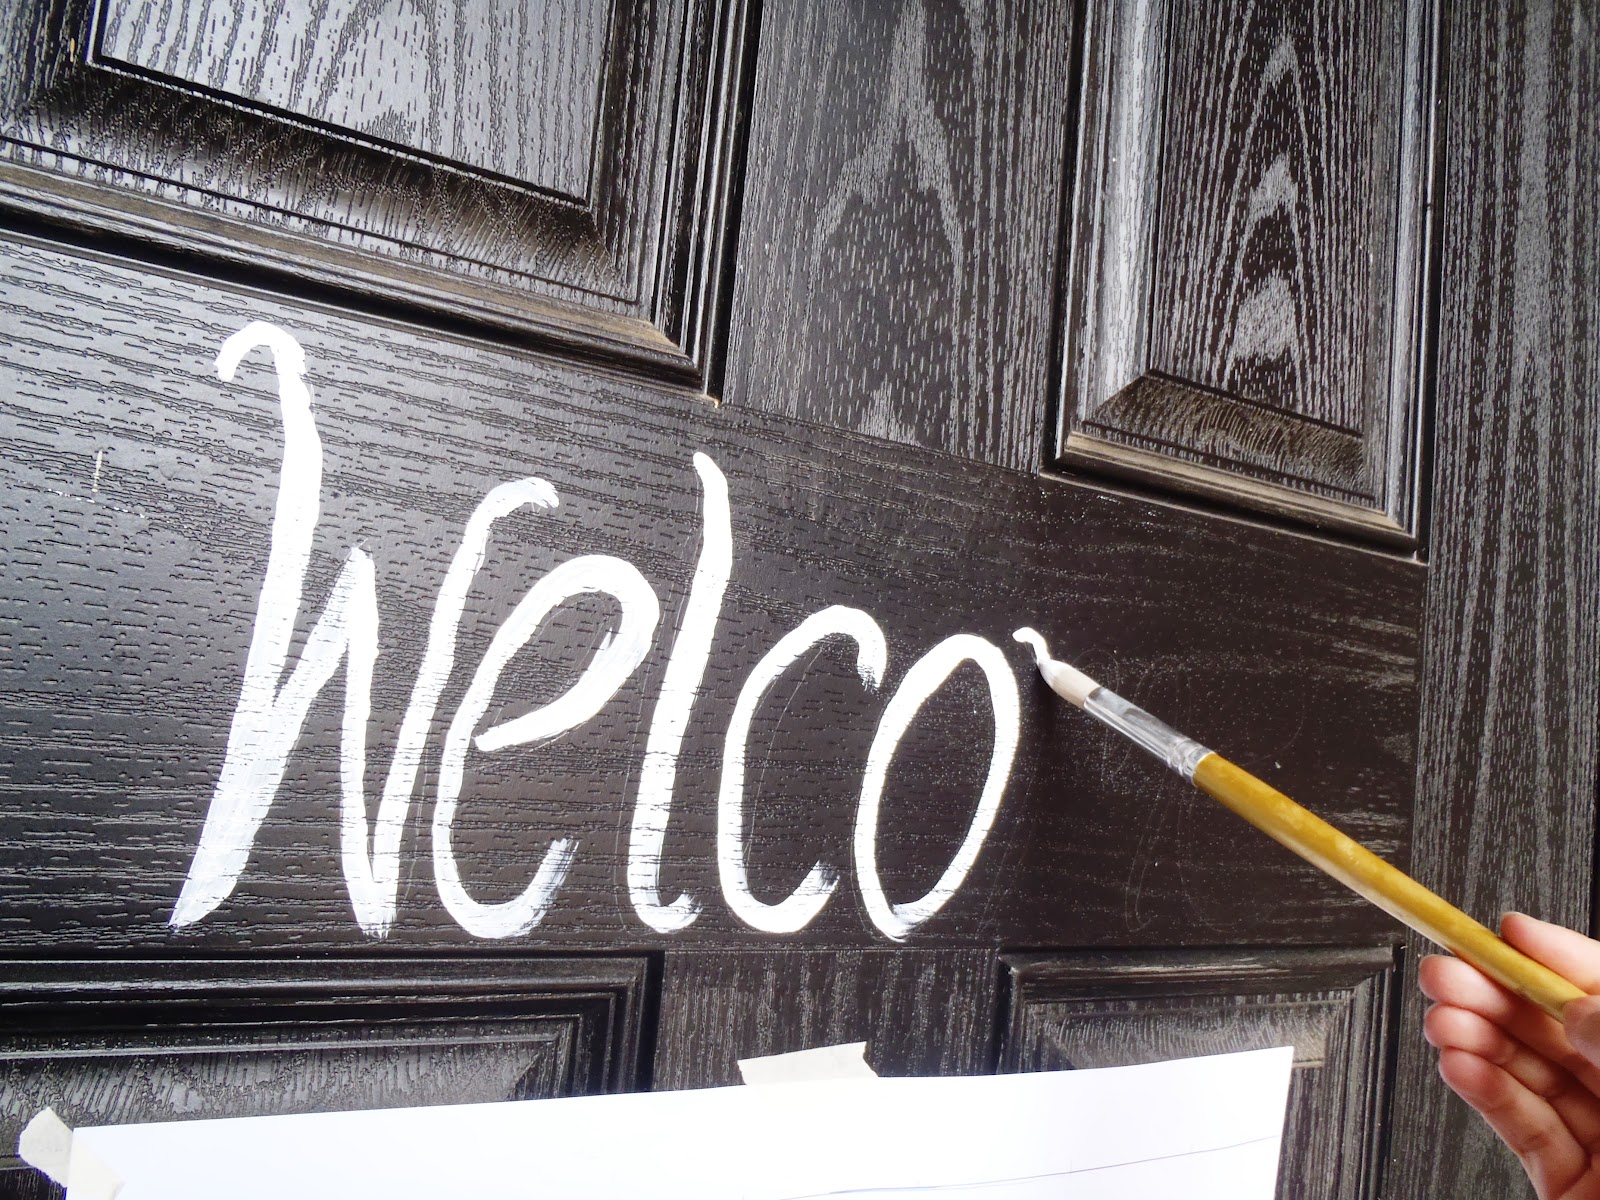
I was about to enter my front door when I thought " this door is so flat black!". It's funny because I entered that door countless times without noticing the color! So I thought it would be nice to put welcome sign with aqua blue paint on it. I just don't have the right color but I don't want to wait, or I don't have most of the materials because this idea just came into my head and want to do it right away ( what's the word? impulsive? maybe sometimes, depending on who you ask :-).

I don't have stencil sheet, so I used a white paper conveniently laying around that came from my husband's new shirt. I'm lazy to turn on my computer to print a "welcome" word so I freehand it (that later I regret hah!)
 That paper is so boogered up!.. I really could have found better cardboard if I had put a little effort.
 
To prop up, I used a pizza box that I had yet to throw away from last night's dinner (haha!, this is crazy!)
Sturdy enough, I think


 That doggone 'm' is too close to 'o' and 'e', I really should've printed it
I don't know how welcoming this entrance door even with "welcome" sign on it with that bright bright red "beware of dog!" that my 'oh-so-friendly-husband' put :-))

Welcome to our home!


Pin It