Showing posts with label DIY furniture. Show all posts

Friday, November 2, 2012

Upholstered Modern Twin Bed (Regular)


Need twin beds? Build it with these easy steps (I built me two :-).


Here are my Parts Lists:


Materials:

Dowels
Foam (1 X 24 X 41")
Fabric (for upholstering headboard, 1 1/2 yrd)
Batting (1 1/2 yrd)
2 1/2" screws
1 1/2" screws
8 corner braces
4 flat braces
4 heavy duty corner brace (optional)
button maker
staple wires

Steps:

Attach dowels (pocket holes and screws can be used instead, if preferred).


 Attach the slat support 3" from the lower edge using glue and screws.
 Glue the spacers 2 1/2" apart.

Paint the parts.
  
Build the headboard.

 Mark and drill holes for the buttons.
 Attach the foam.
 
 Cover with batting.
Make buttons.
Upholster headboard and add the buttons.
  Attach the bed frame.


Turn it upside down and attach legs.

Attach the upholstered headboard.

Put the slats. Repaint scratches. Done!


Pin It

Thursday, August 16, 2012

Shoe bench and clothes rack


If you don't have mudroom, this simple shoe bench and clothes rack will do the job.


Here's how I built my shoe bench and clothes rack. I built it small to fit my space, you can build yours bigger.

Building the cloth rack:

-Cut the side part using jigsaw.
-Attach the lower shelf.
-Attach the top shelf.
-Attach back cover.
-Add shelf divider.

-Fill holes,sand and paint. Then attach the hooks and hanger.


Building the shoe bench:

-Attach the sides to the top part using pocket hole screws and glue.


-Then the middle shelf.


-Attach the bottom part.

-Attach the legs ( I used dowels and wood glue)


-Fill holes, sand and paint. Paint the door, attach to the bench and add handle.


-Done!
 I made the patterned back using furring strips, this is to prevent hanged things scratching the wall paint . It's only attach to the wall (using hangers) and not to the rack or bench.

Pin It

Friday, August 10, 2012

Space saver for bathroom

Need place to put toilet paper and magazines in your small bathroom? You can build one like this...

 
Here's how I built mine.

Make the shelf.


 Attach the back cover.
Fill holes, sand and paint.
Attach the legs.


Attach the cabinet door and knob. You can add moulding around the edge of the top and the bottom shelf to get the traditional style.
That's it!
 

Pin It

Sunday, July 15, 2012

Arts and craft center

I needed this for so long but I keep putting off building it. Well, finally I finished it and yaay! I can now find my stuff easily (..I should've built it a bit larger).

 I designed it in order to have every place for everything.

 Hutch to organize all my arts and crafts stuff,


 ..side shelf to put my sewing machine and extra fabric.


 Which can be pulled out for additional work space,


..or for the sewing machine.


How to build this arts and crafts table.

This is my original design which I made some changes (not a lot) while building it. Final product measurements upon request.


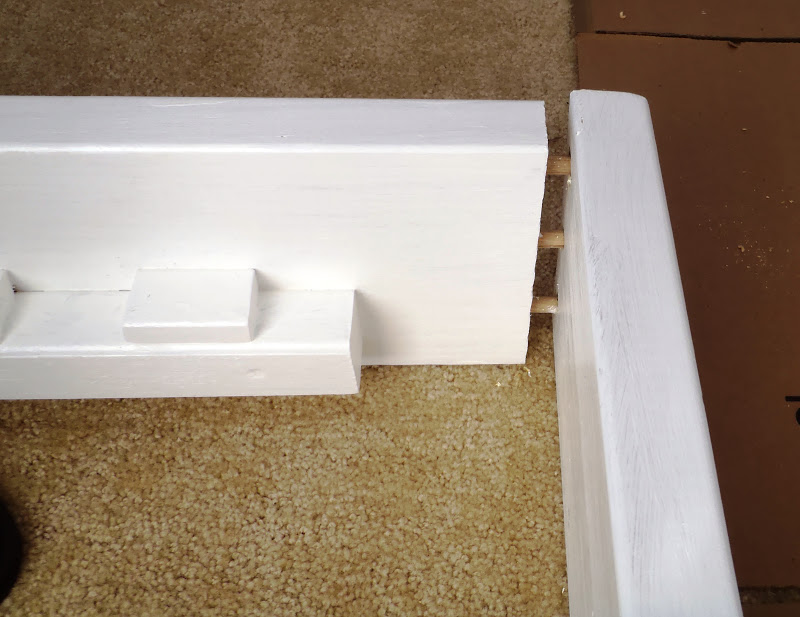
First, I build my main table.

Cut the back two corner for the hutch frame.
 

Then attach the hutch frame.

Attach the peg board.
 Build the fabric organizer.


 Attach.


 Build the hutch (one side is open and lower board is shorter so I can easily take my fabric in and out without being tight)

Attach the hutch using screws and corner braces.


 Fill the nail and screw holes, let dry and sand.


Paint (use spray paint for the peg board).


Then build the pull-out table with shelves.


 Attach the casters.
 

Attach the sliders ( I only put slider at the back side, use another slider on the opposite side, I'm just making sure it's the right slider so I only bought one, the other one later).


..and now I have a place to put all my arts and crafts things.


Pin It