 |
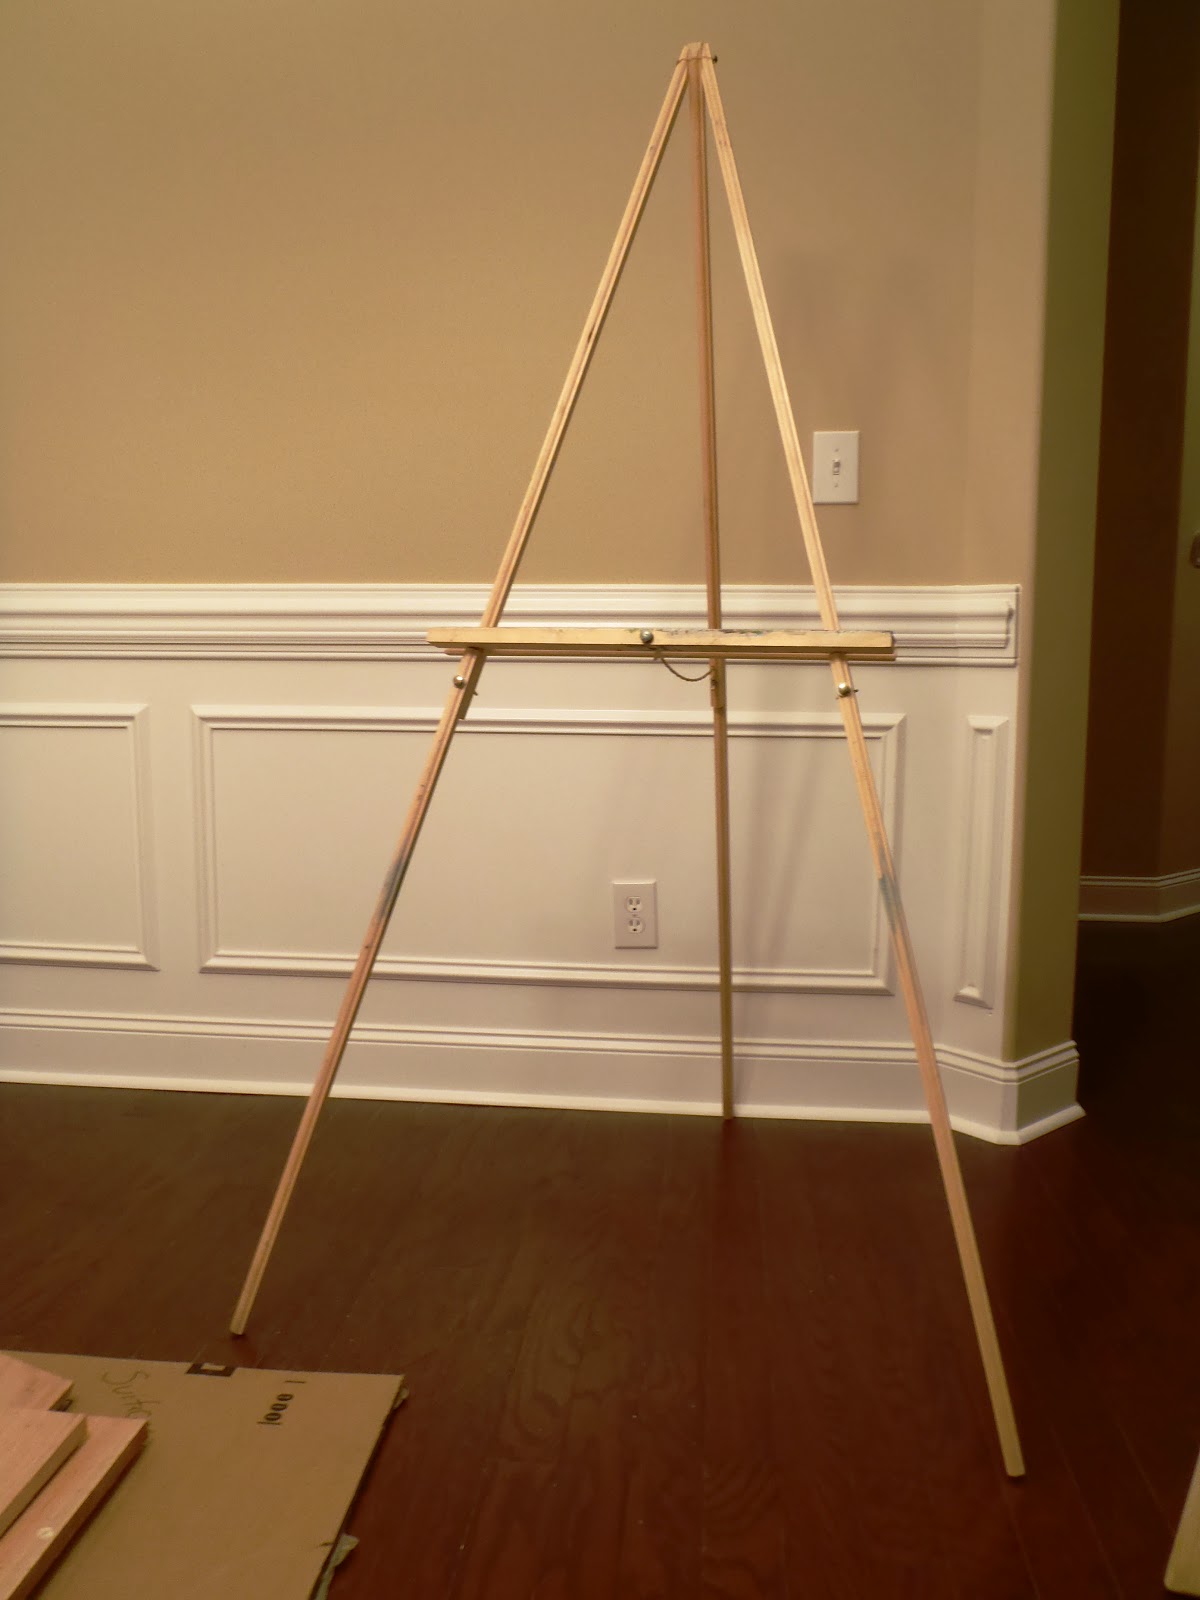
| We bought this flimsy easel couple of years ago and for a while, it worked fine. |
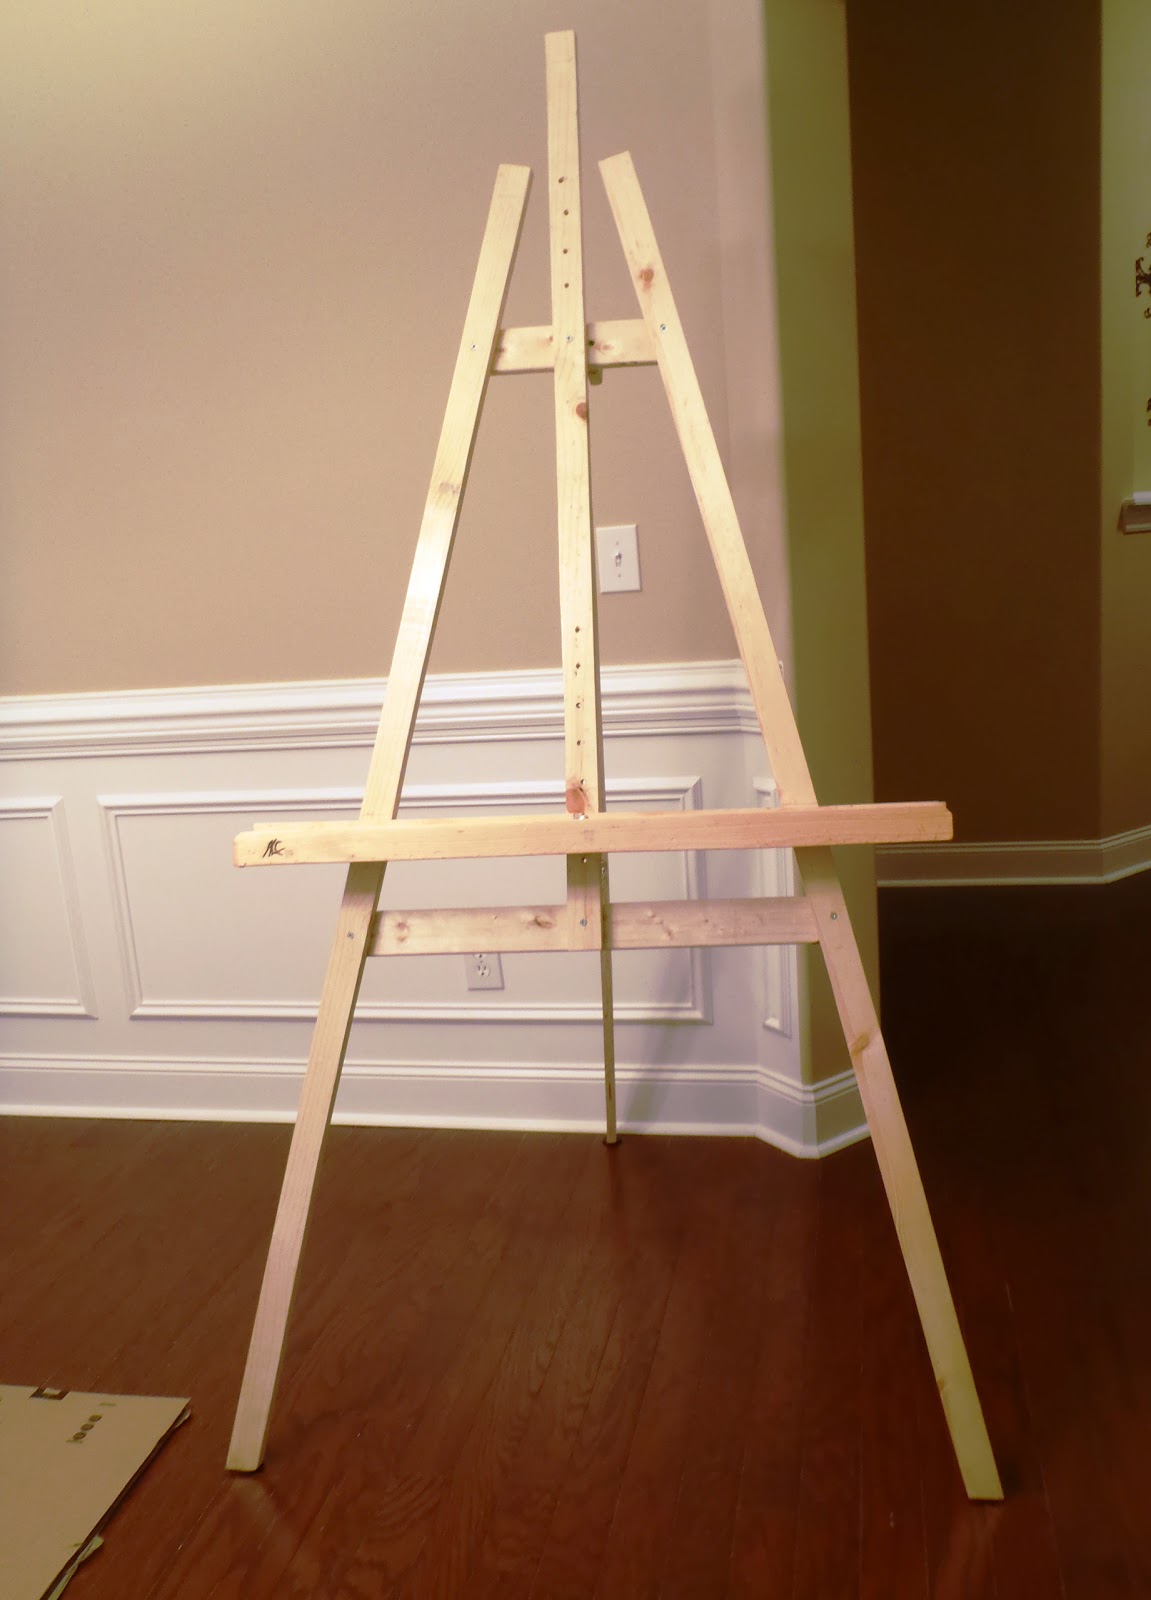
This easel can be built by virtually anybody who never built anything before who needs sturdy easel on a tight budget. I am designing this easel as I built it so the steps may seem out of order. I took a lot of photos so anybody can follow the steps (and don't have to read long worded instructions, I'm a visual learner and I hate reading manuals myself ha ha!)
How to Built an Artist Easel
Materials List:
(4) 1/4 - 20 X 3-1/2 carriage bolt
(4) flat washers
(4) 1/4 - 20 wing nut
screws
22" chain link
(2) small eye bolt
wood glue
Cut List:
(2) 1 X 2 X 6' (front legs)
(1) 1 X 2 X 63" (back leg)
(1) 1 X 2 X 50" (middle vertical support)
(4) 1 X 2 X 36" (canvas plate )
(1) 1 X 2 X 27-1/2" (lower horizontal brace)
(1) 1 X 2 X 12-1/2" (upper horizontal brace)
(2) 1 X 2 X 2" (front legs and back leg connector pieces)
Steps:
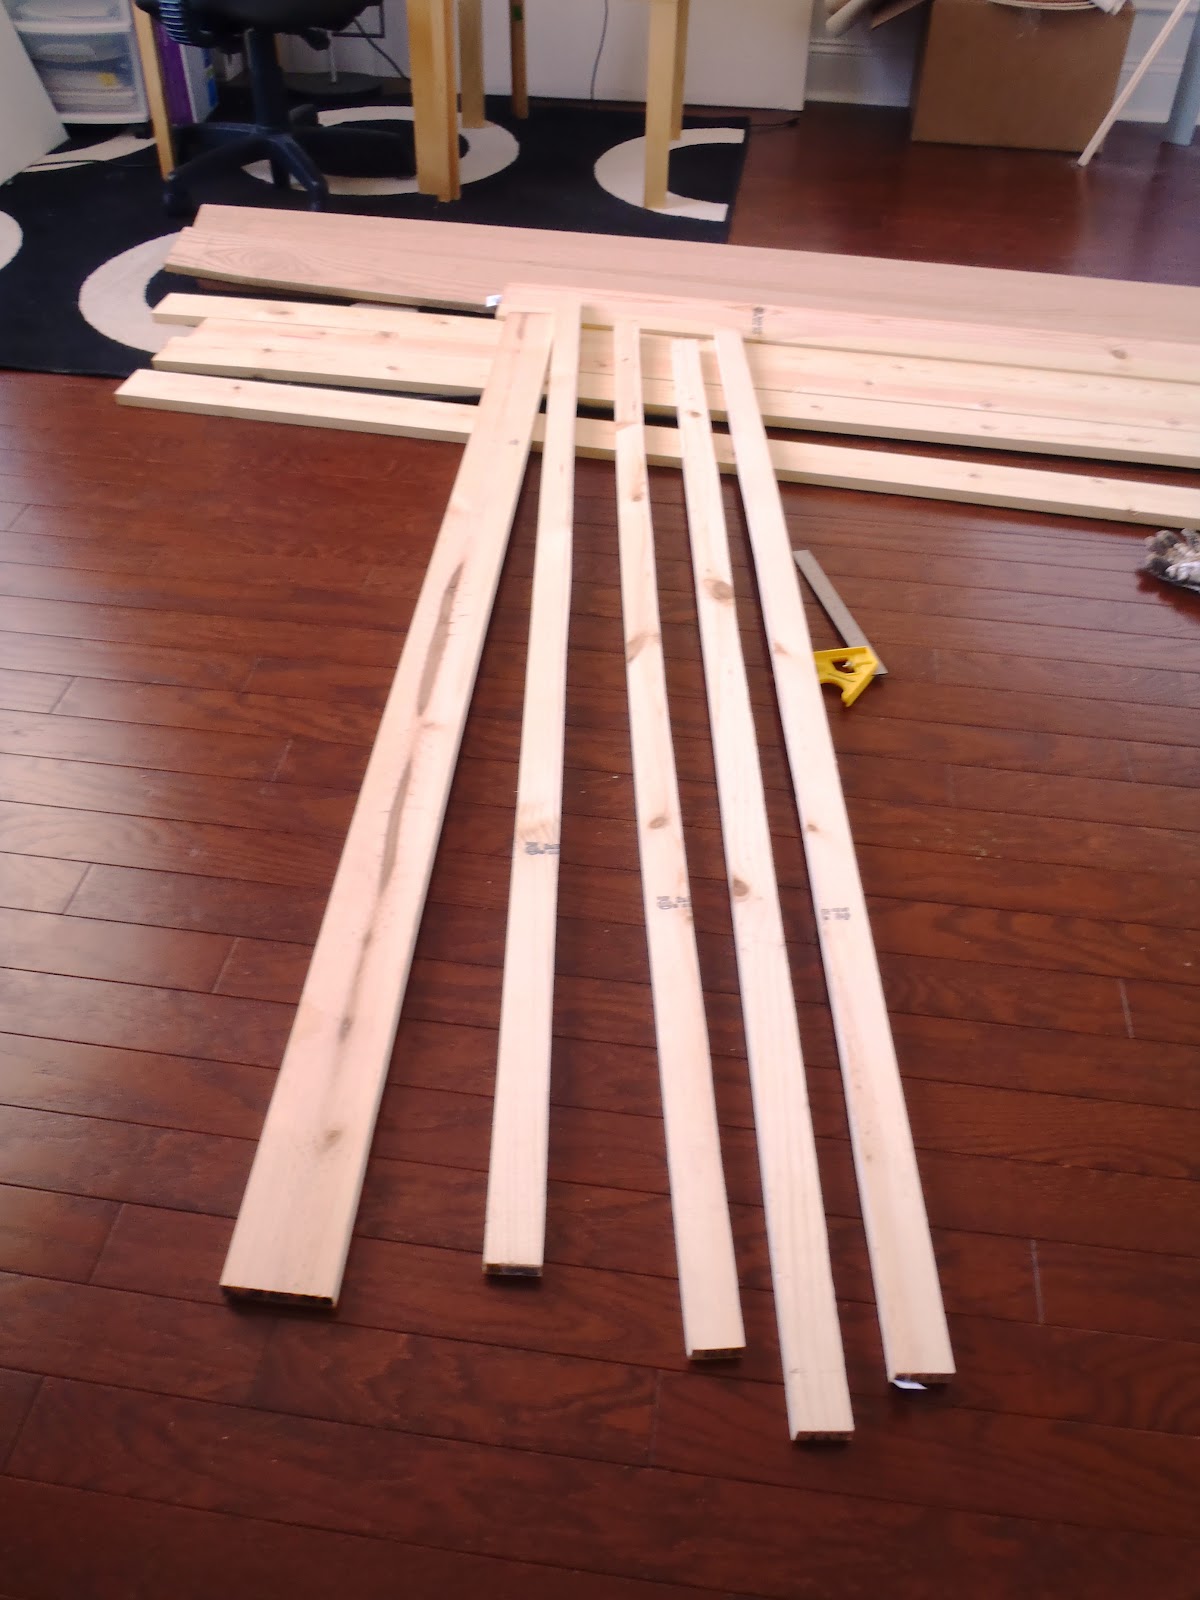
1. Prepare and cut boards using the Cut List above. 2. Position boards 7-1/2" on upper and 40" on lower apart
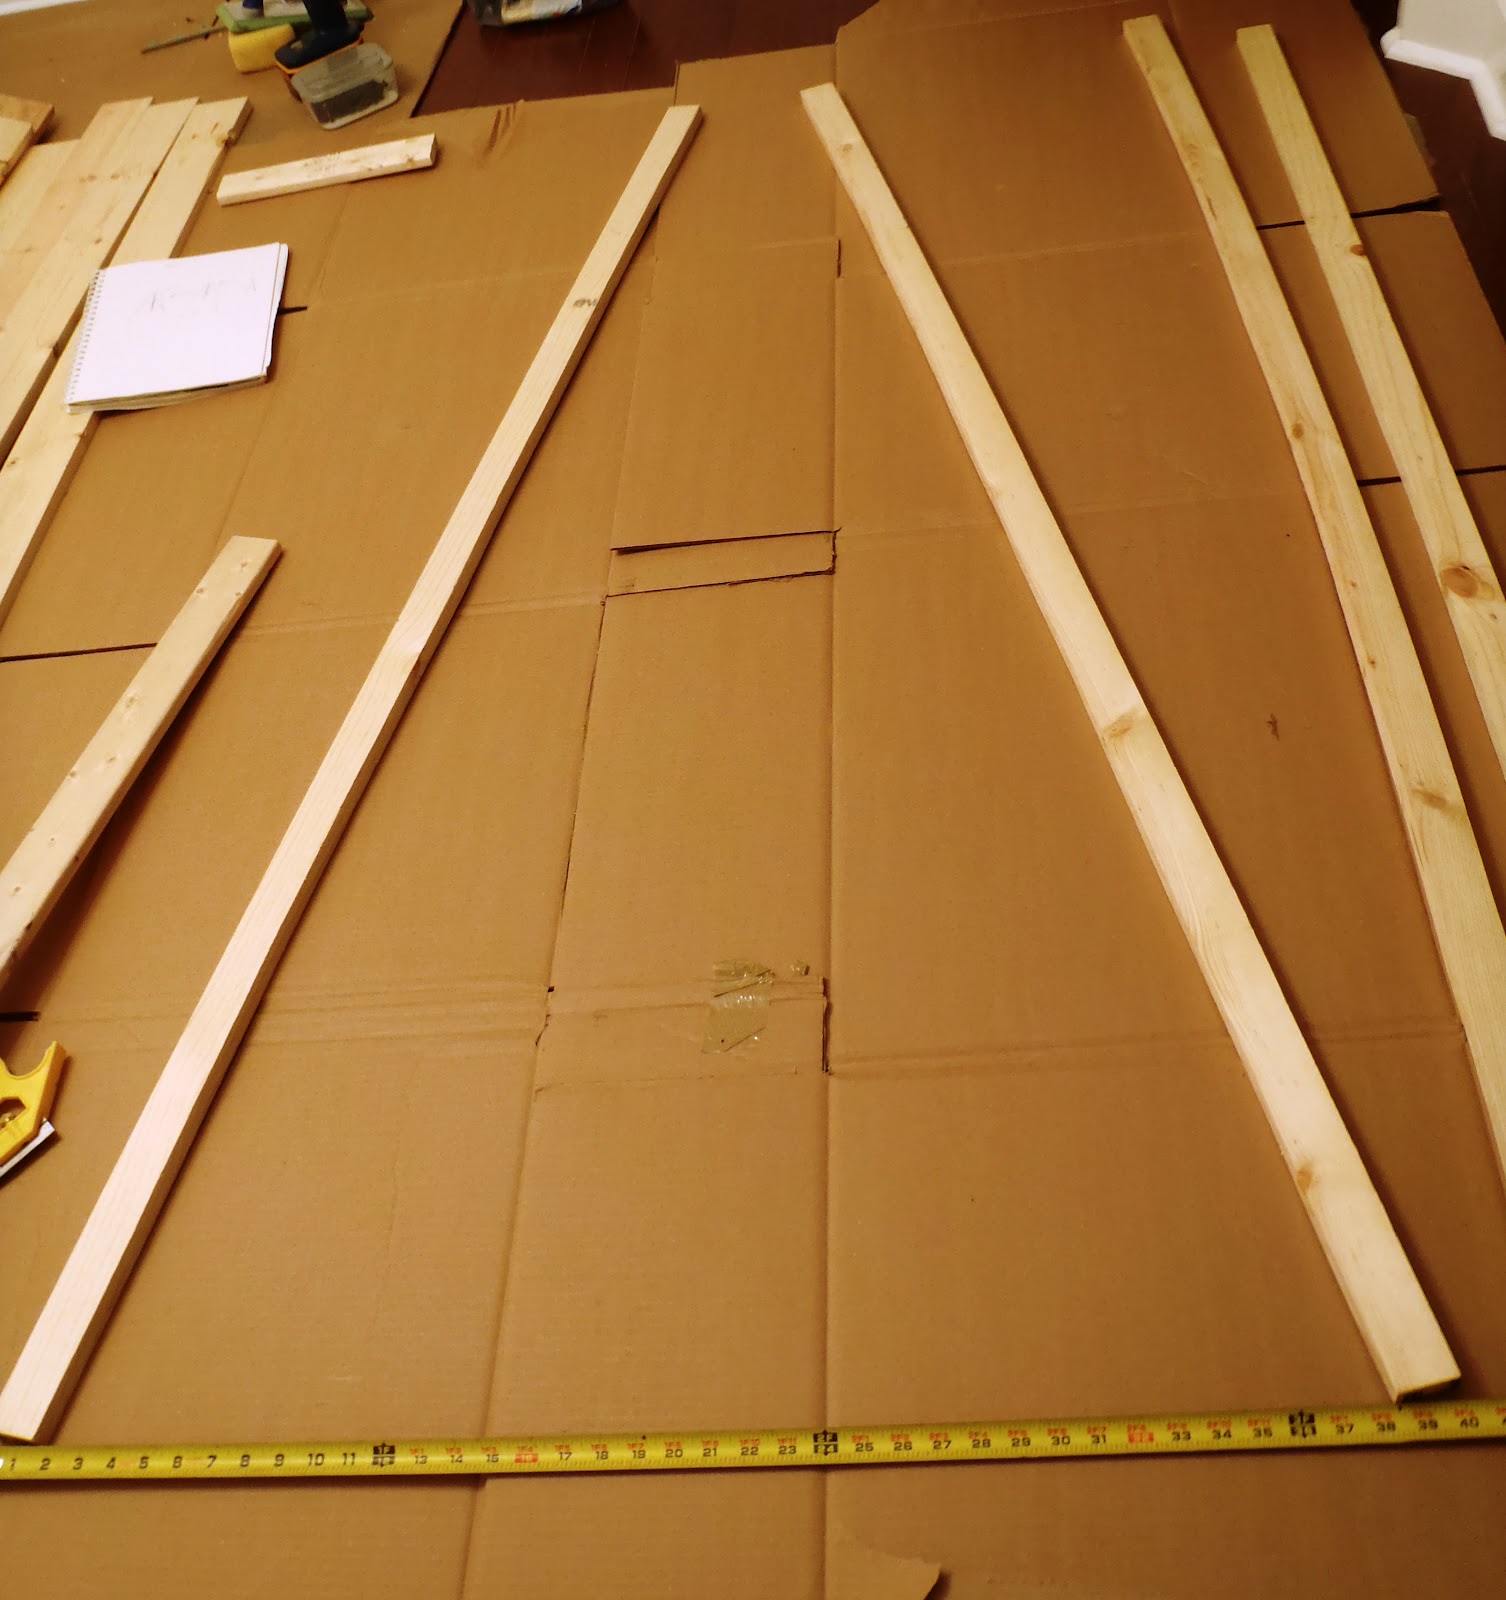
3. Position the top brace 9" from top of legs, mark. 4. Trim excess sides. It should look like this.


5. Attach the 2"X2" pieces as shown.

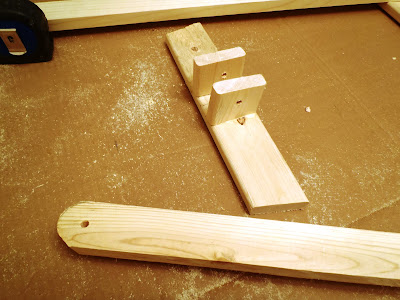
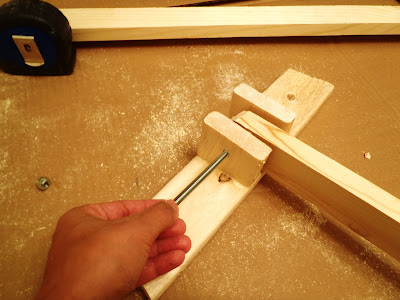
7. Align and insert bolt.
Pin It