I've been buying all my canvas from the craft stores and yeah, they are downright expensive! I always use the 40% coupon when buying one but still very hurtful to my pocket.
Lately, I've been painting more often than I used to, so, I decided to stretch my own.
Reasons why from now on, I am NOT gonna buy my pre-stretched canvas ever again.
- My favorite thing, lower expense! - because I DIY it, I eliminate the labor and profit added on the store bought canvas.
- I can customized my own canvas size - the prestretched canvas are in standard sizes making it difficult to find one that fit exactly to the display area (and they don't carry real big canvases).
- Making/stretching your own canvas is as easy as pie!
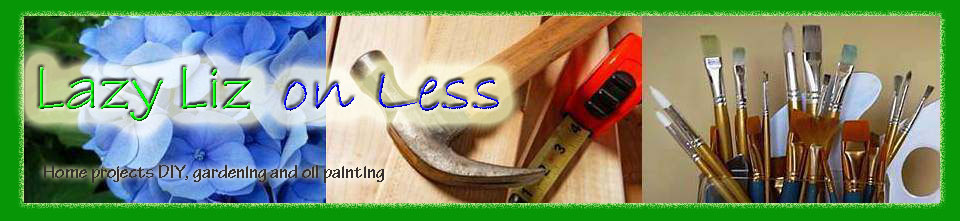
1. Select furring strips that are in good condition to save a bunch. Measure and cut to the desired length
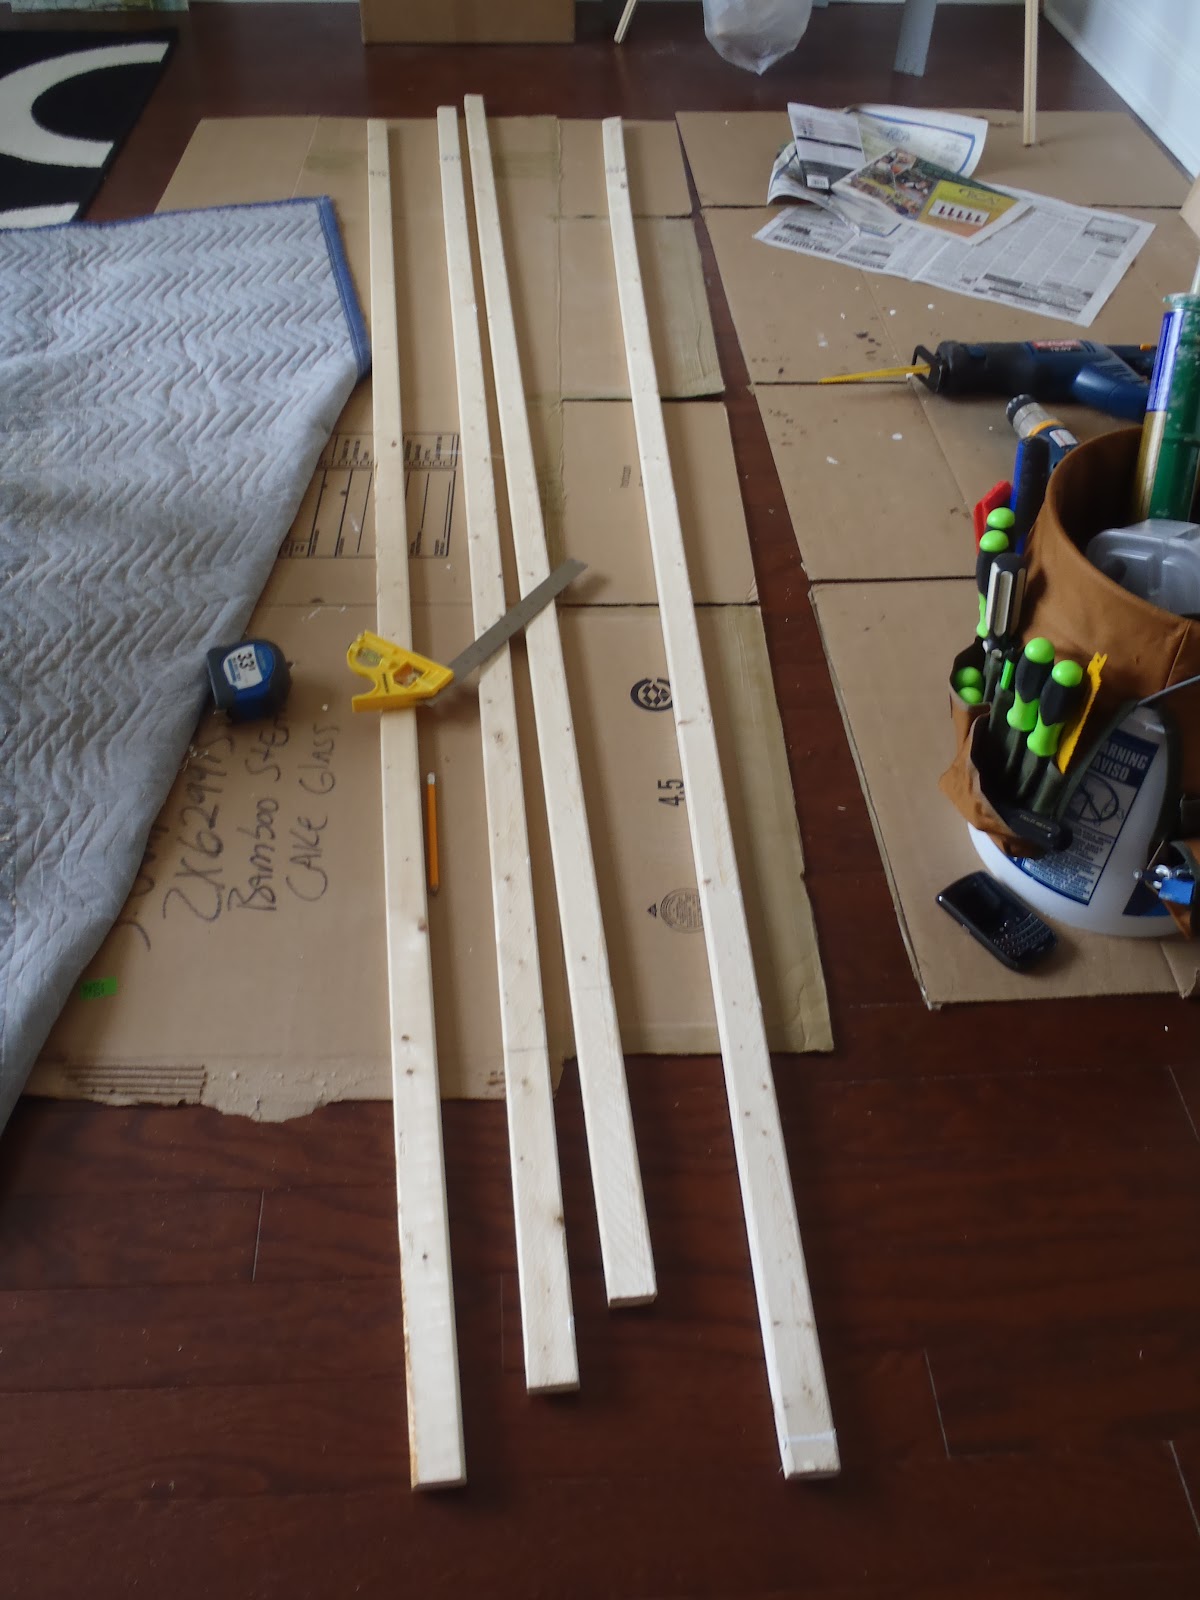
2. Bevel one side so inside edge line won't show when covered with canvas fabric.I would use a plane if I have one.
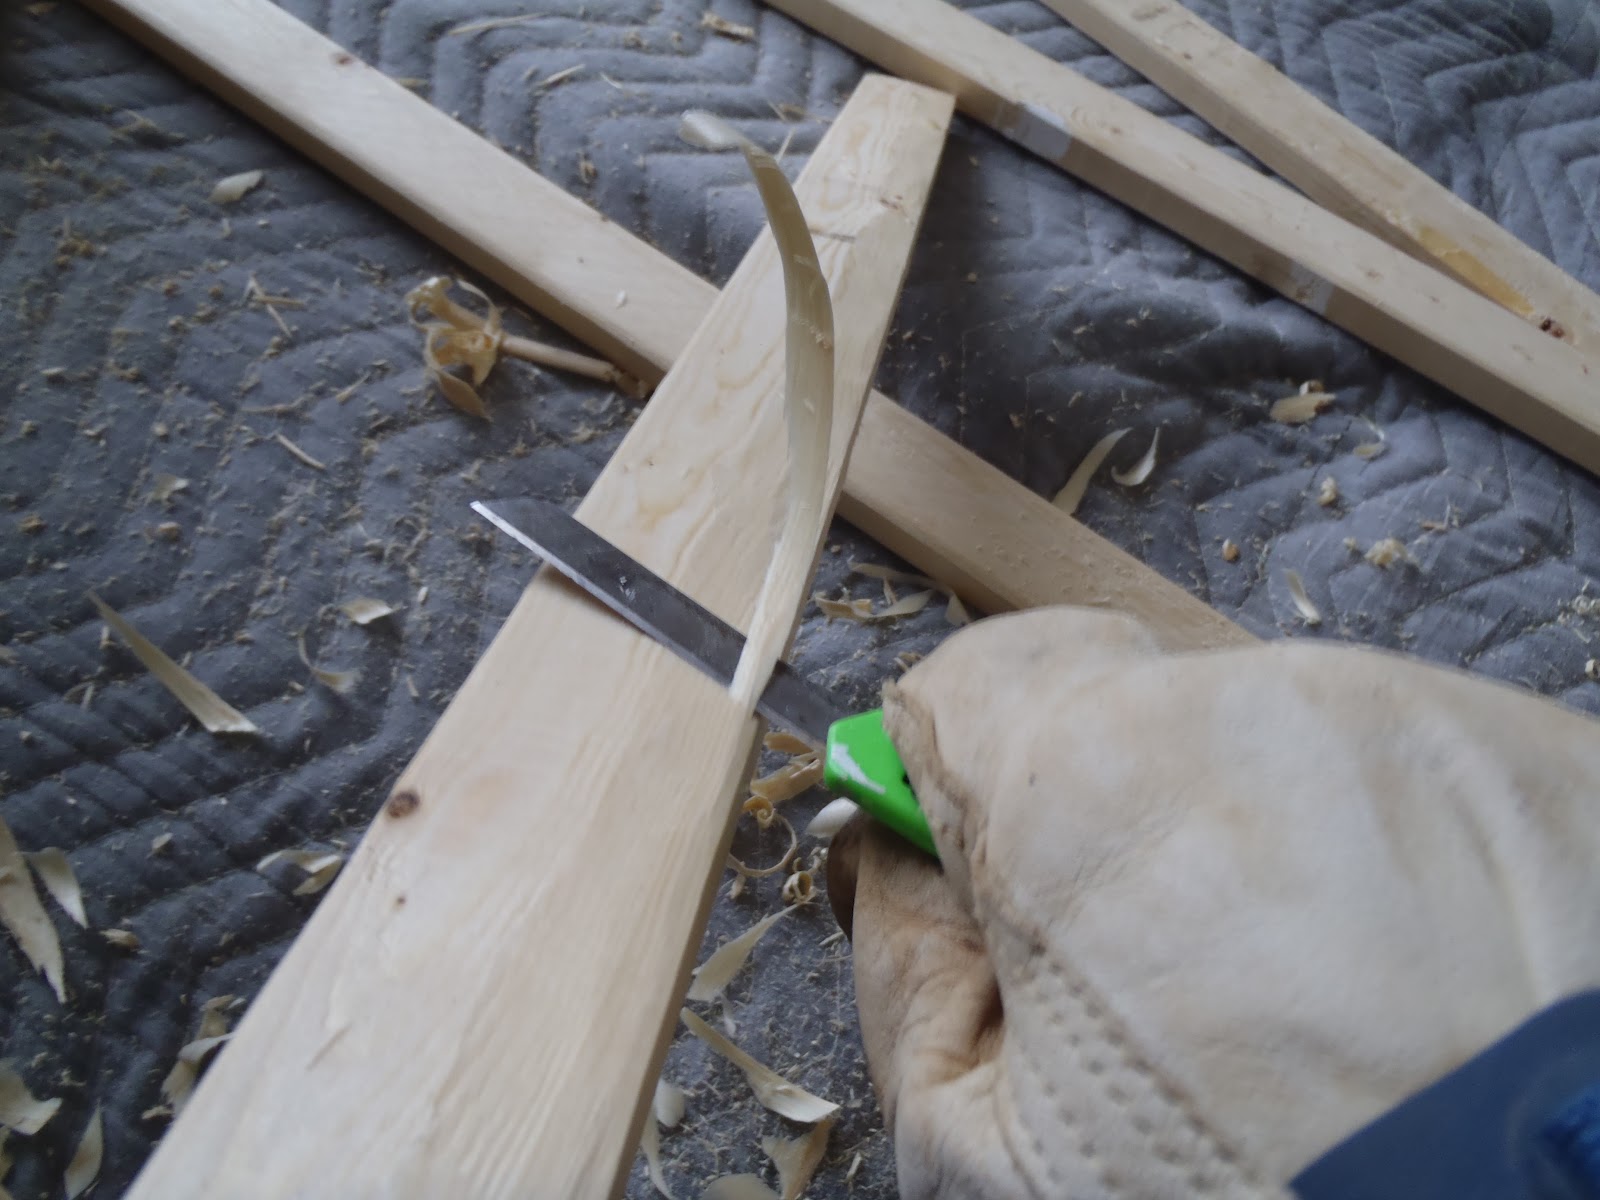
3. Sand for smoother side (since I used utility knife).
4. Using a kreg jig, make pocket holes (tongue and groove or mortise and tenon are even better if you can make them easily).
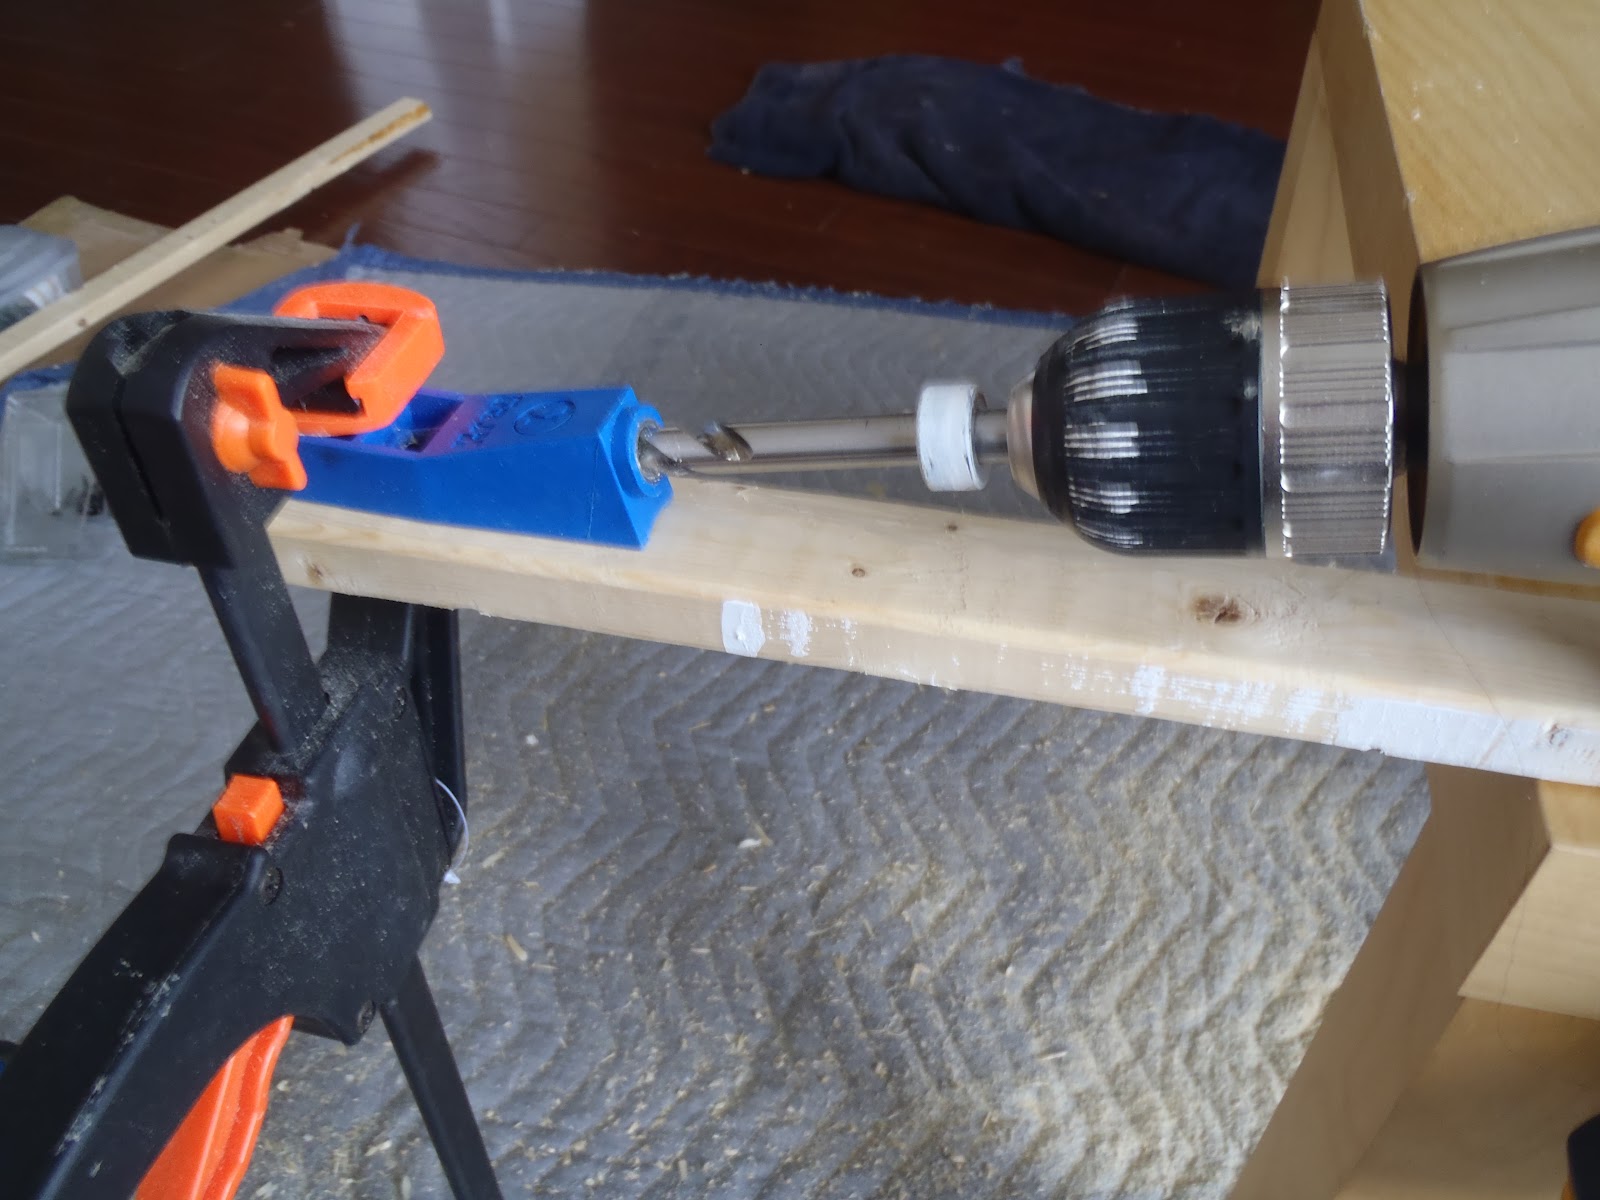
5. Attach and make the frame using wood glue and pocket hole screw.
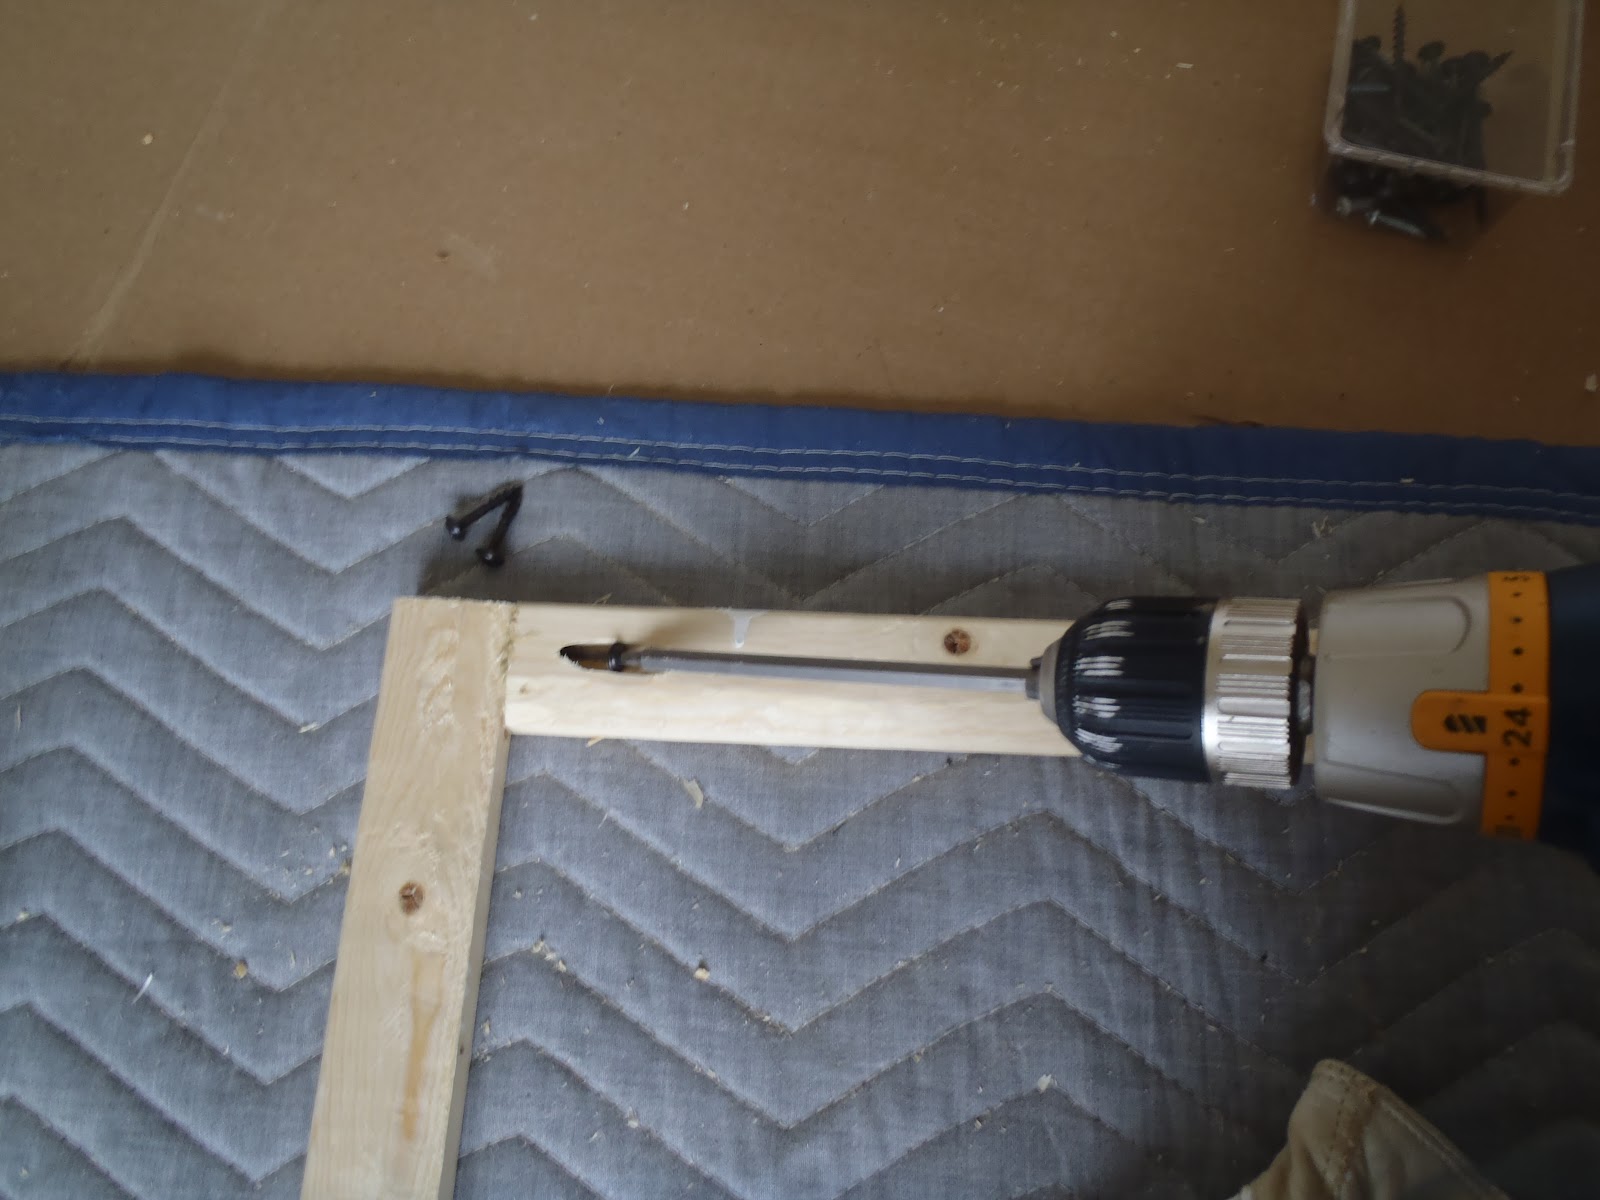
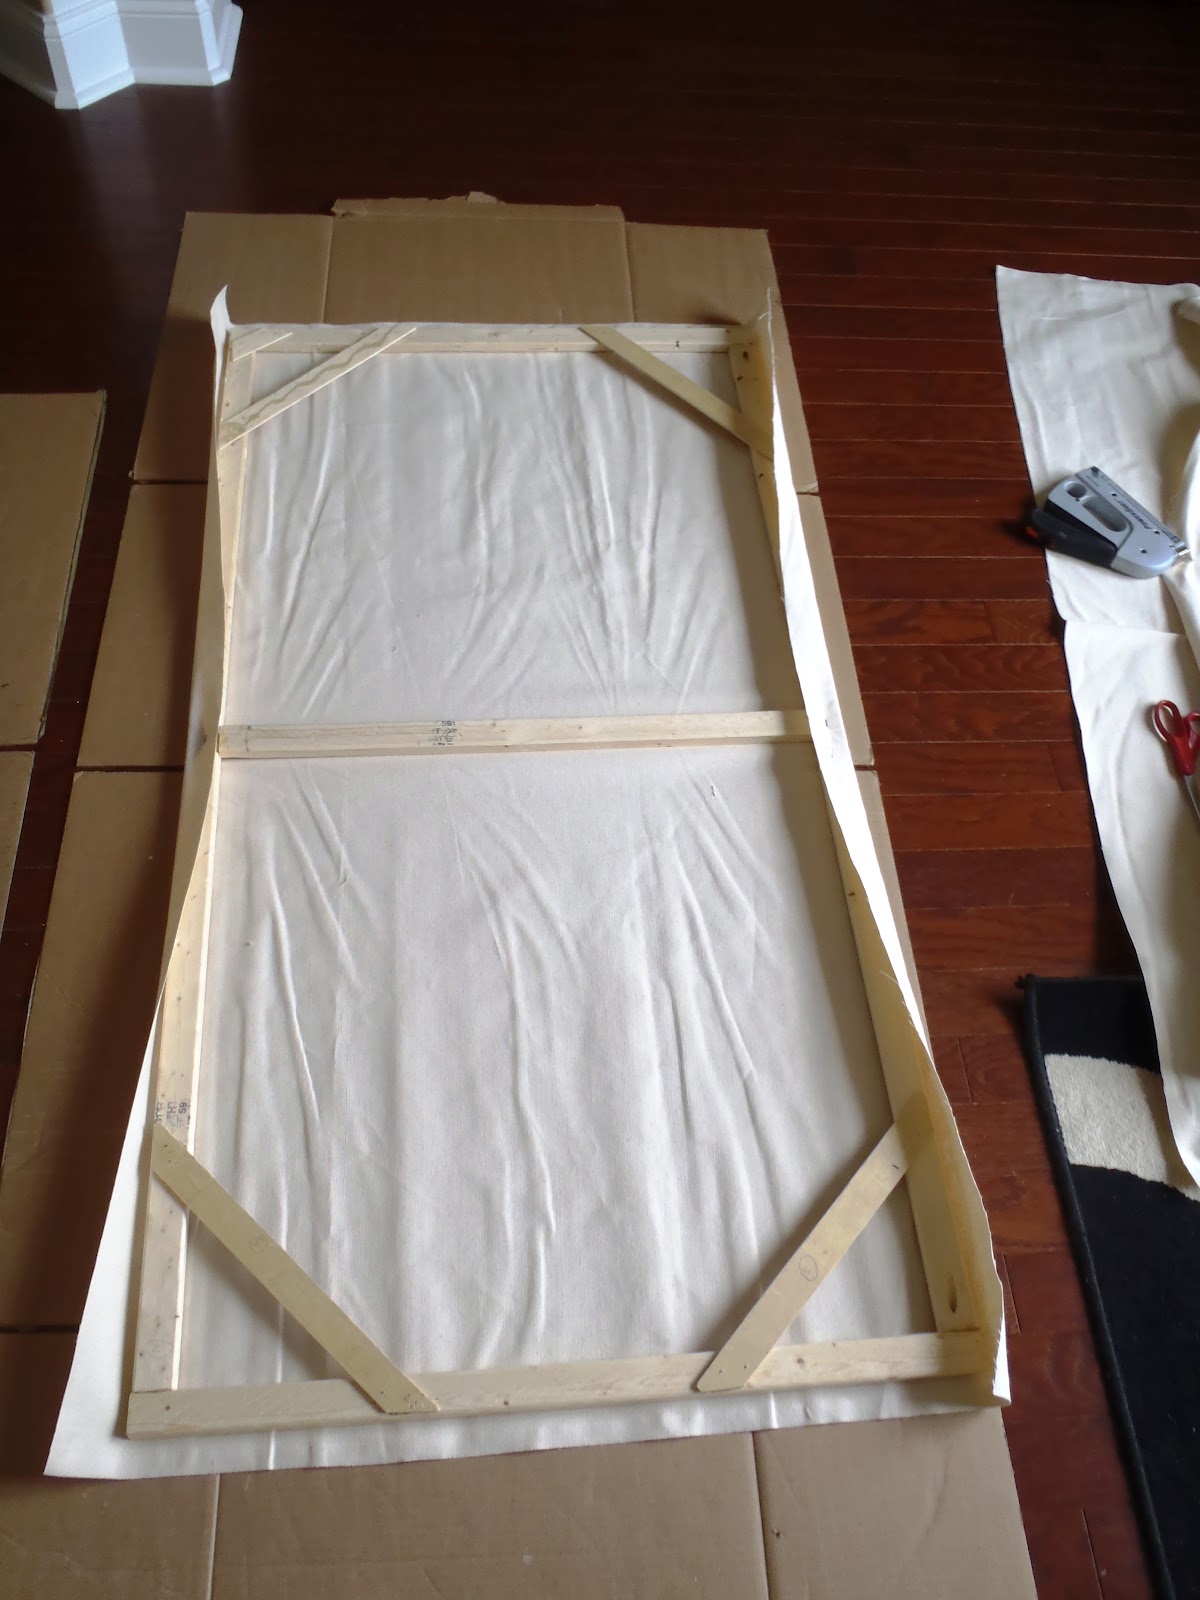
6. I added a middle and corner supports since I am making a big canvas (30"X60").

7. Measure and cut the canvas fabric (making sure there's enough fabric to wrap around my frame)

8. Tucker/staple the fabric in the middle of the longest side first, stretch as tight as possible. Then stretch the other middle side as shown.
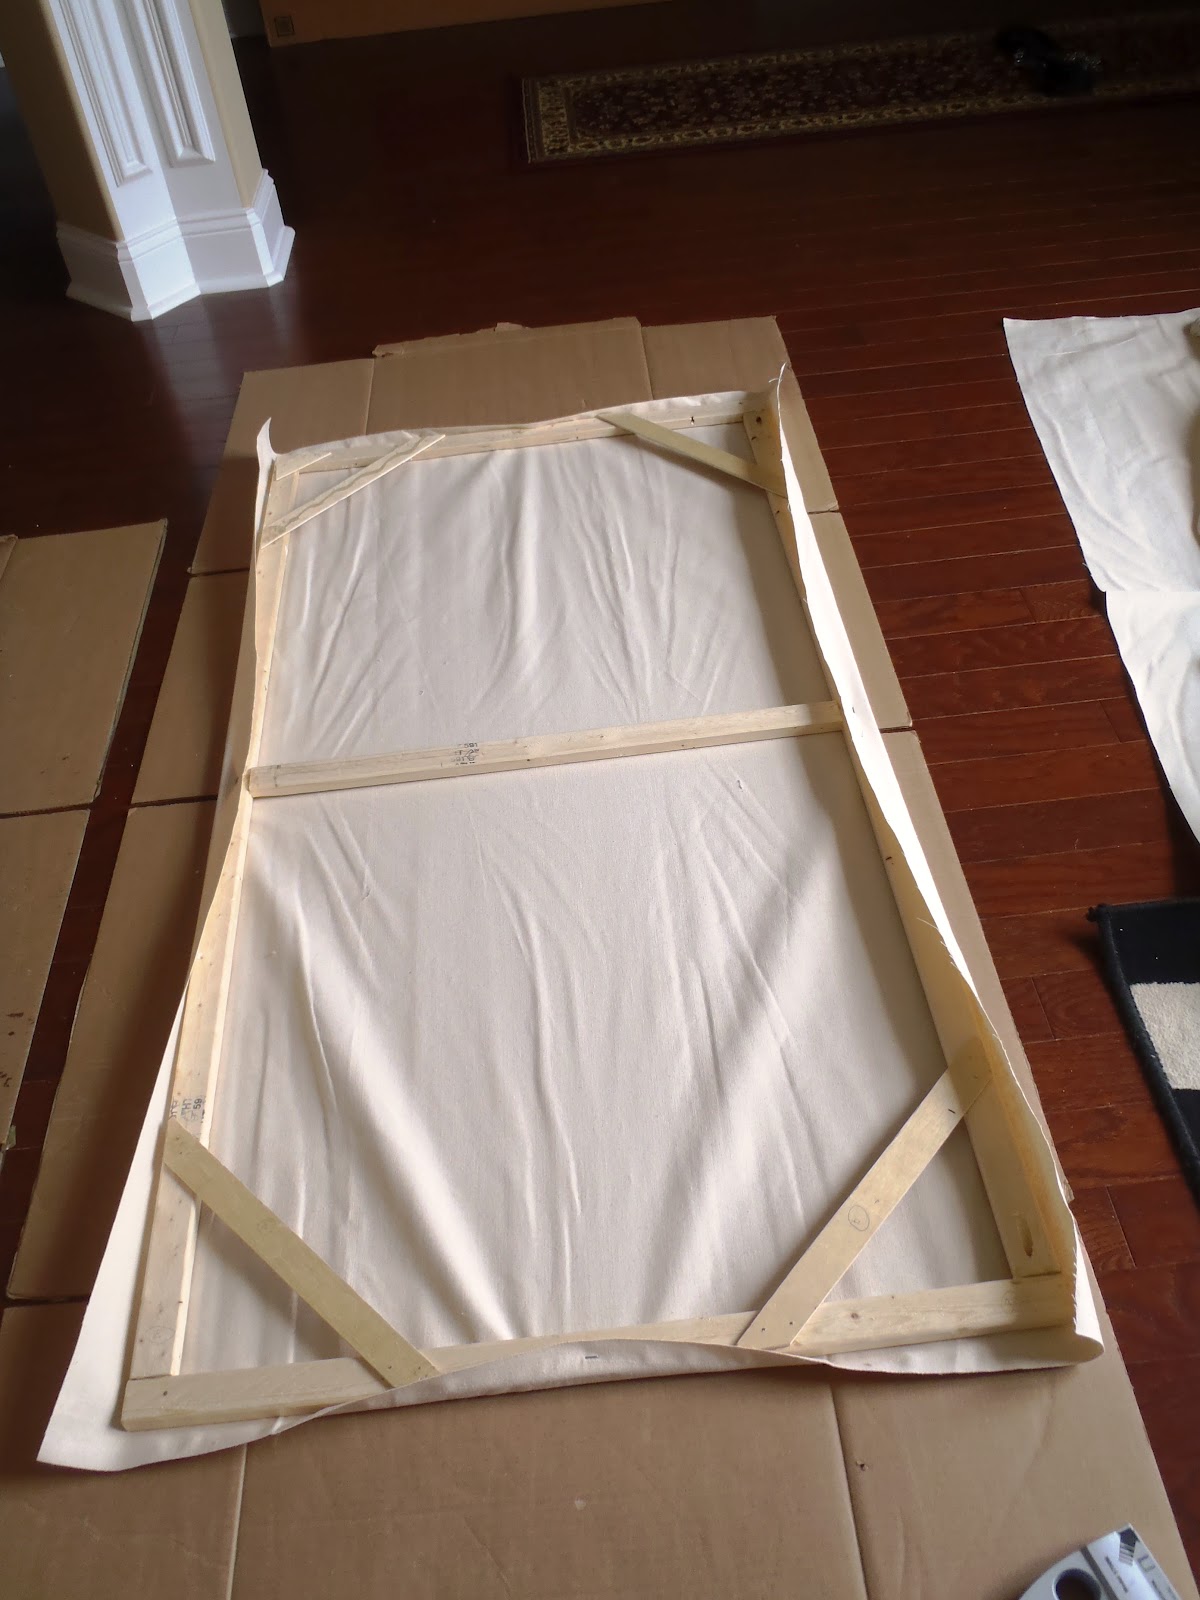
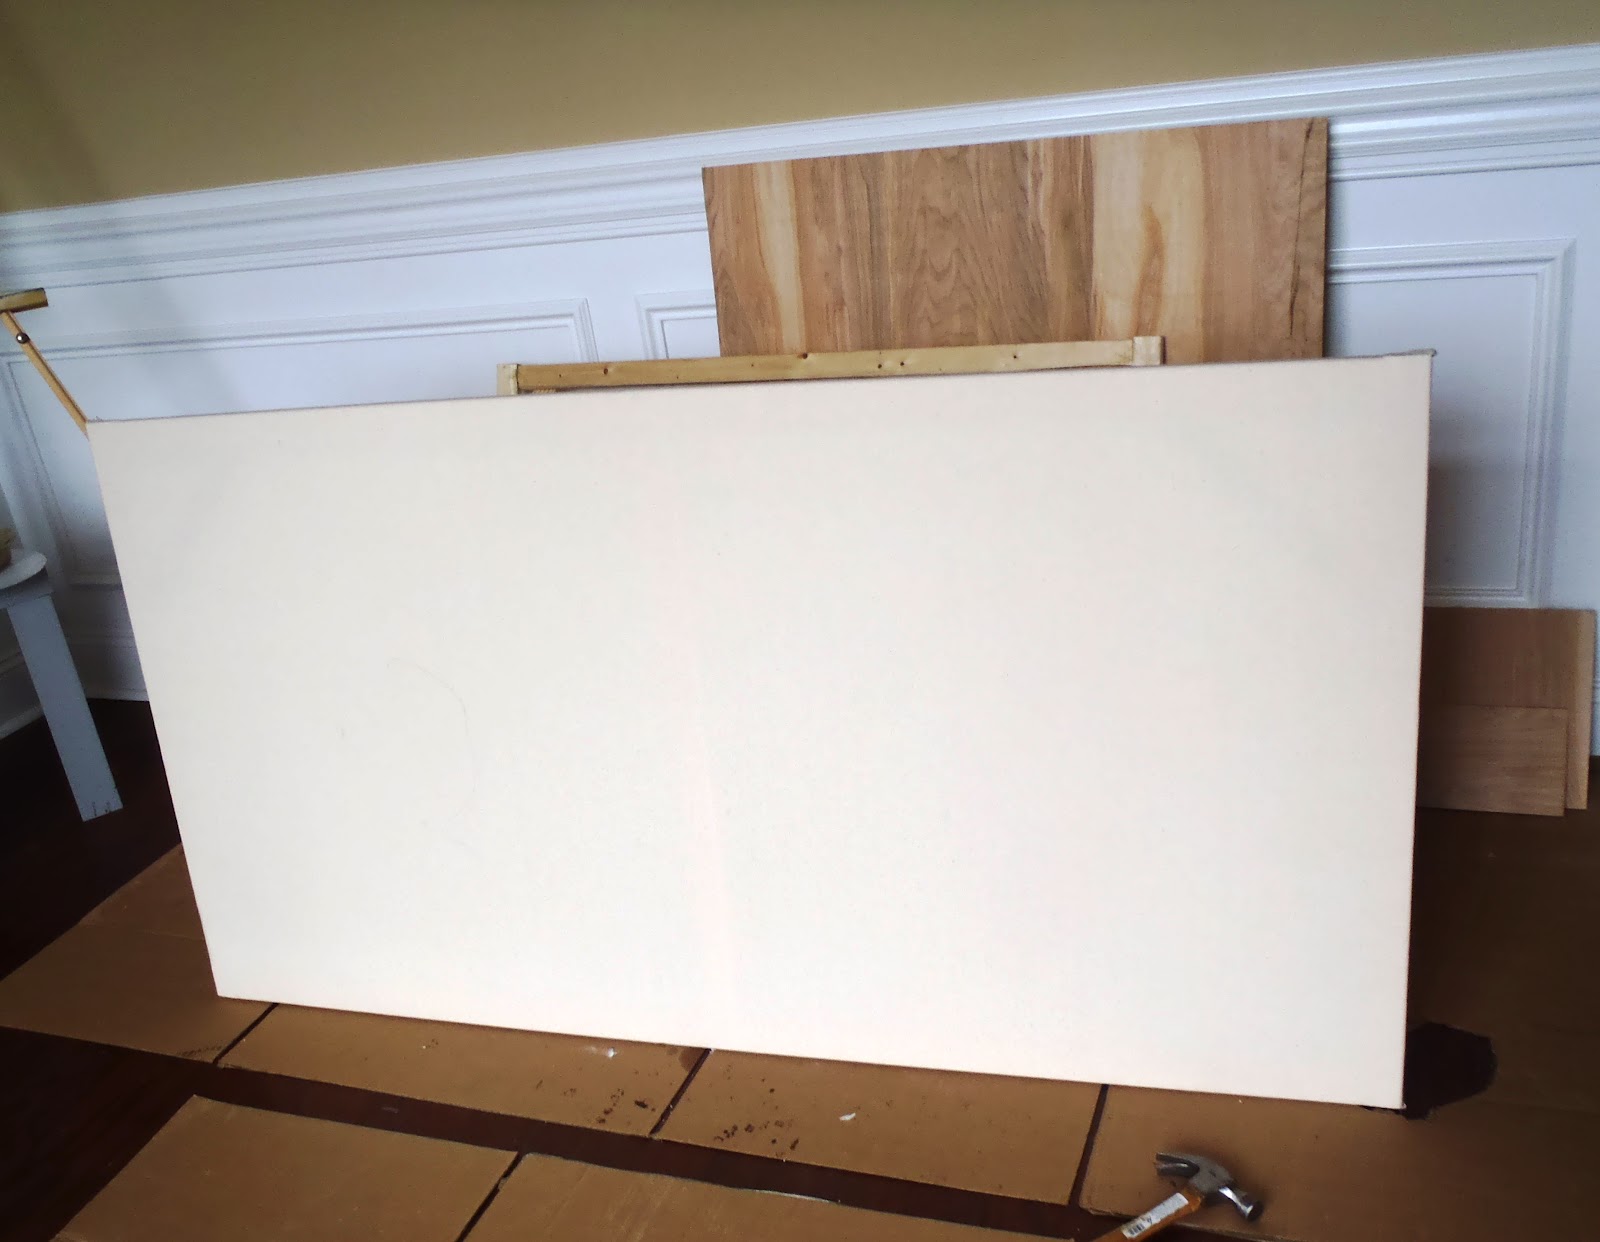
9. Finish stapling the fabric working from the middle towards the corner while stretching it as tight as possible to produce a wrinkle-free stretched like this.

10. Gesso the fabric horizontally then vertically to make sure the fabric gets entirely and evenly covered.
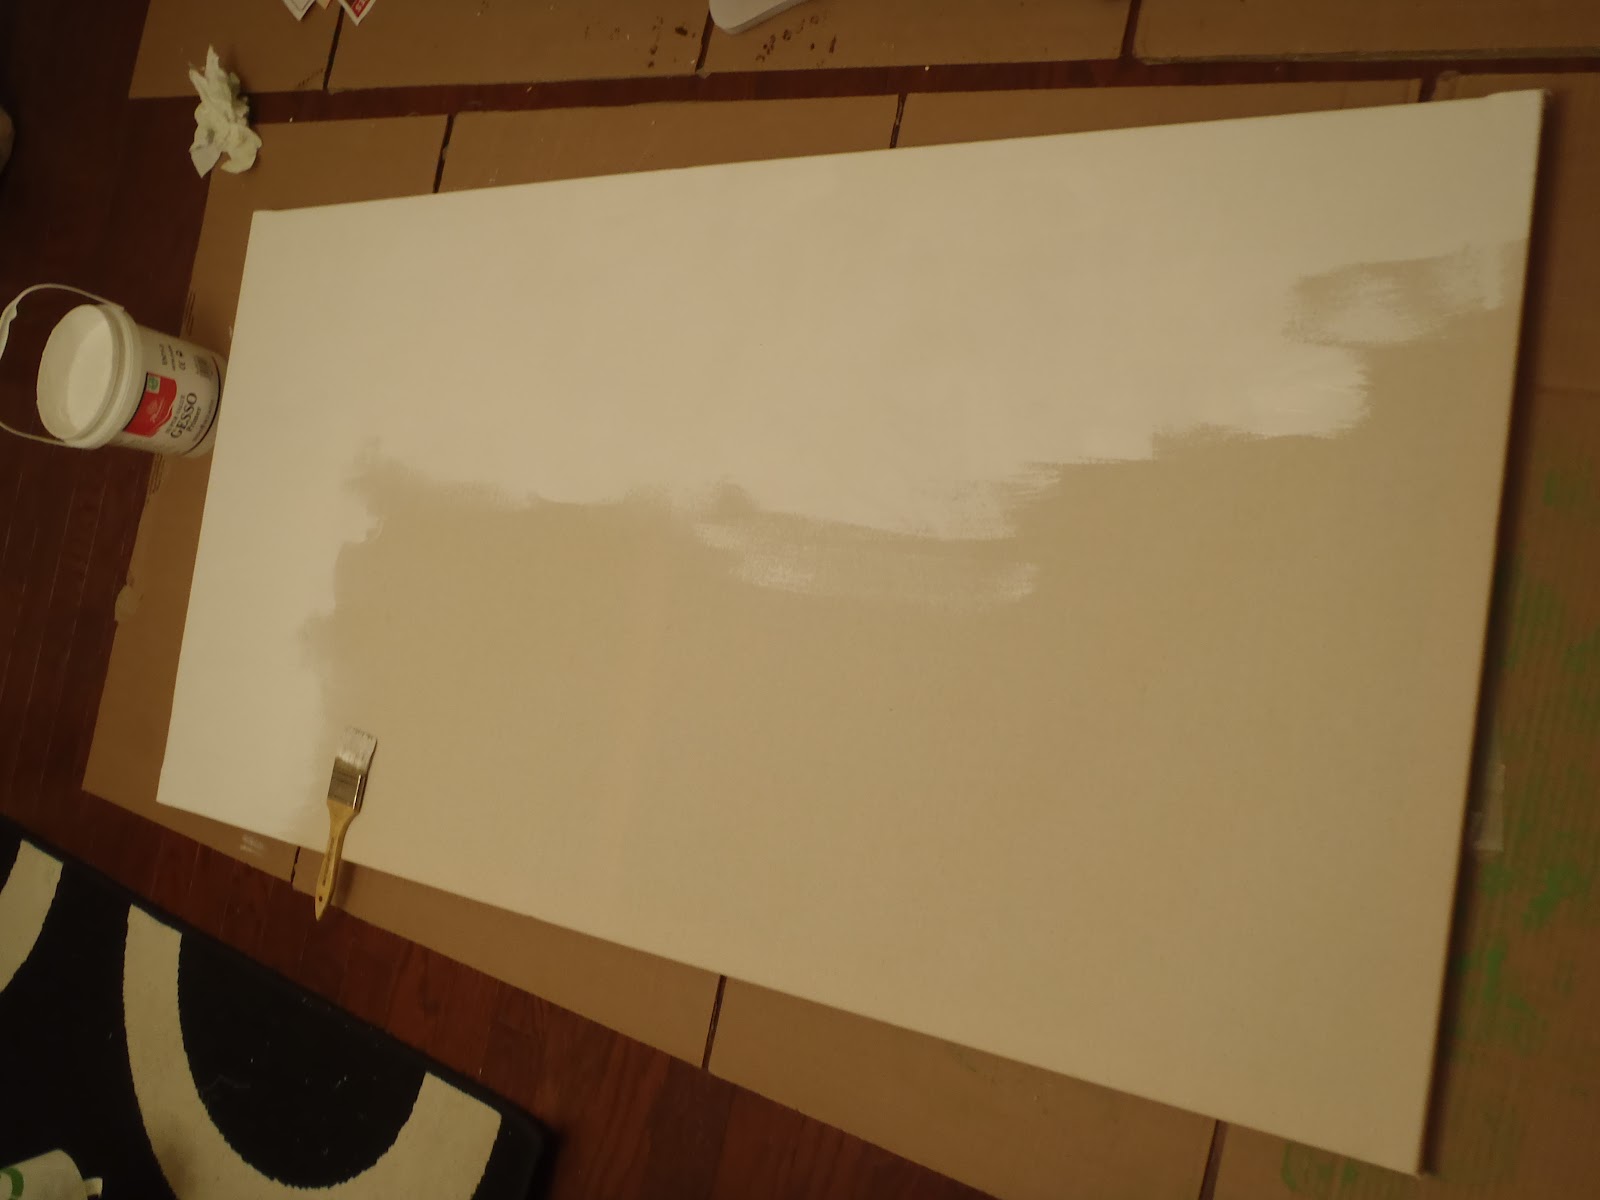
11. Let it dry, then sand and coat a second layer. Let it completely dry.
Done! no ka-ching! ka-ching!..so HAPPY PAINTING! :-)
Pin It
Great Idea and very clear step-by-step instructions--Can't wait to see what you paint on this canvas!
ReplyDeleteWall art with bold visual impact large canvas
ReplyDelete