Showing posts with label Thrifting. Show all posts

Monday, February 20, 2012

Cut your lumber price to 50 % or more

I did! and better quality too. How? I went local.

Since I know I will be building more furniture, I decided to shop local. Well, I always try to go local first if I can, the only problem, local shops don't have everything. But, things like gardening stuff and local restaurants are not difficult to find.
Another thing that really got me to find local lumber store is when I was  cutting up the plywood for the back cover of my entertainment center when I noticed the SKU tag with "made in China" in it. I was flabbergasted! I can't believe that even plywoods we used here in the US were made and shipped from China. In my mind, US have more trees than China, or?... do we ship our trees to China so they can make plywood that get shipped back and sold in the US? That's a lot of shipping if you ask me.
Oh well, there's nothing I can do about that but, I know I can buy my lumber locally.

So, I did!

I found this nice retired couple who are hobbyist. They cut, mill and dry their own lumber and some that they sell for half the price of lumber from big box home improvement stores. Even better, their woods are first class, kiln dried hardwoods.

And, their kiln is solar!
So now, I'm not just reducing the transportation environmental impact but also using solar as energy.

Their barn made of entirely poplar they milled 15 years ago.
With free range chickens!
Running away from my camera :-)
Two of their 12 cows came and see me.
Feeding sweet Six ( her name)
..and Three also came to get some treats from me.
Chickens, cows (Six and Three) and two donkeys came to show off  :-)
Sadie is soooo sweet! she allowed me to pet her as long as I want!
...and Nibbler, I think I know where her name came from, because she likes to nibble my fingers when I was petting her, she too is sooo sweet!


Sadie and Nibbler made me want to have donkeys one day!

Me and my husband had a great time, not to mention we got our first class lumbers really cheap! 
 
Sooo... 

If you are like me who likes doing woodworking, I suggest you find someone who owns small sawmill locally (if you hadn't done it already). Not only you're supporting your local community economy but you are reducing the environmental impact caused by the transportation of lumber by the nationally/internationally owned businesses.
  
Why buy local?

1. Several studies have proven that when we shop at locally owned businesses, we support our local economy because more of the money are spent to other local businesses.

2. Buying local reduces environmental impact (as mentioned above) because local purchases requires less transportation. Most local businesses purchase and most of them produce/make their own products. Less transportation means  less sprawl, habitat loss and pollution.

3. Local businesses often have better customer service because they know their product better.

So folks, let's try to go local first!
Pin It

Tuesday, February 7, 2012

Stretch your own canvas...and save a bunch!

Painting is supposed to be fun, but not so much if you have to be very careful not to mess up because you just spent big bucks for that canvas.

I've been buying all my canvas from the craft stores and yeah, they are downright expensive! I always use the 40% coupon when buying one but still very hurtful to my pocket.

Lately, I've been painting more often than I used to, so, I decided to stretch my own.

Reasons why from now on, I am NOT gonna buy my pre-stretched canvas ever again.
  1. My favorite thing, lower expense! - because I DIY it, I eliminate the labor and profit added on the store bought canvas.
  2. I can customized my own canvas size - the prestretched canvas are in standard sizes making it difficult to find one that fit exactly to the display area (and they don't carry real big canvases).
  3. Making/stretching your own canvas is as easy as pie!
Here are my steps:

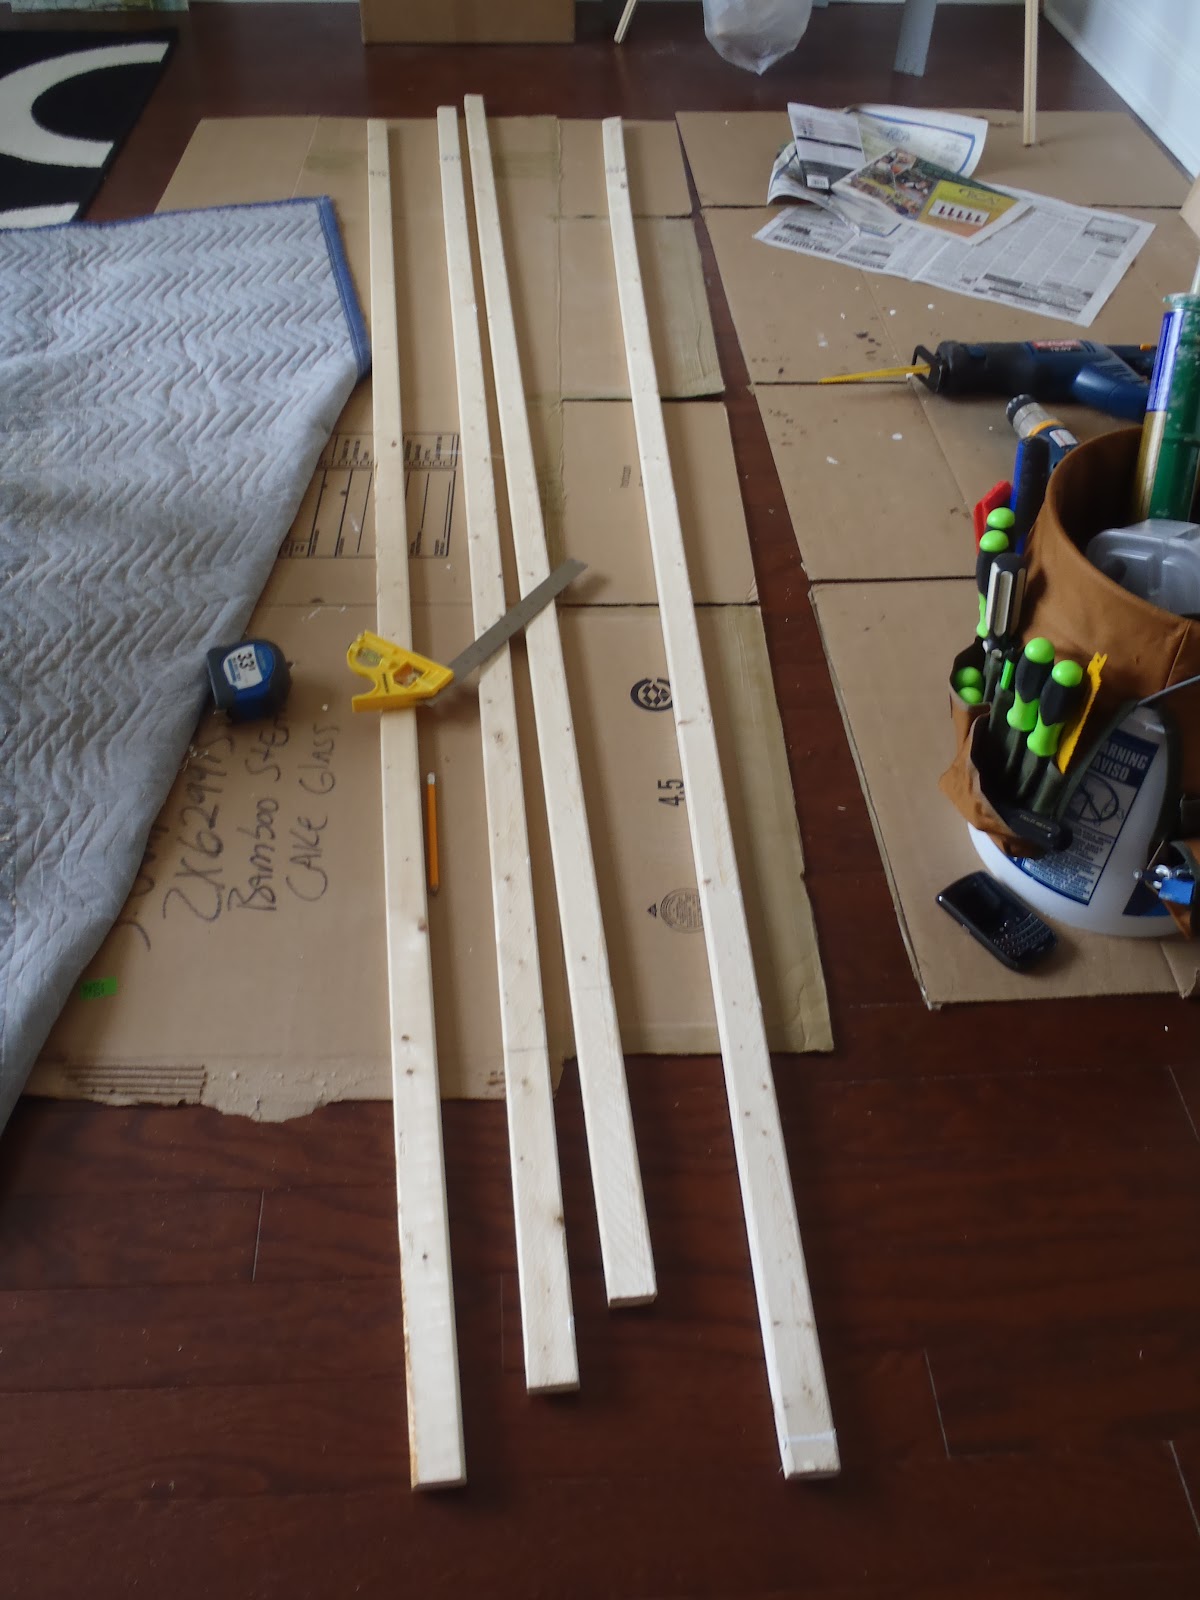
1. Select furring strips that are in good condition to save a bunch. Measure and cut to the desired length
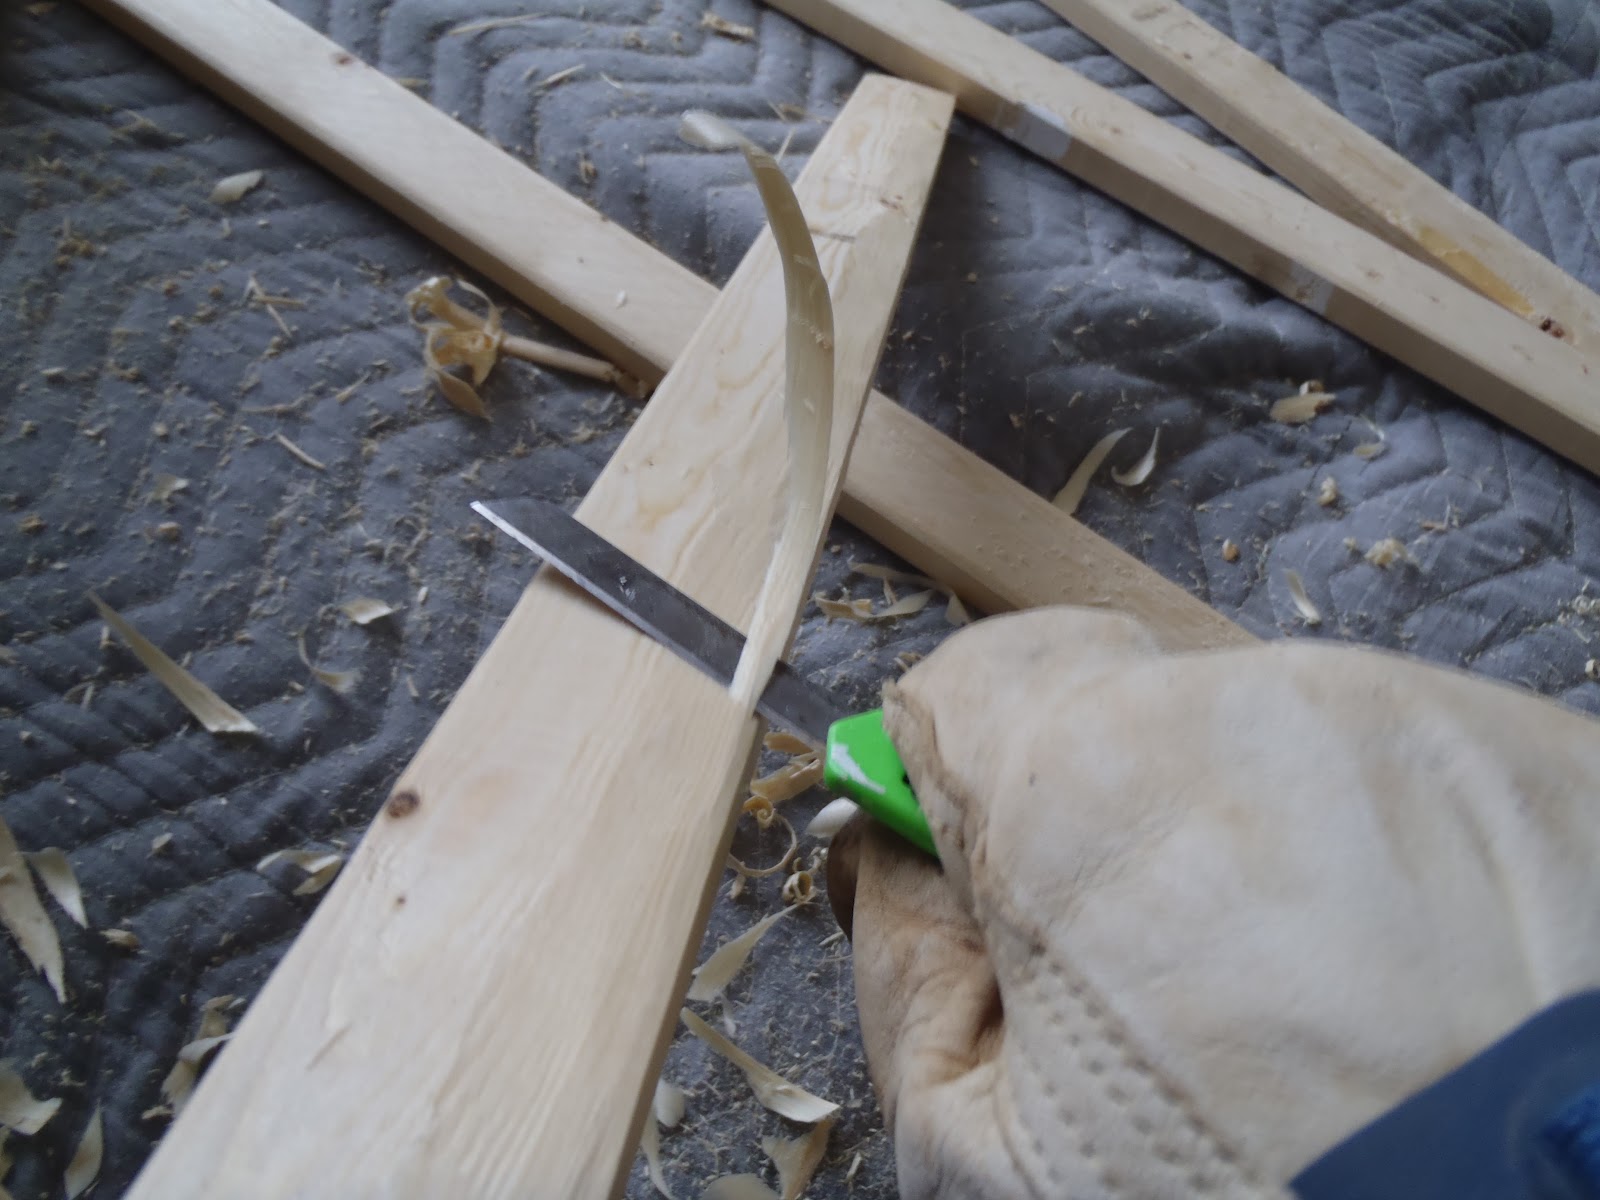
    2. Bevel one side so inside edge line won't show when covered with canvas fabric.I would use a plane if I have one.
     

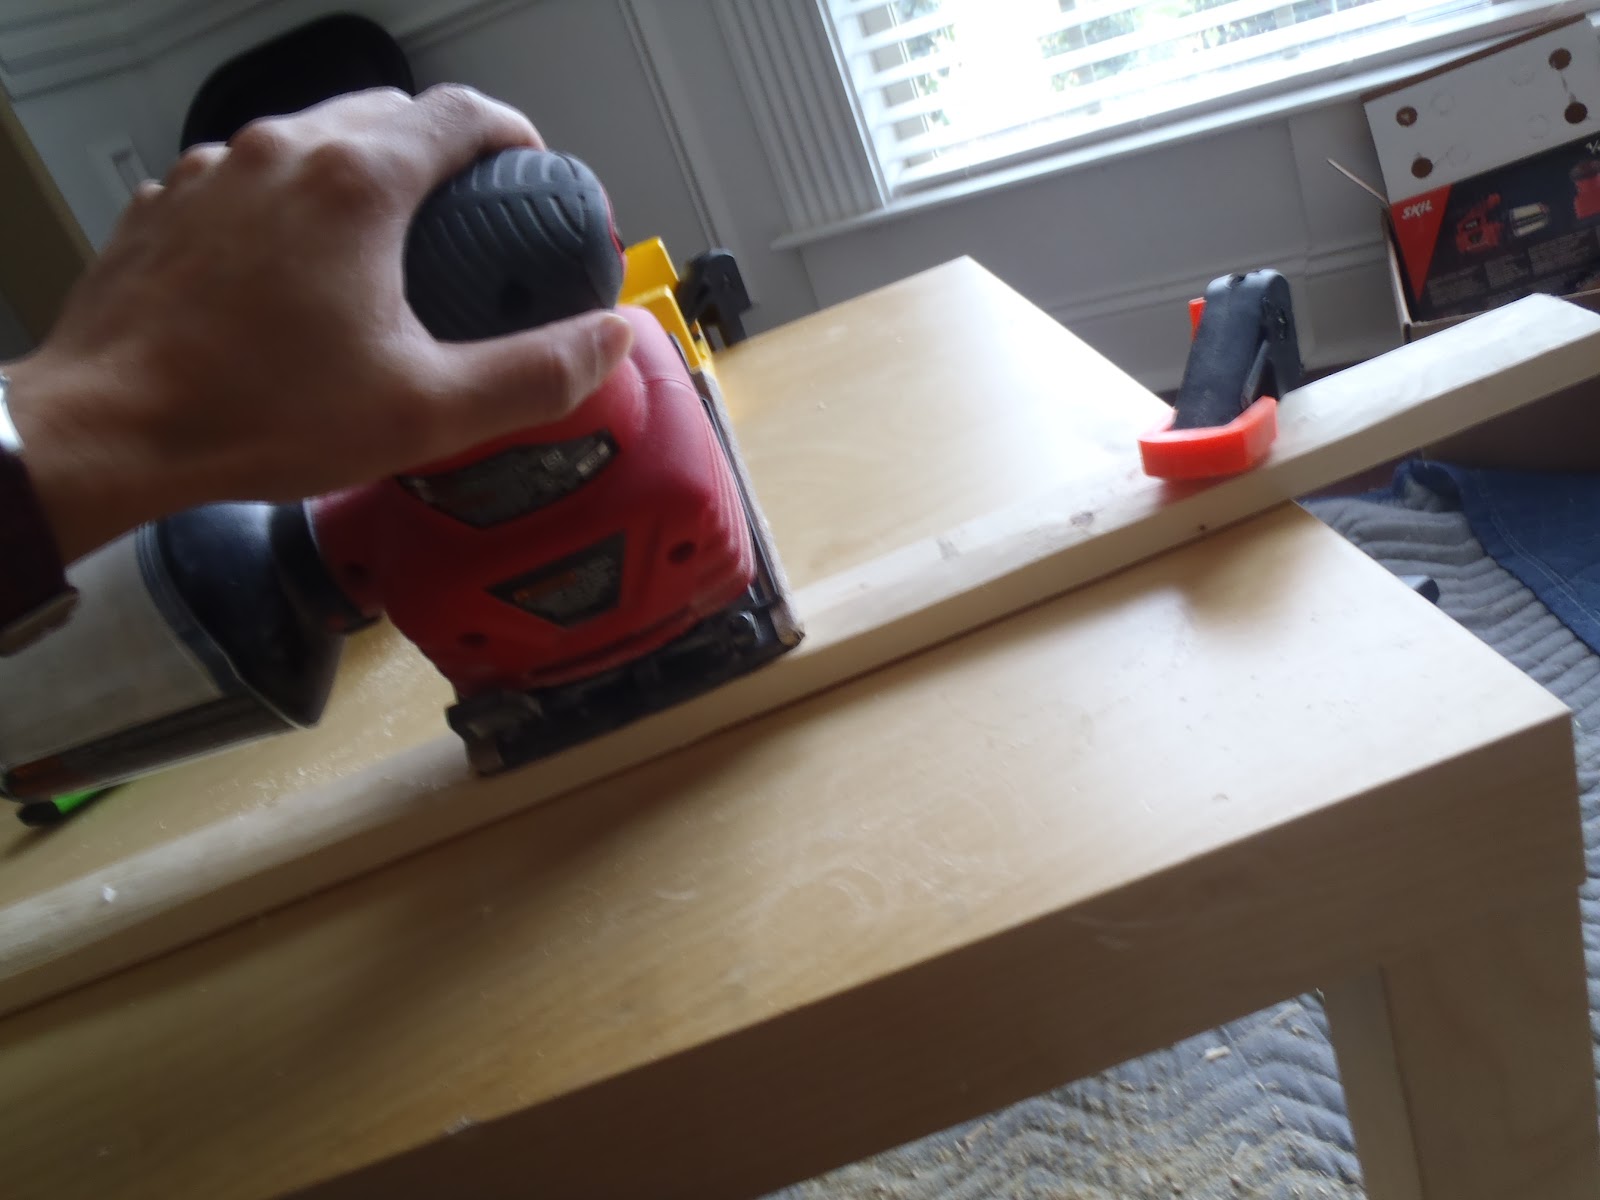
     3. Sand for smoother side (since I used utility knife).

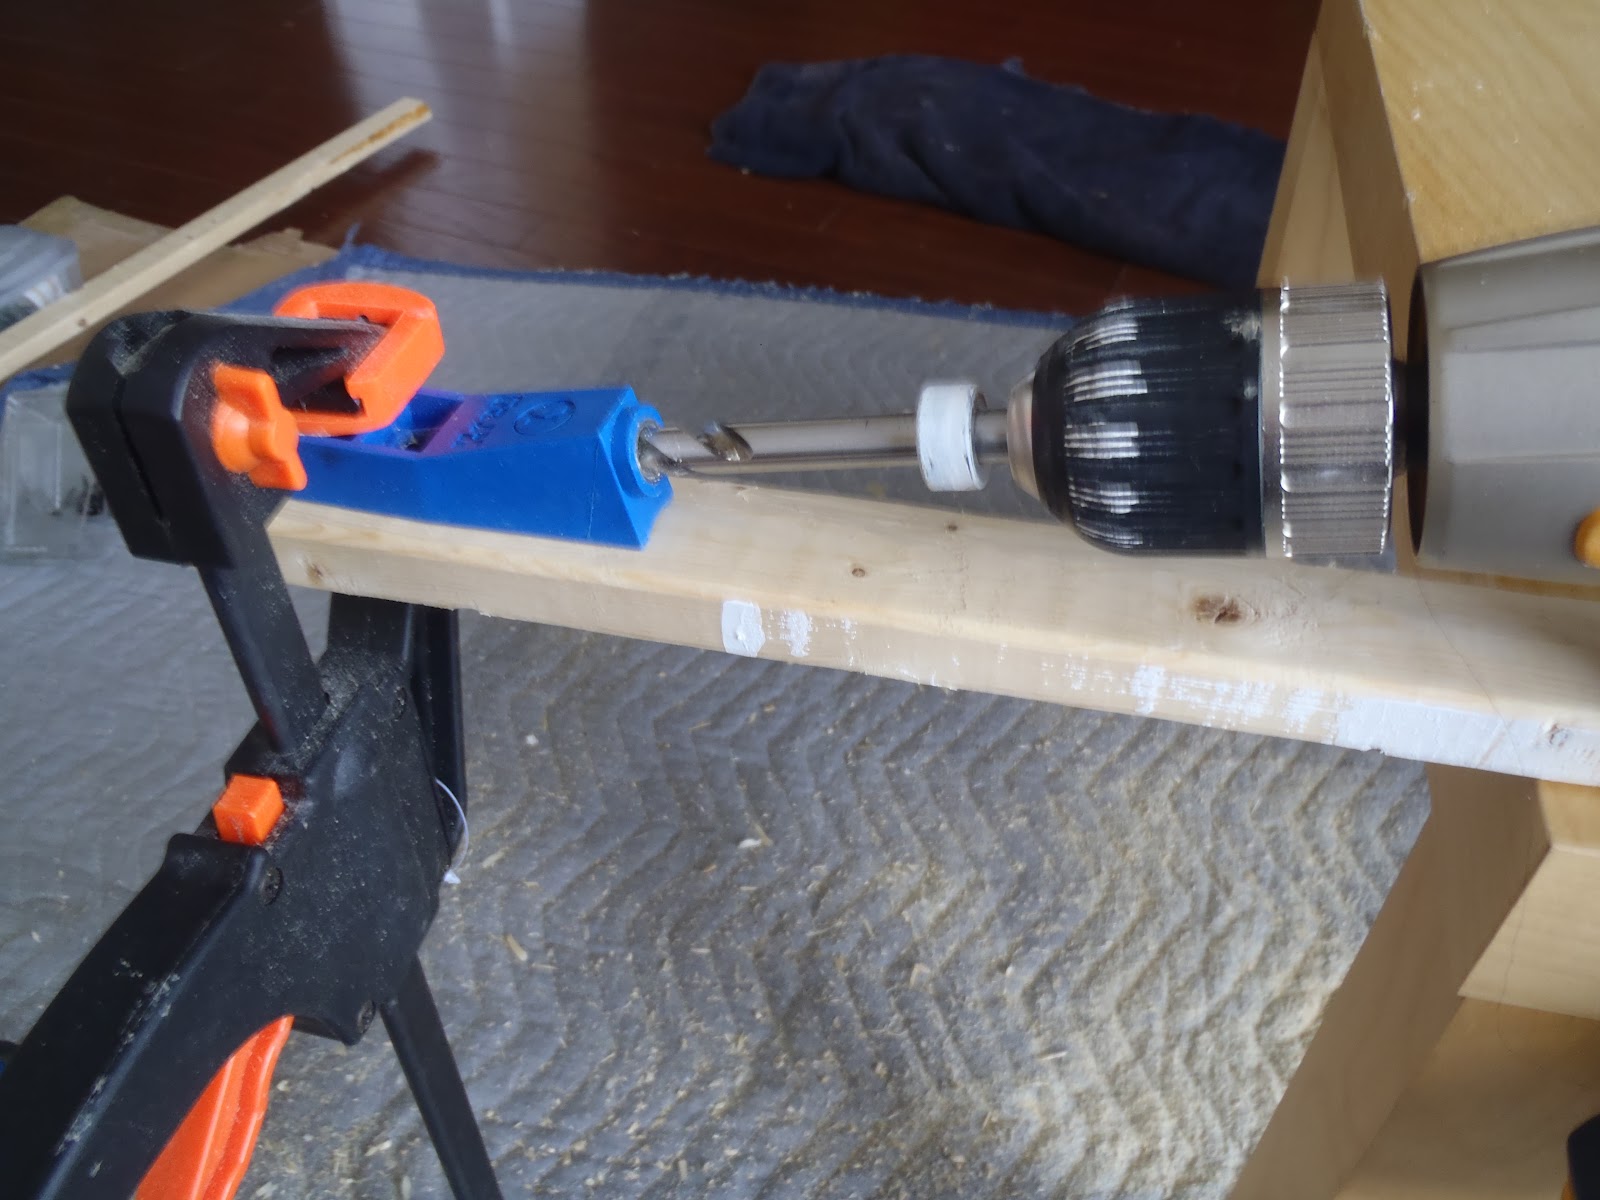
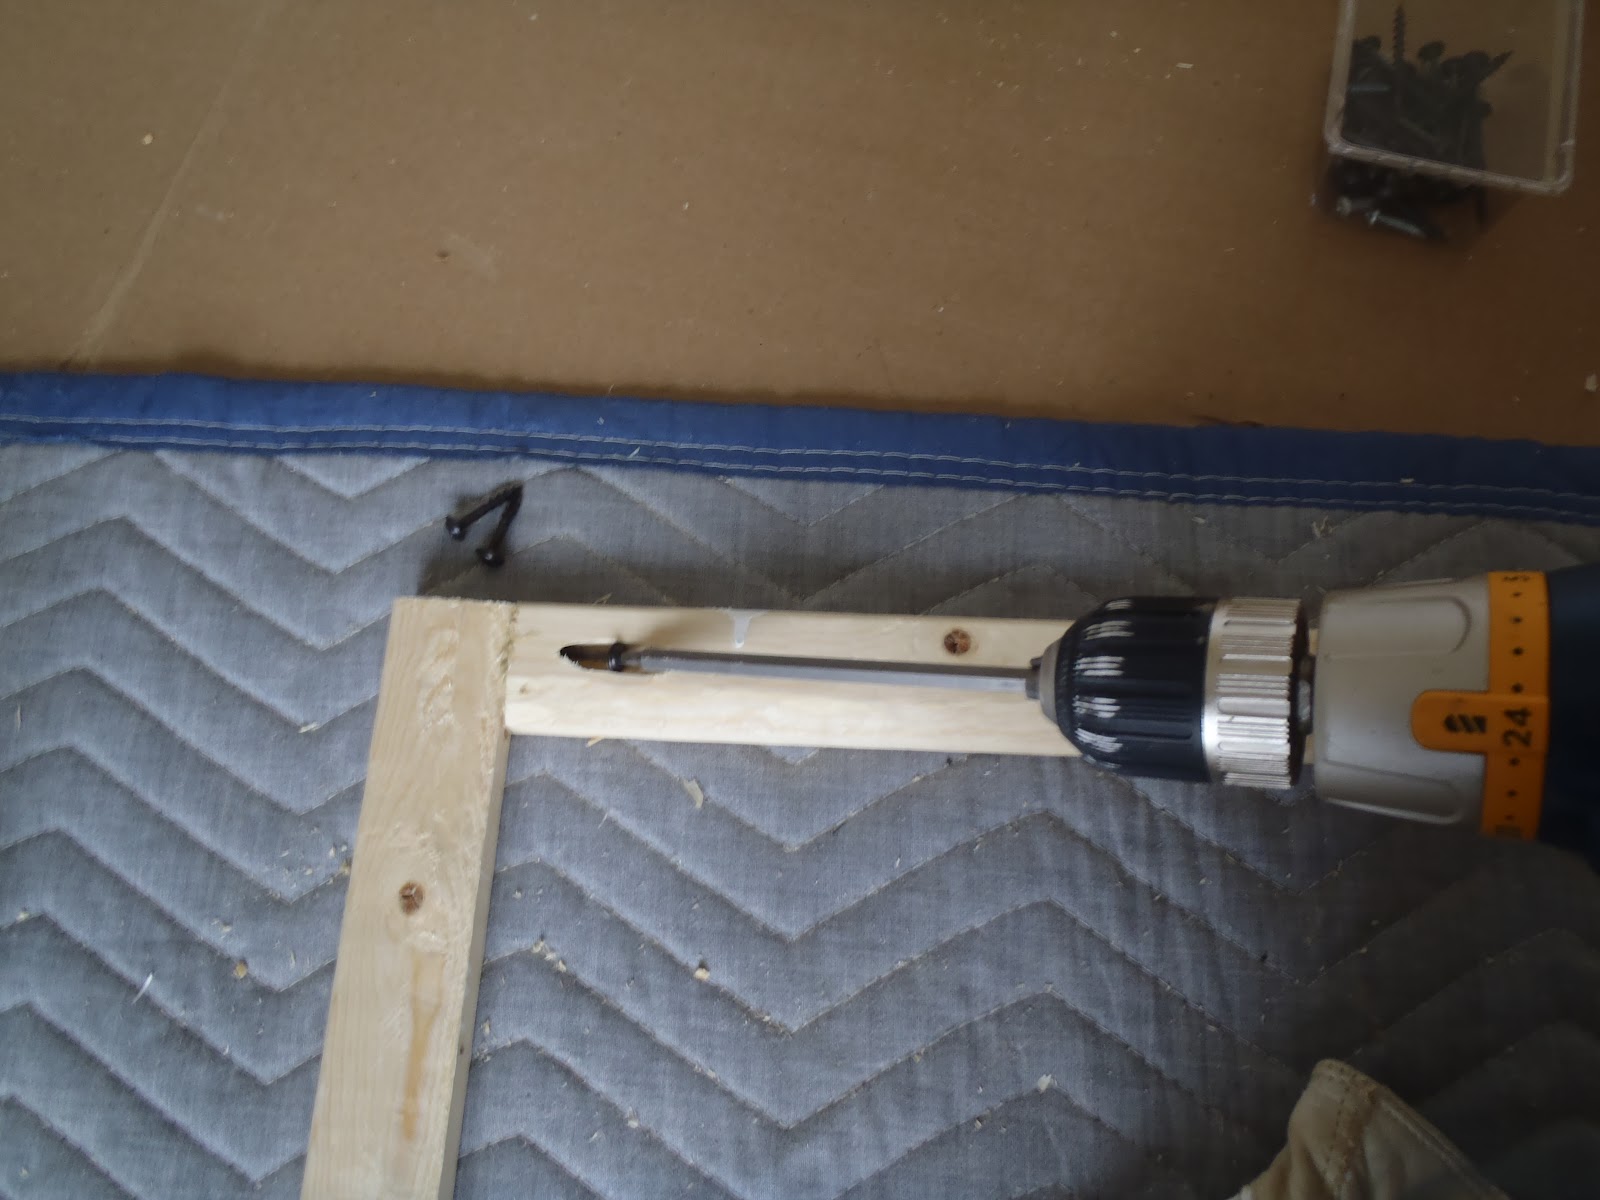
    4. Using a kreg jig, make pocket holes (tongue and groove or mortise and tenon  are even better if you can make them easily).

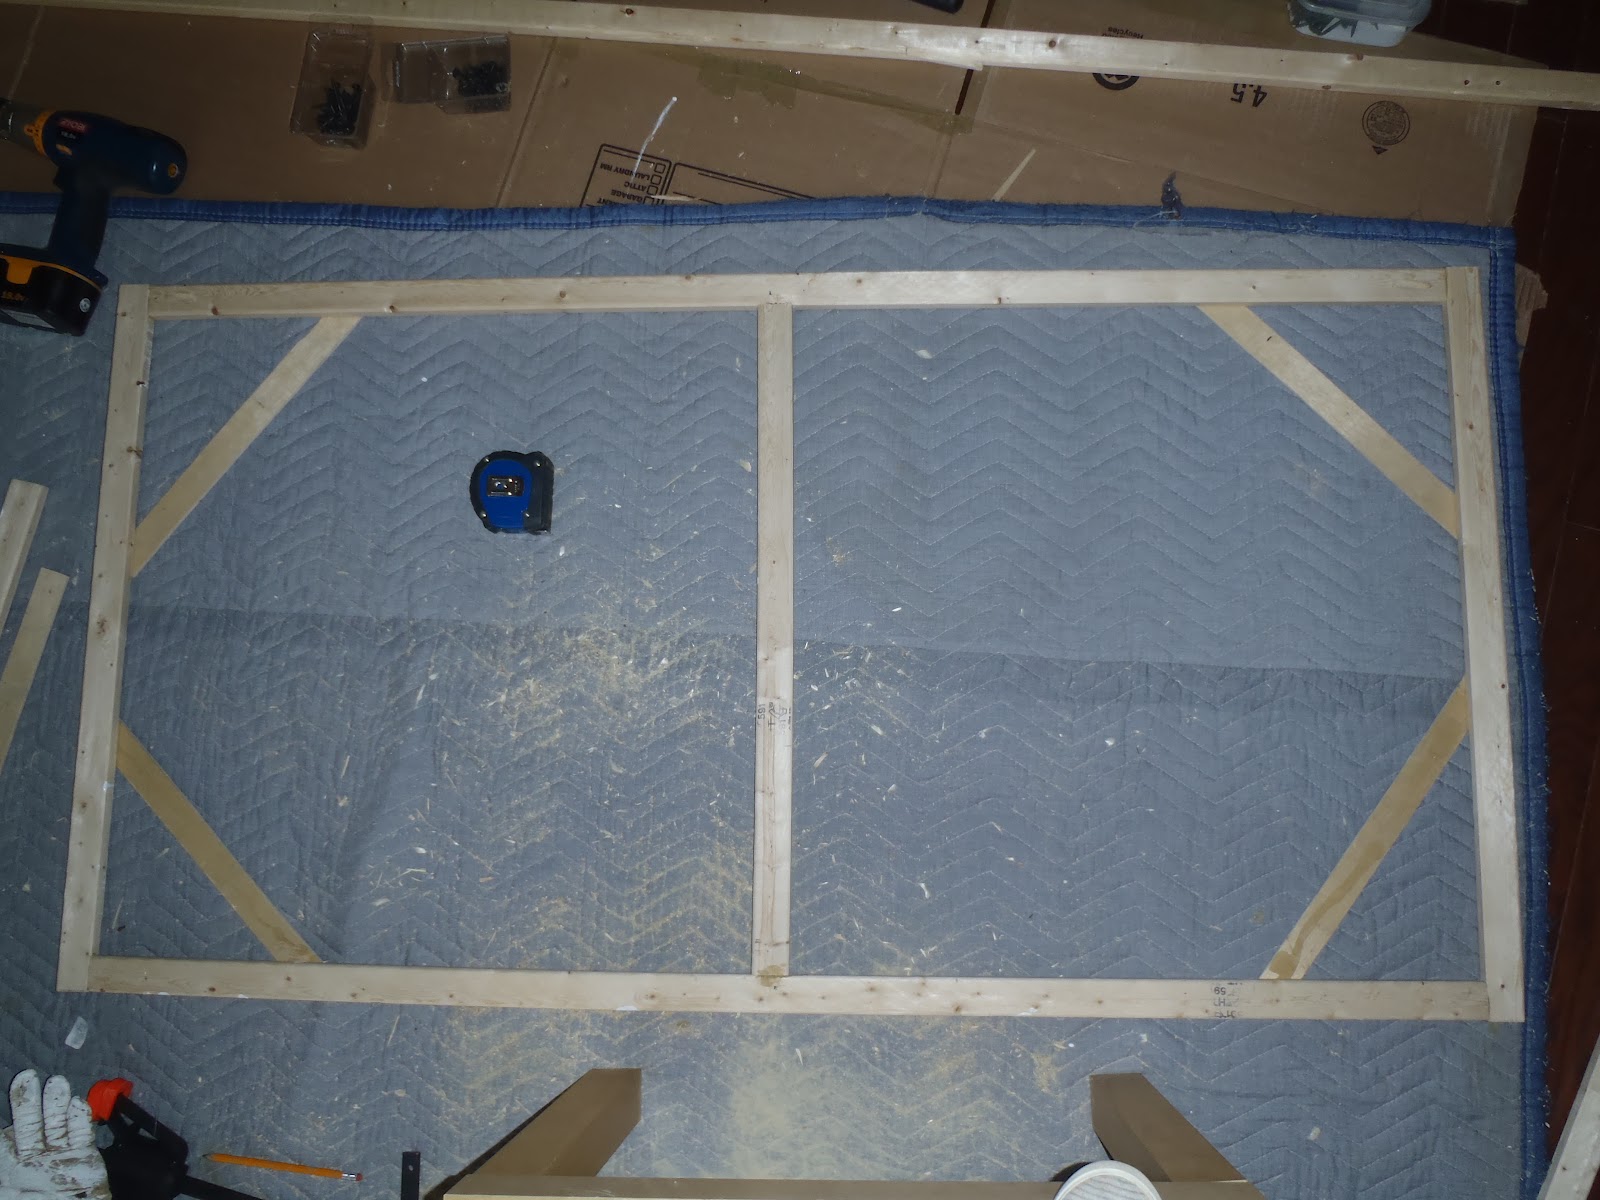
    5. Attach and make the frame using wood glue and pocket hole screw.

     6. I added a middle and corner supports since I am making a big canvas (30"X60").

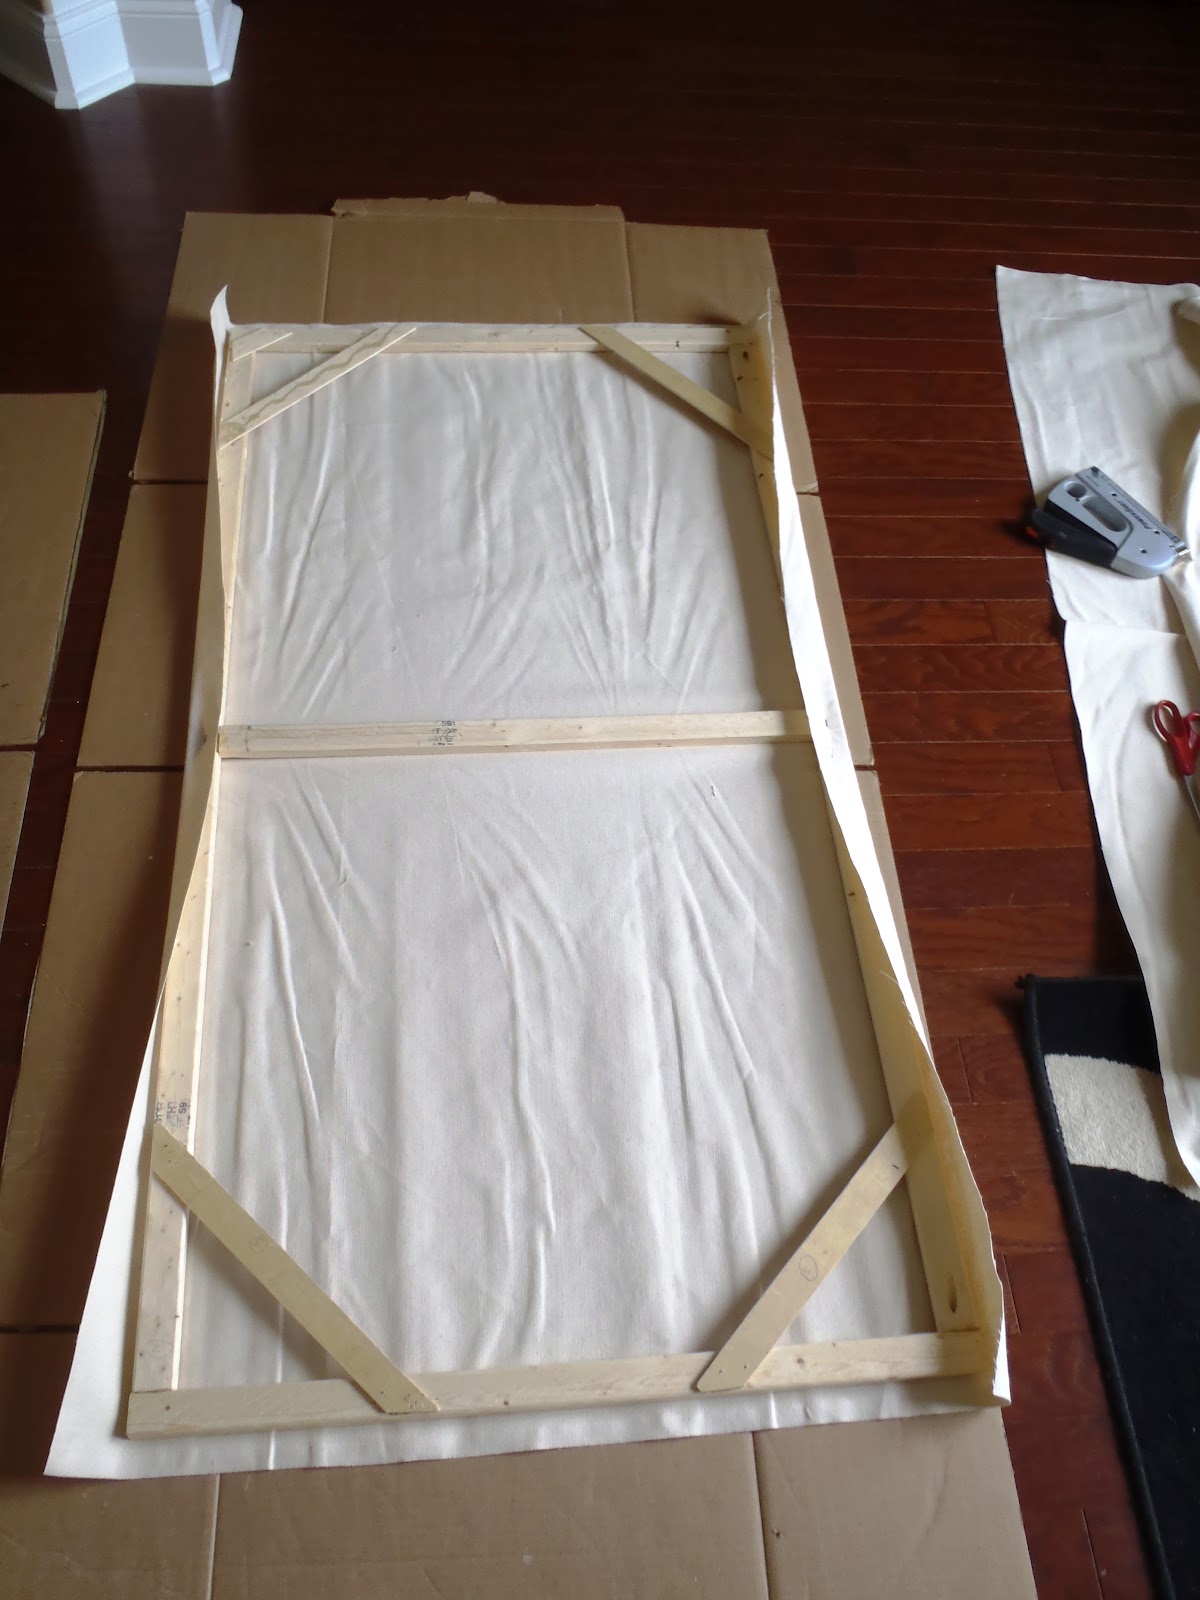
    7. Measure and cut the canvas fabric (making sure there's enough fabric to wrap around my frame)

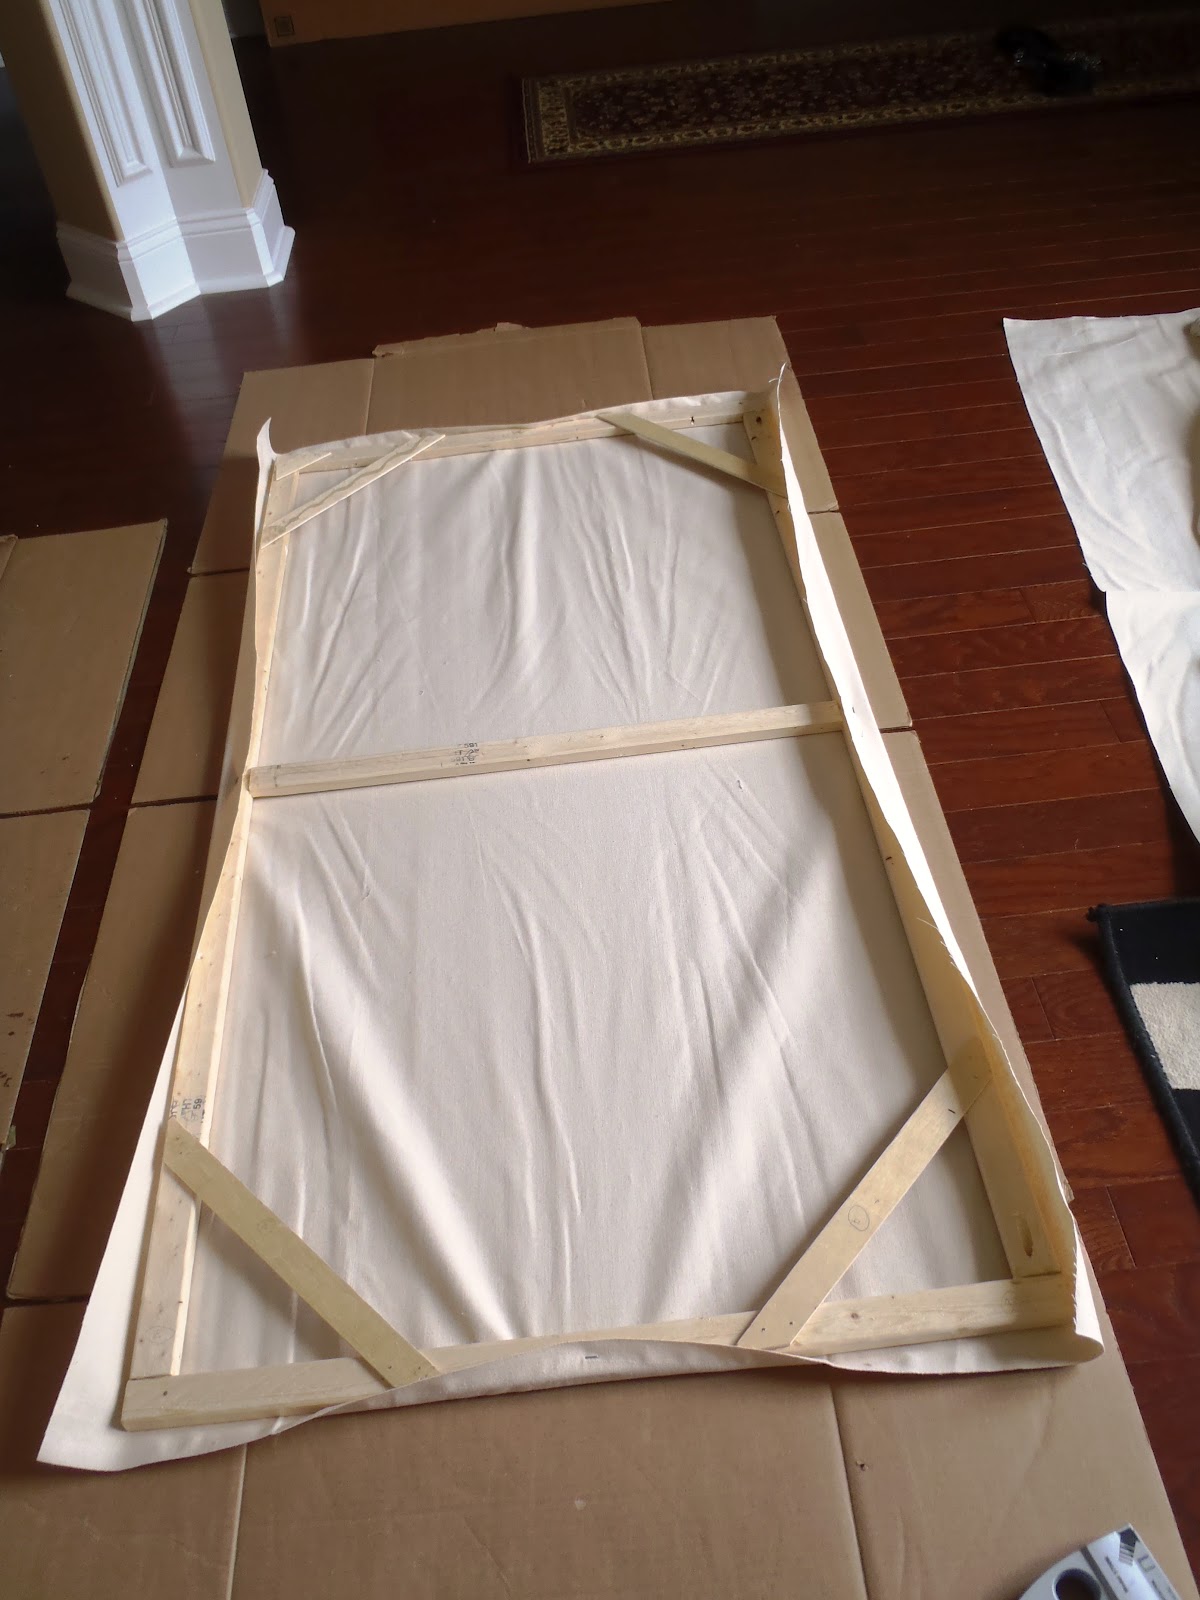
    8. Tucker/staple the fabric in the middle of the longest side first, stretch as tight as possible. Then stretch the other middle side as shown.

    9. Finish stapling the fabric working from the middle towards the corner while stretching it as tight as possible to produce a wrinkle-free stretched like this.


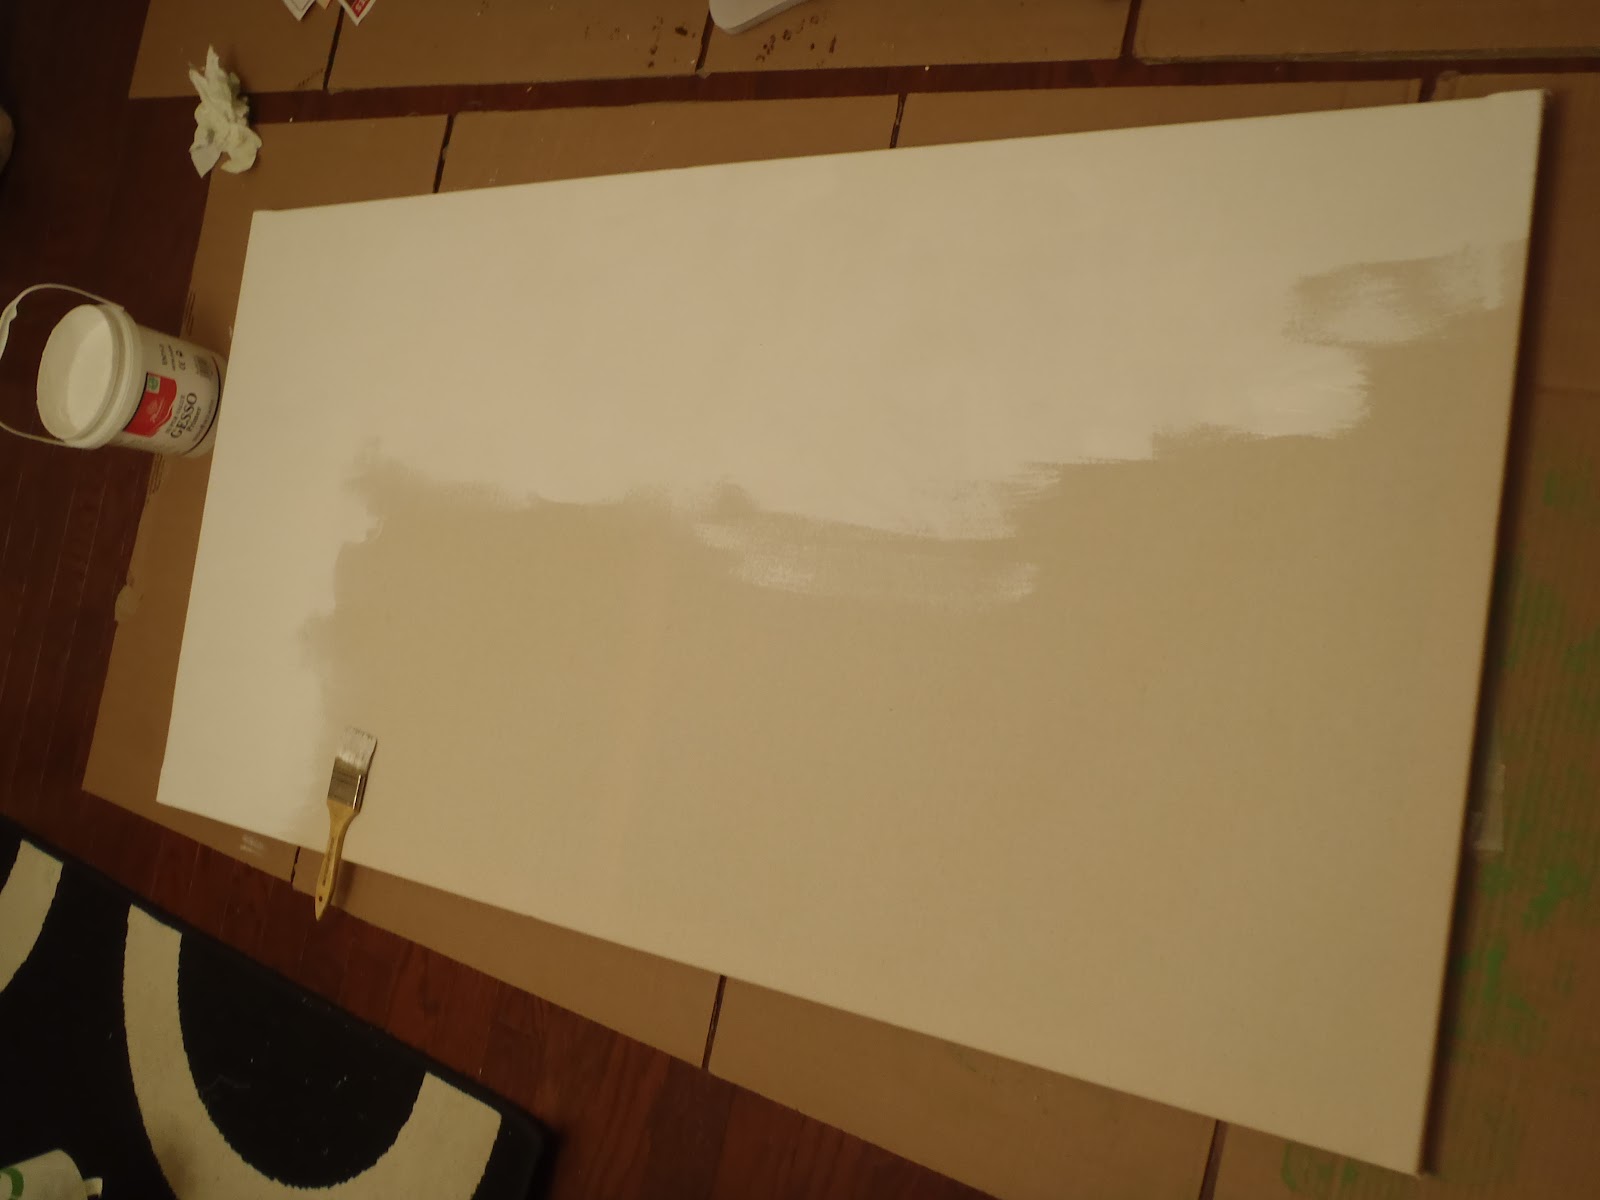
    10. Gesso the fabric horizontally then vertically to make sure the fabric gets entirely and evenly covered.

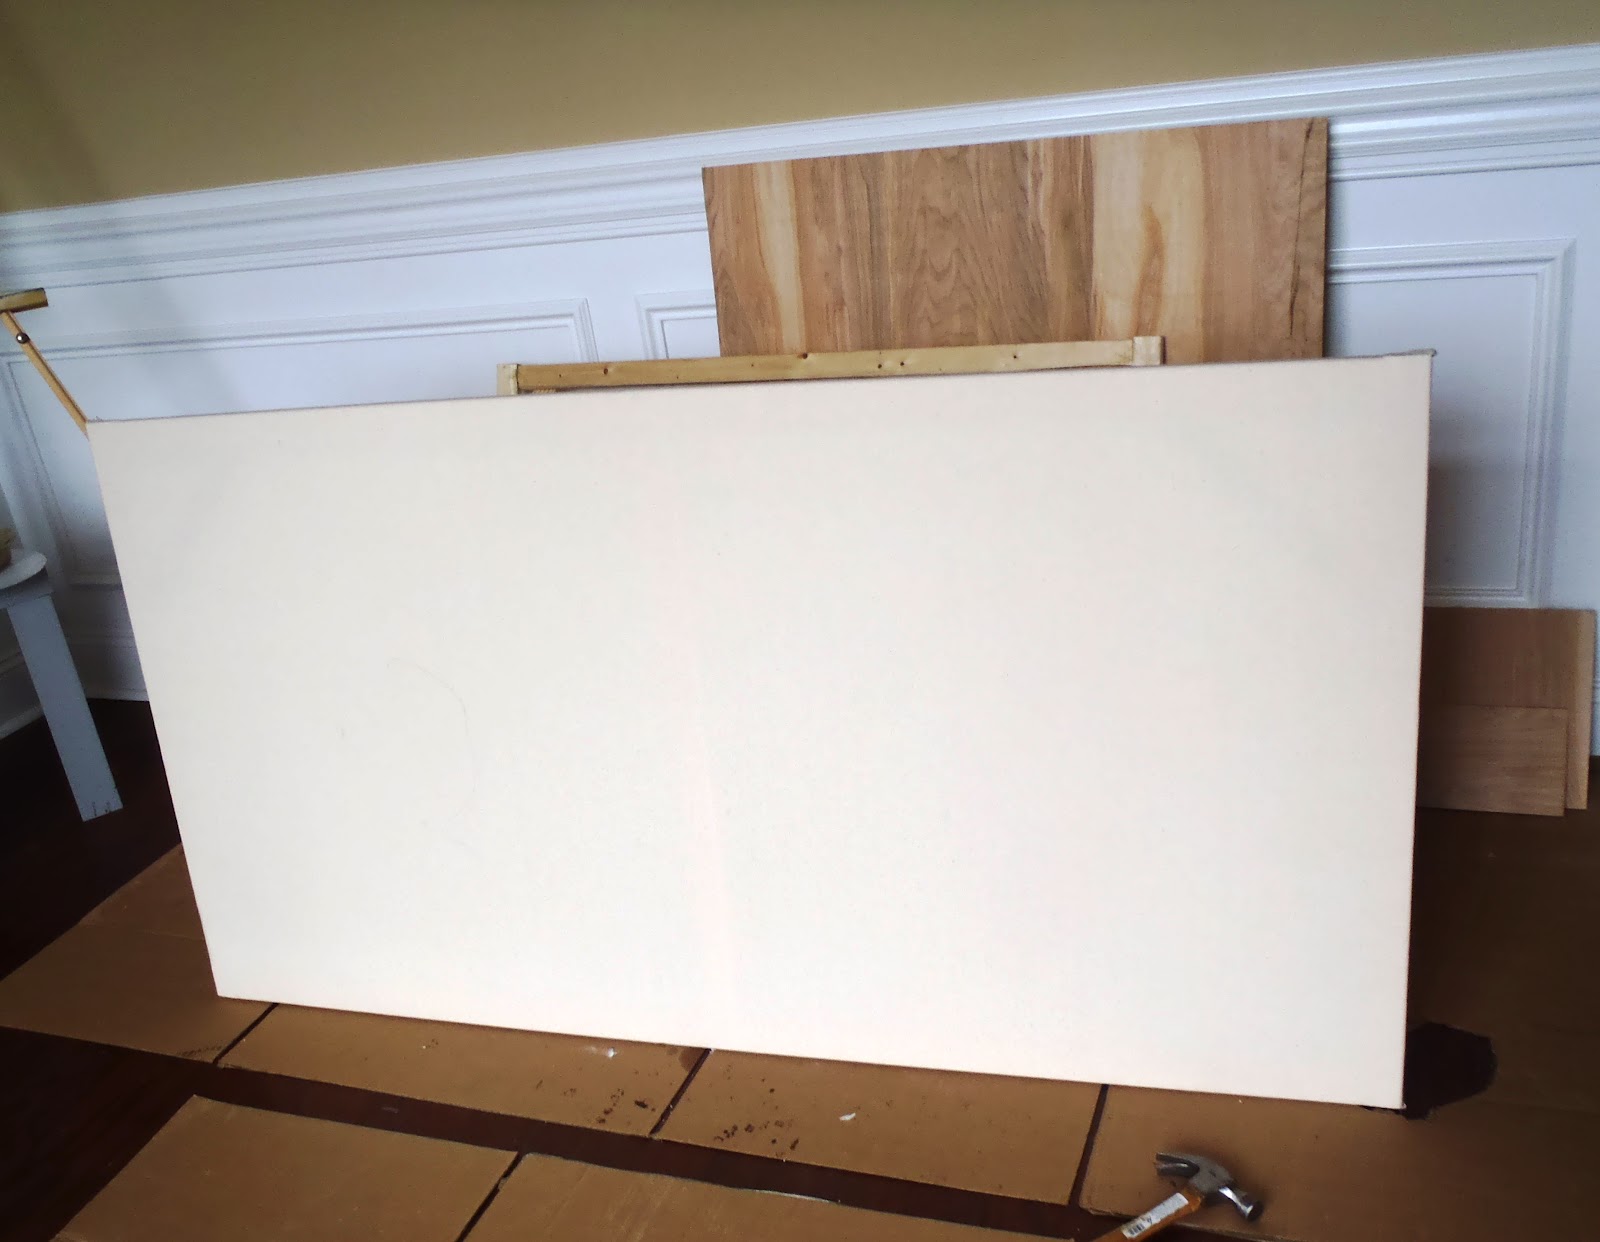
    11. Let it dry, then sand and coat a second layer. Let it completely dry. 
    Done!  no ka-ching! ka-ching!..so HAPPY PAINTING! :-)

    Pin It