I'm done with the biggest patio furniture part, the humongous
tiled top dining table! I'm now in the process of building the sitting part. My original design includes sectional outdoor sofa. But, after building the long part of the sectional, it looks like I don't need to build the corner and shorter part of the sectional. So instead of sectional, it would be just sofa. But we'll see, I might decide to build it anyway.
For now, here's how I built my outdoor sofa (you might realize that it's not as difficult as it seems and decide to build your own :-)
I cut 3 pcs. 30 inch long (back legs) and 3 pcs. 18 inch long (front legs) from 2"X4" board.
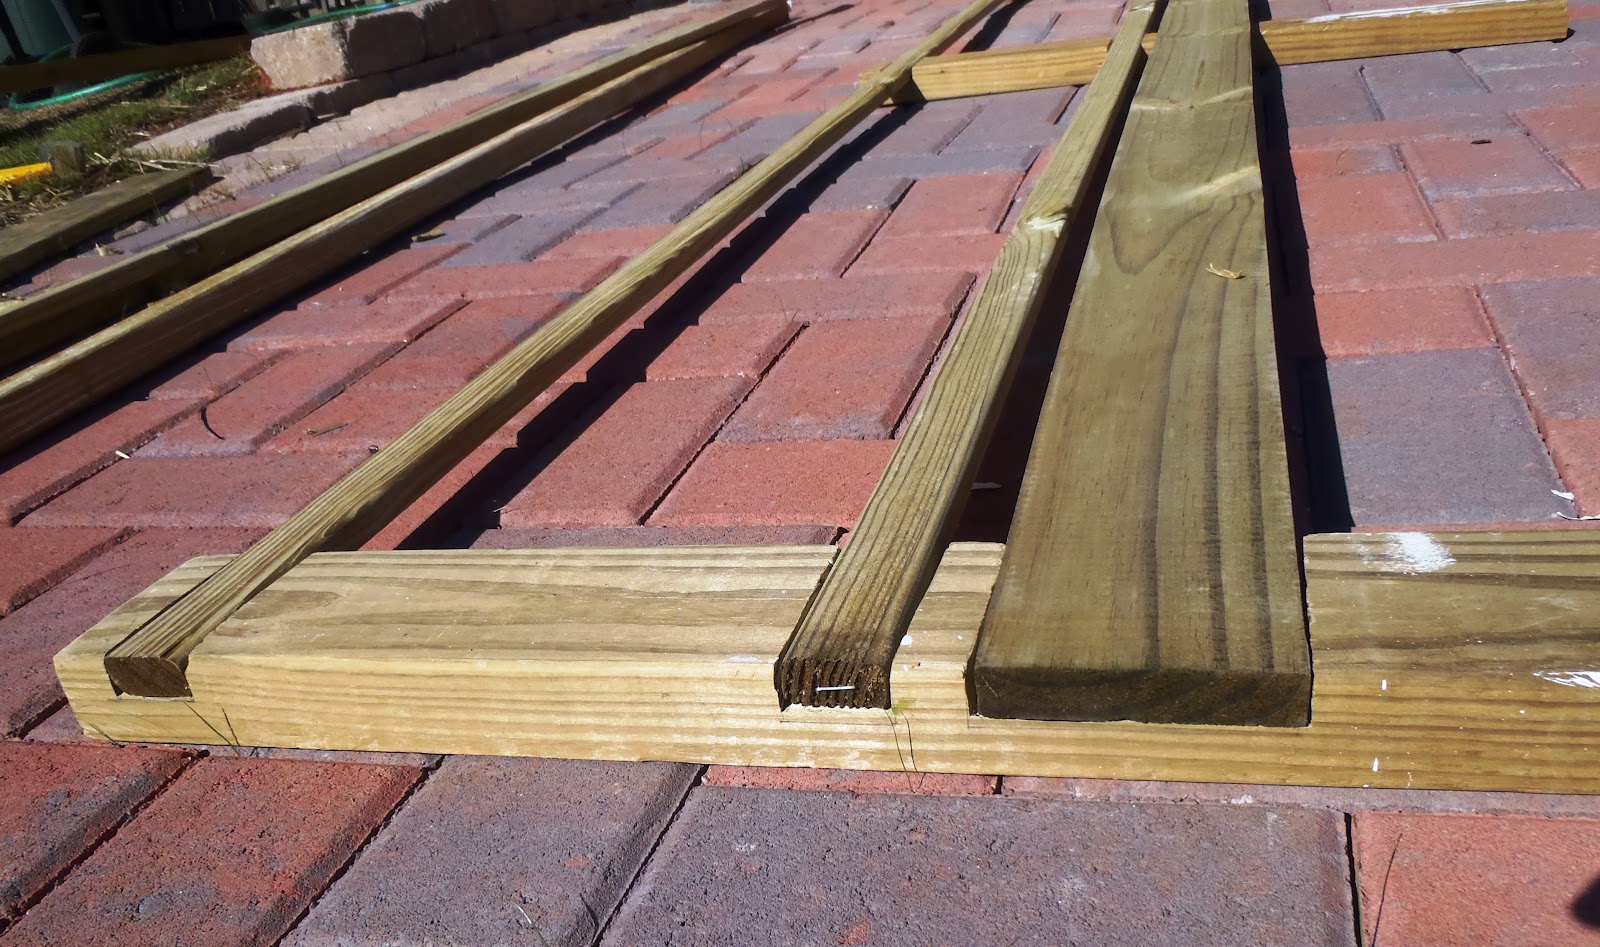
Using circular saw and chisel, I made rabbet and dado cuts.
This way, I can attach the back horizontal supports flashed to the main support as shown below.
 |
I like using this rabbet joint type as opposed to just attaching it directly with
screw because it can carry more weight than flimsy screws or nails. |
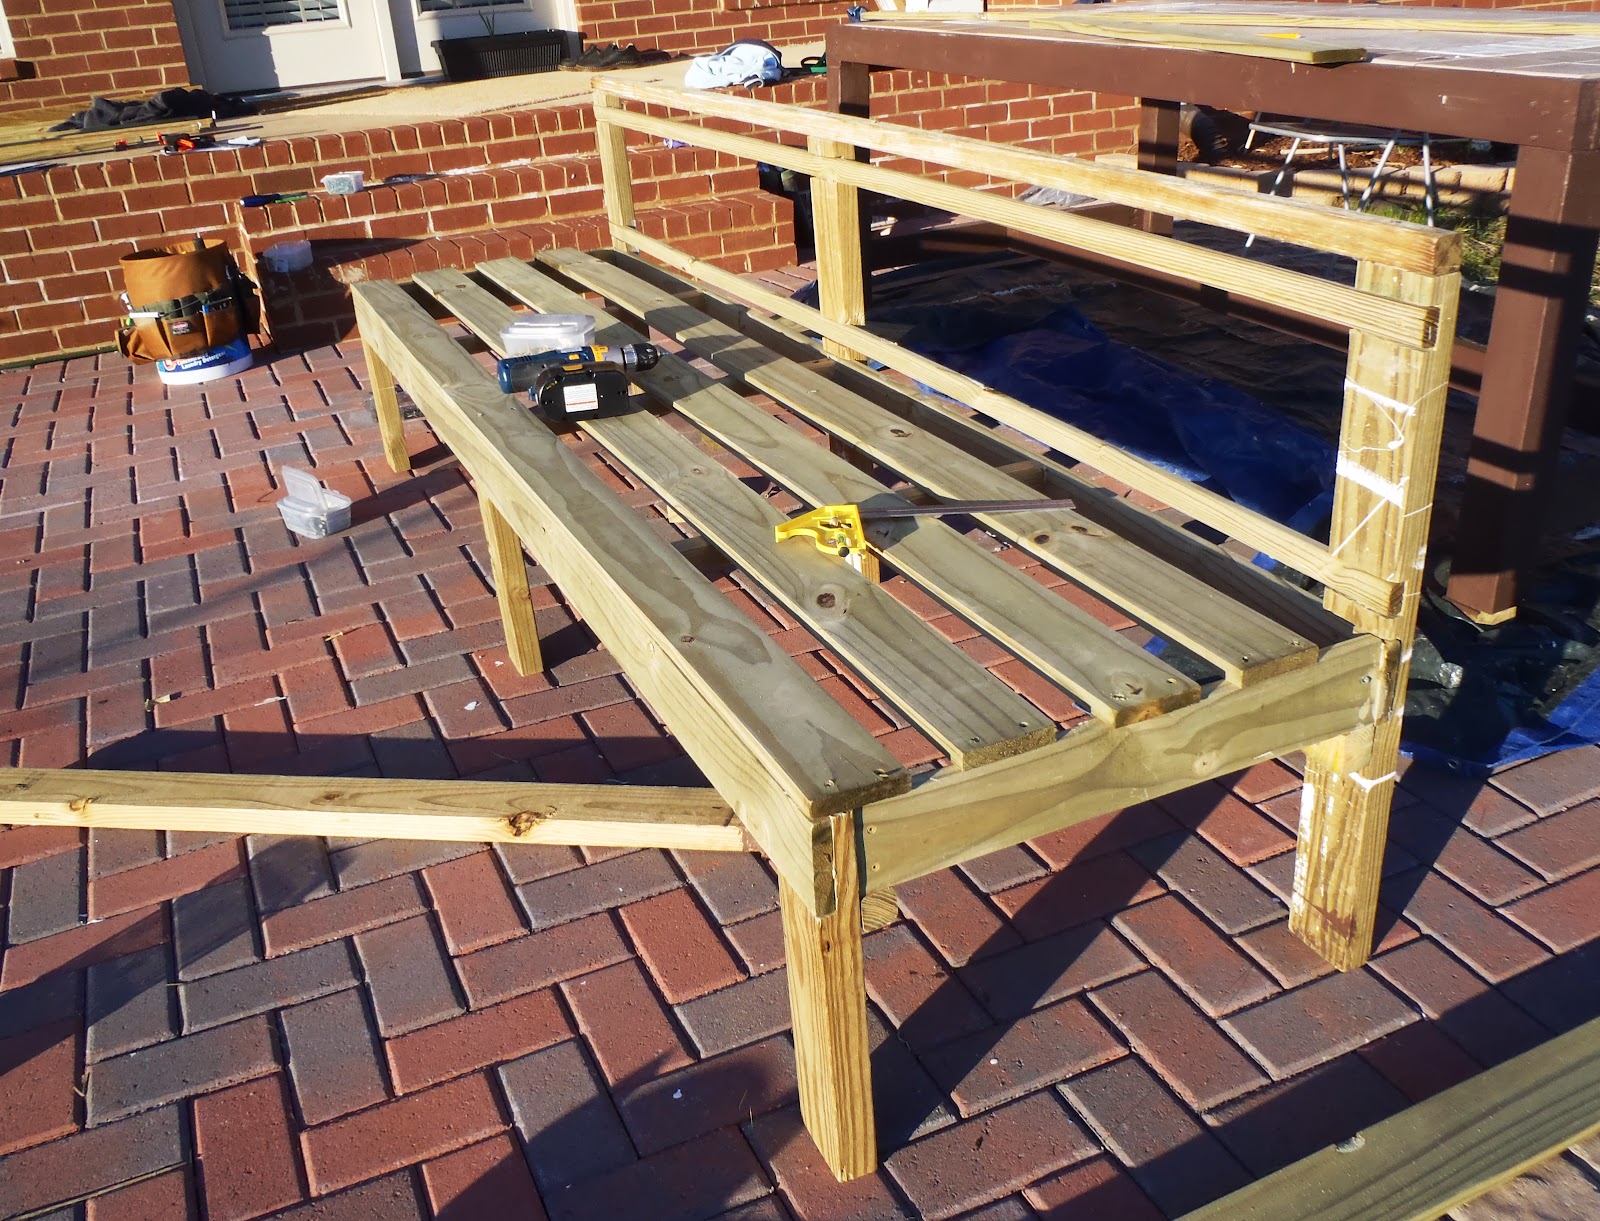
Using nail glue and 1-1/2" decking screws, I attached all the horizontal parts onto the front and back legs.
Then the side and middle support.
Adding more support in the middle using 2"X2" boards.
And now the long slats. I used 1"X4" boards for this part (now its starting to look like something to sit on :-)
Then I tested it by standing on top and making all kinds of crazy moves (jumping, wiggling, pushing, pulling its good we have fenced backyard!). I decided it needs 3 more supports on the lower leg parts.
Finally, I added X back supports.
Finishing step will be putting wood filler on the nail and screw holes, file sharp edges and paint it.
Two down, two more to go to complete my patio set! yay!
Note: All my outdoor furniture are built from pressure treated pine wood.
Pin It


Kudos to you for a job well done! :) You have fine skills to come up with that outdoor sofa. Thanks for sharing your beautiful project.
ReplyDeleteThe sofa is beautiful. I'm new to DIY-ing, but am excited to give it a go. Would you please tell me how you attached the X back supports, thank you.
ReplyDeleteI'm also am excited to give it a go. Tell us more.
ReplyDelete