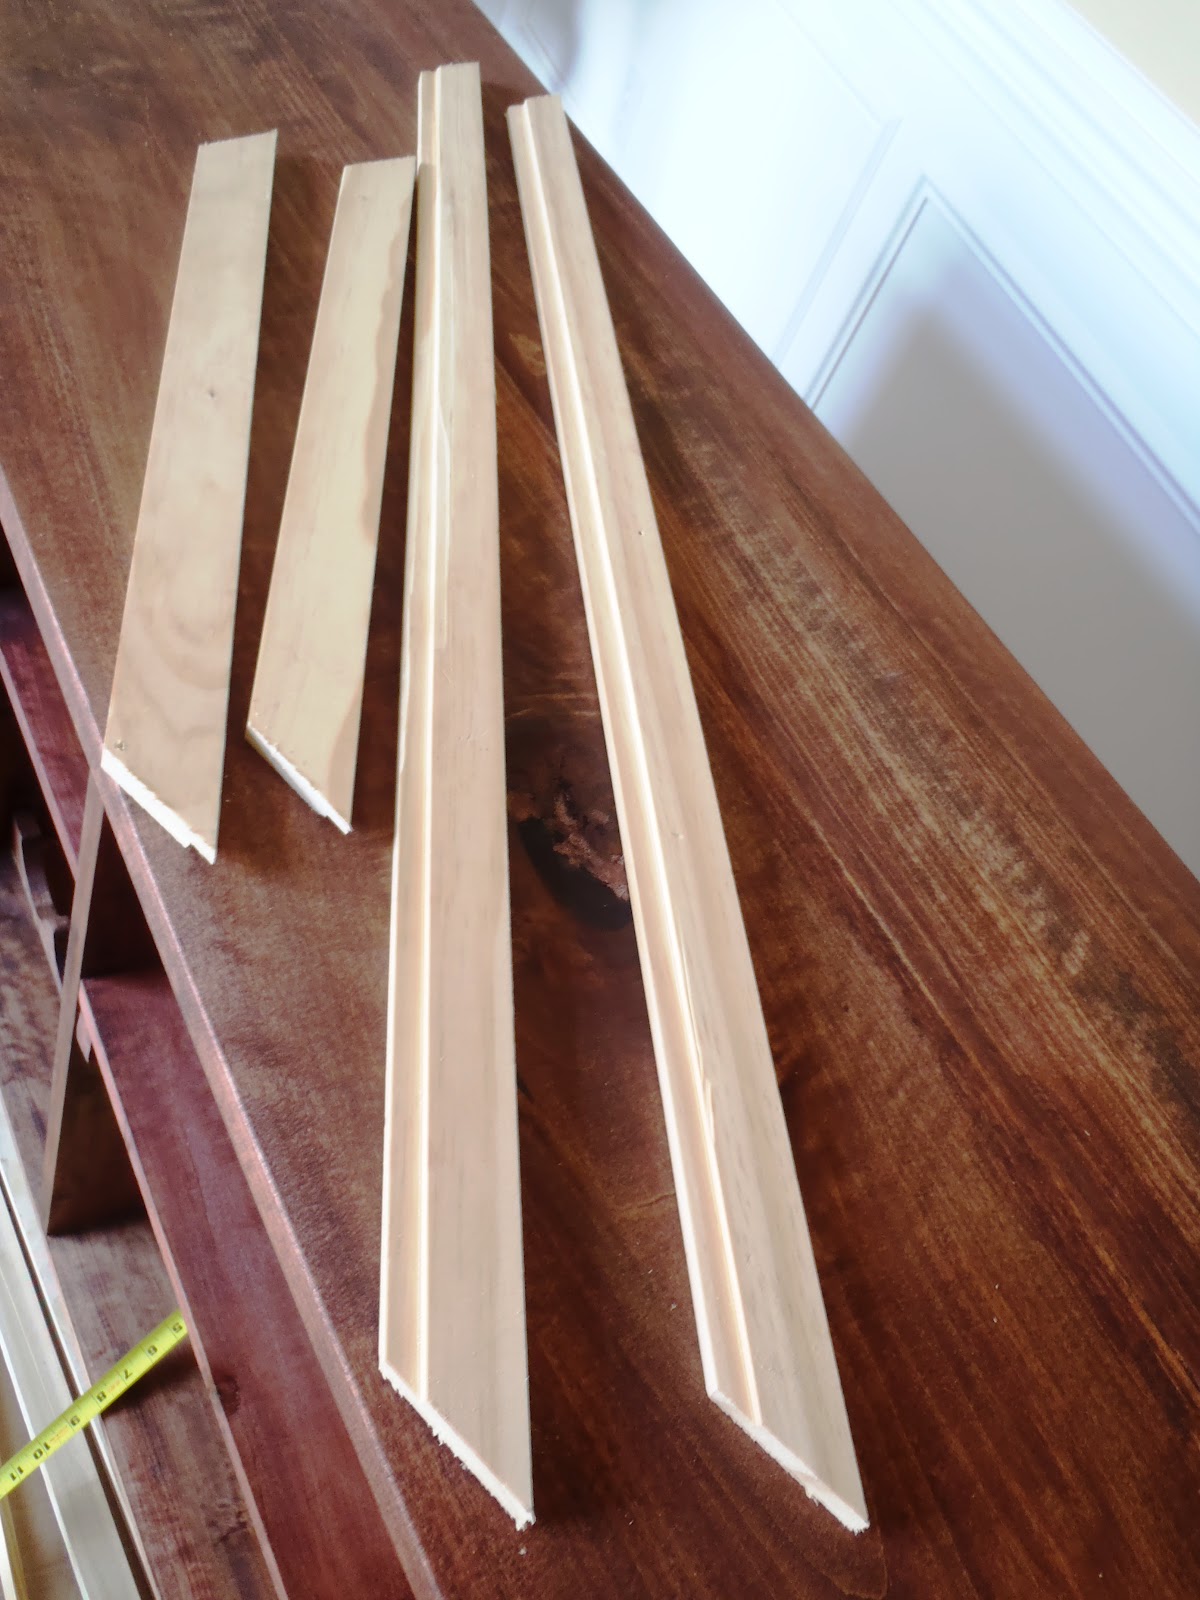
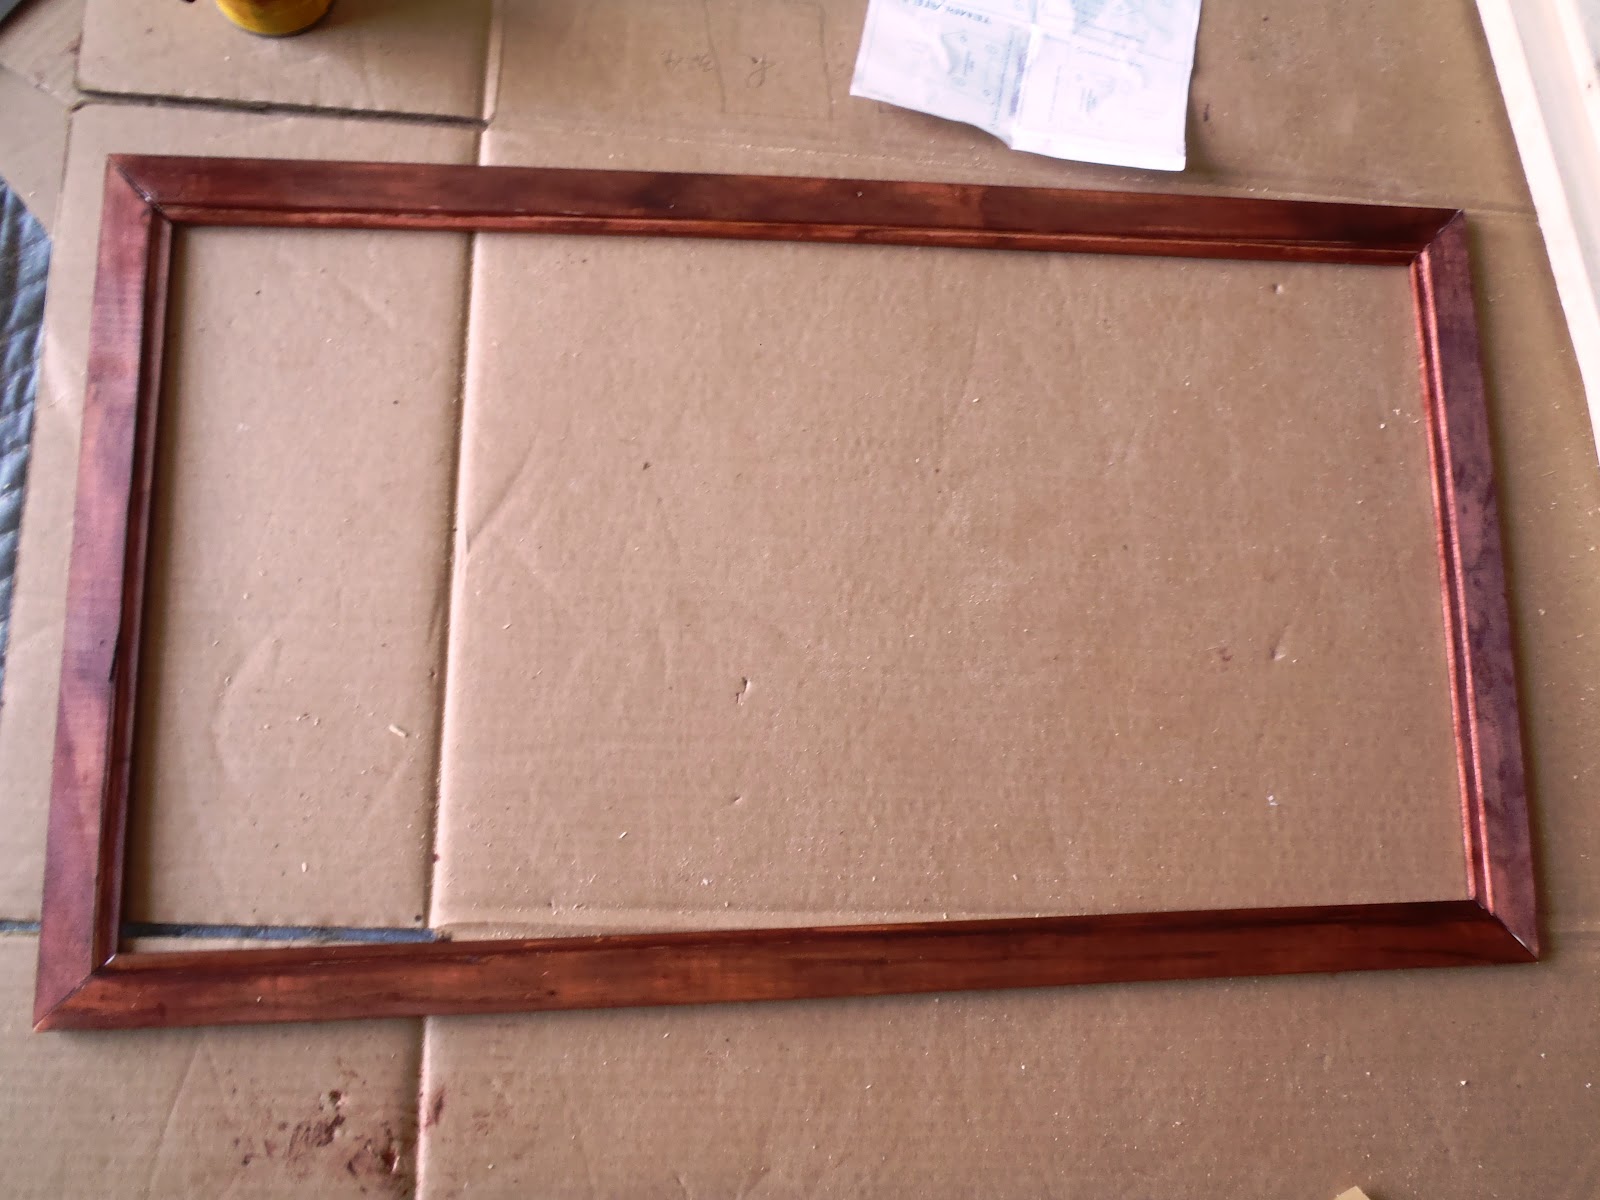
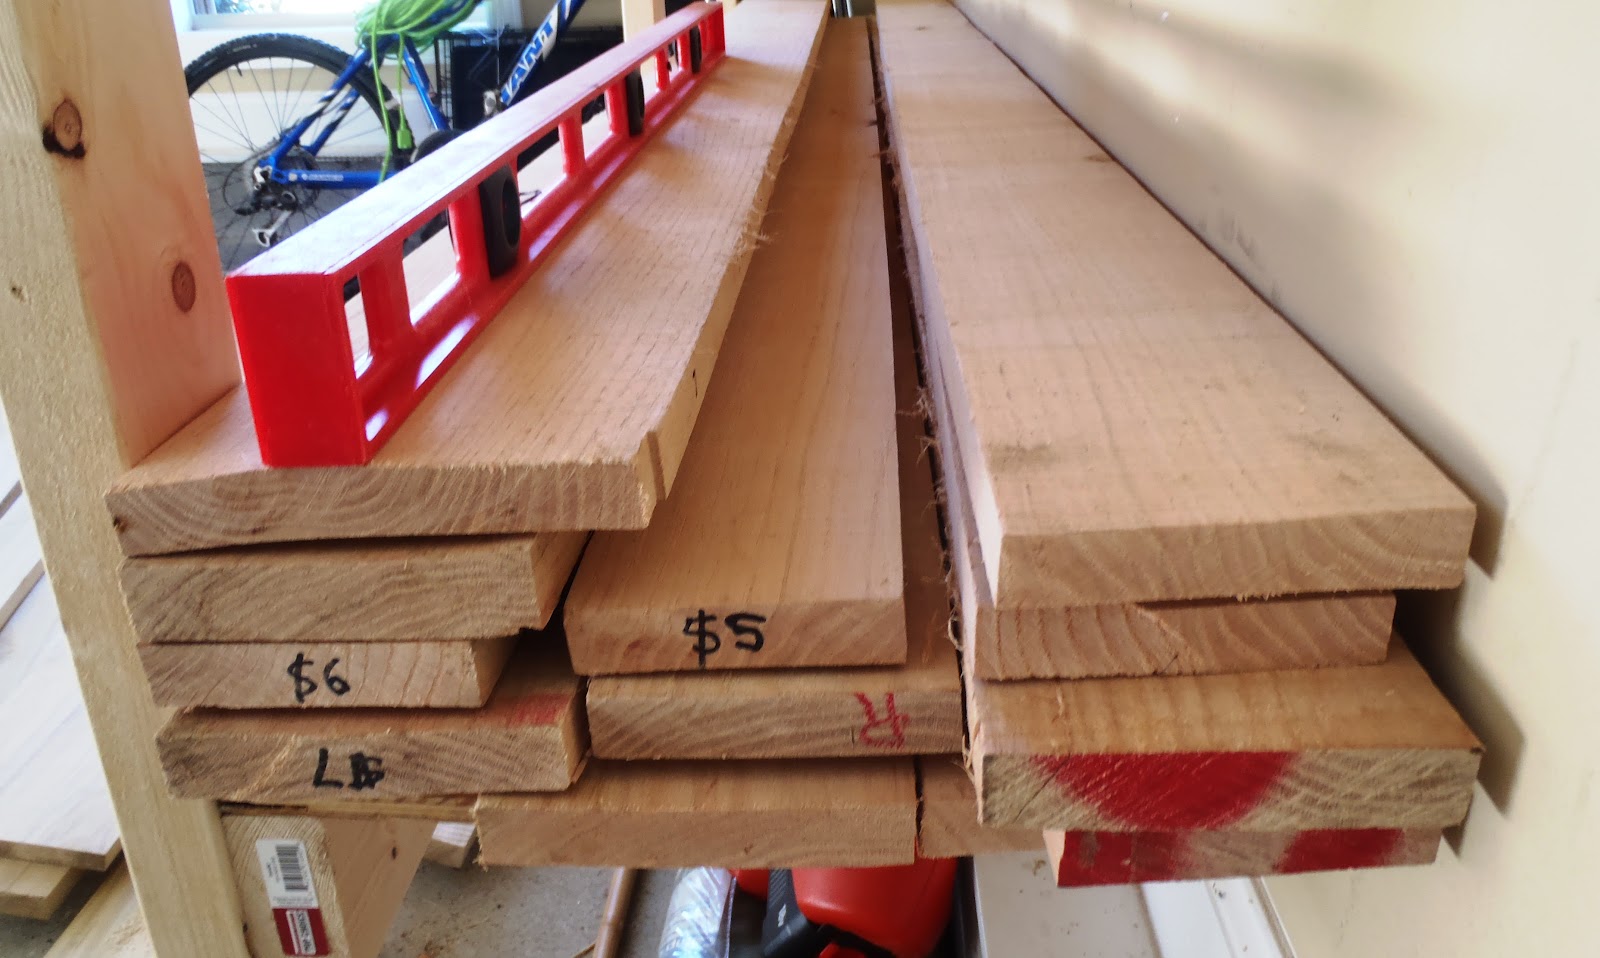
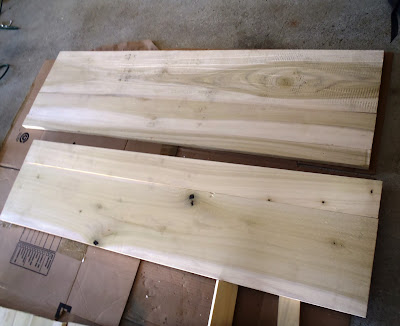
With these sunny days, I finally got my new batch of wood from my local lumber supplier, Mr. Milton. I was waiting for his solar kiln to dry more woods. The other day he emailed us to pick our wood before he'll announce it on his website and I thought, nicceee! I will be able to pick the best of the best :)
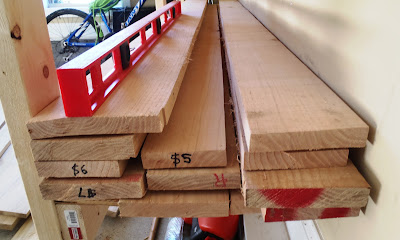 |
| Red Oak |
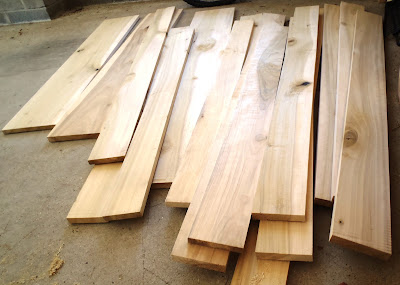 |
| Poplar |
A truck load all for $140, which by the way, will only get me 7 - 9 pieces of red oak at a home improvement store (ain't that crazy?).
I got these good wood because I gave myself a challenge, to furnish my entire formal dining room from buffet to table to chairs! BUT, I don't expect to finish this challenge myself and won't be surprise if I ended up buying them haha!
So,
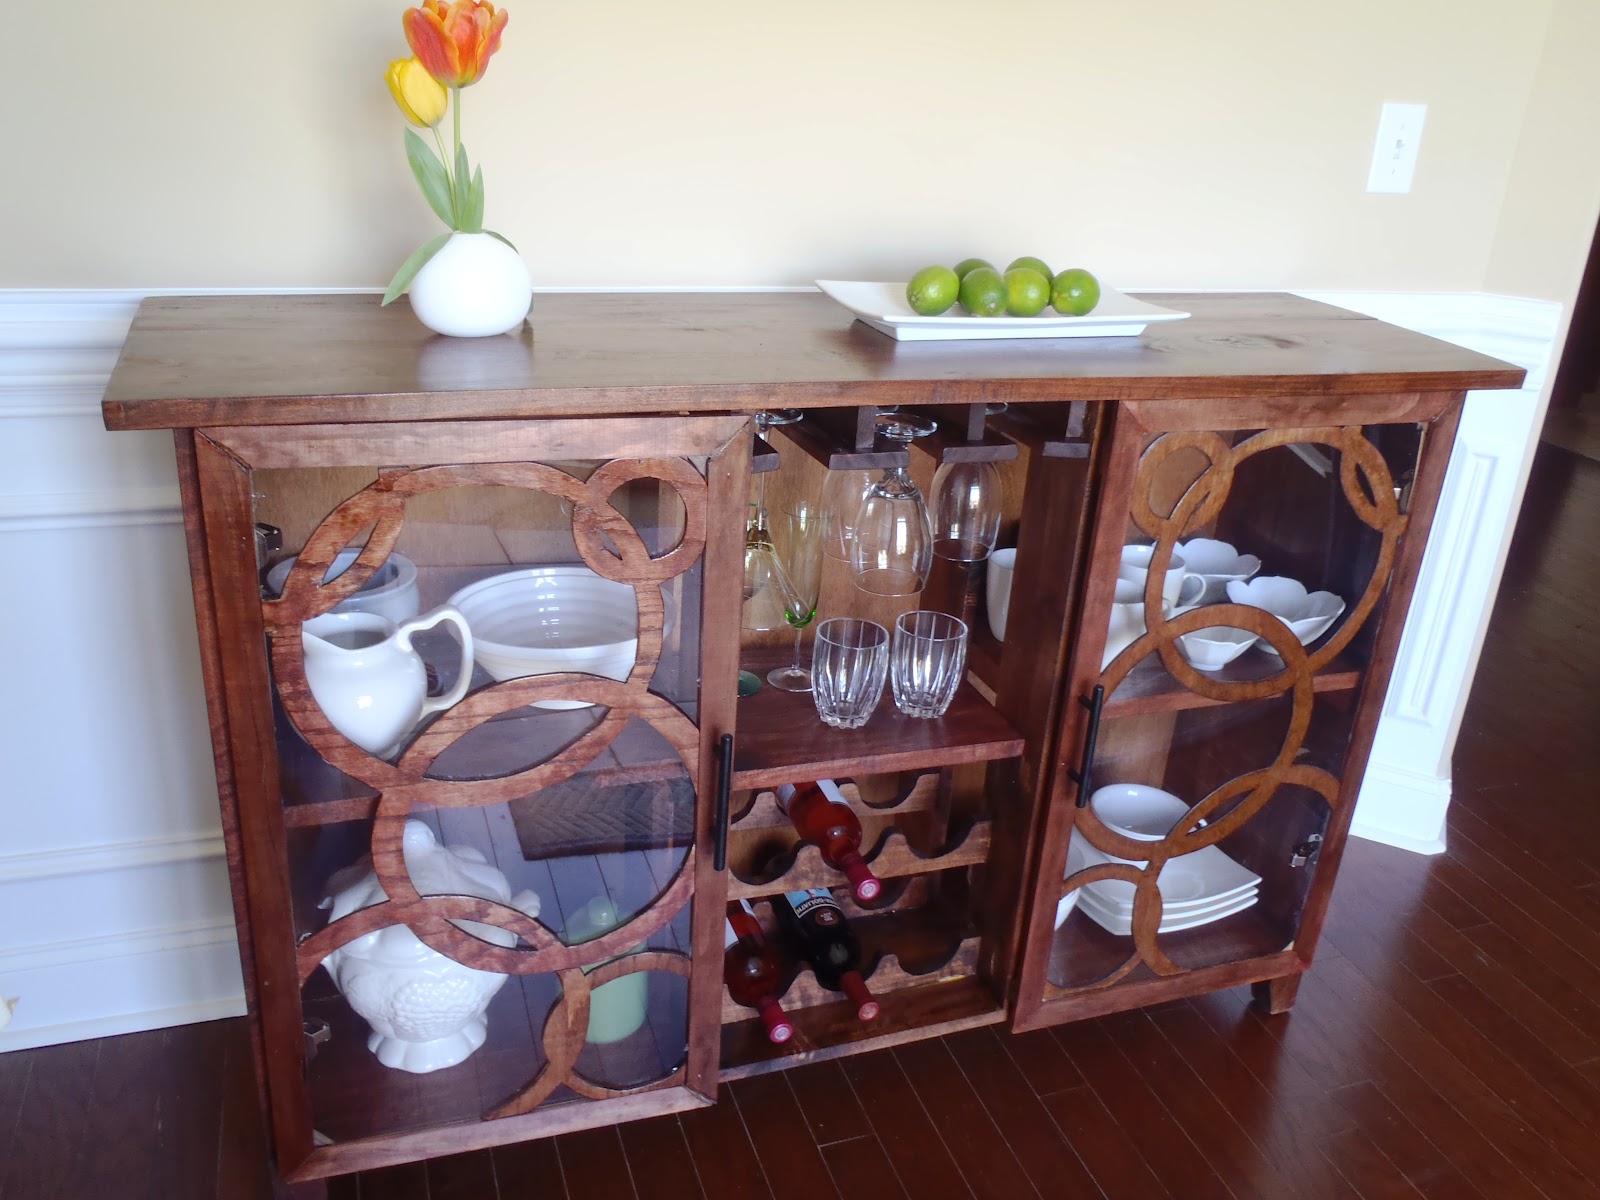
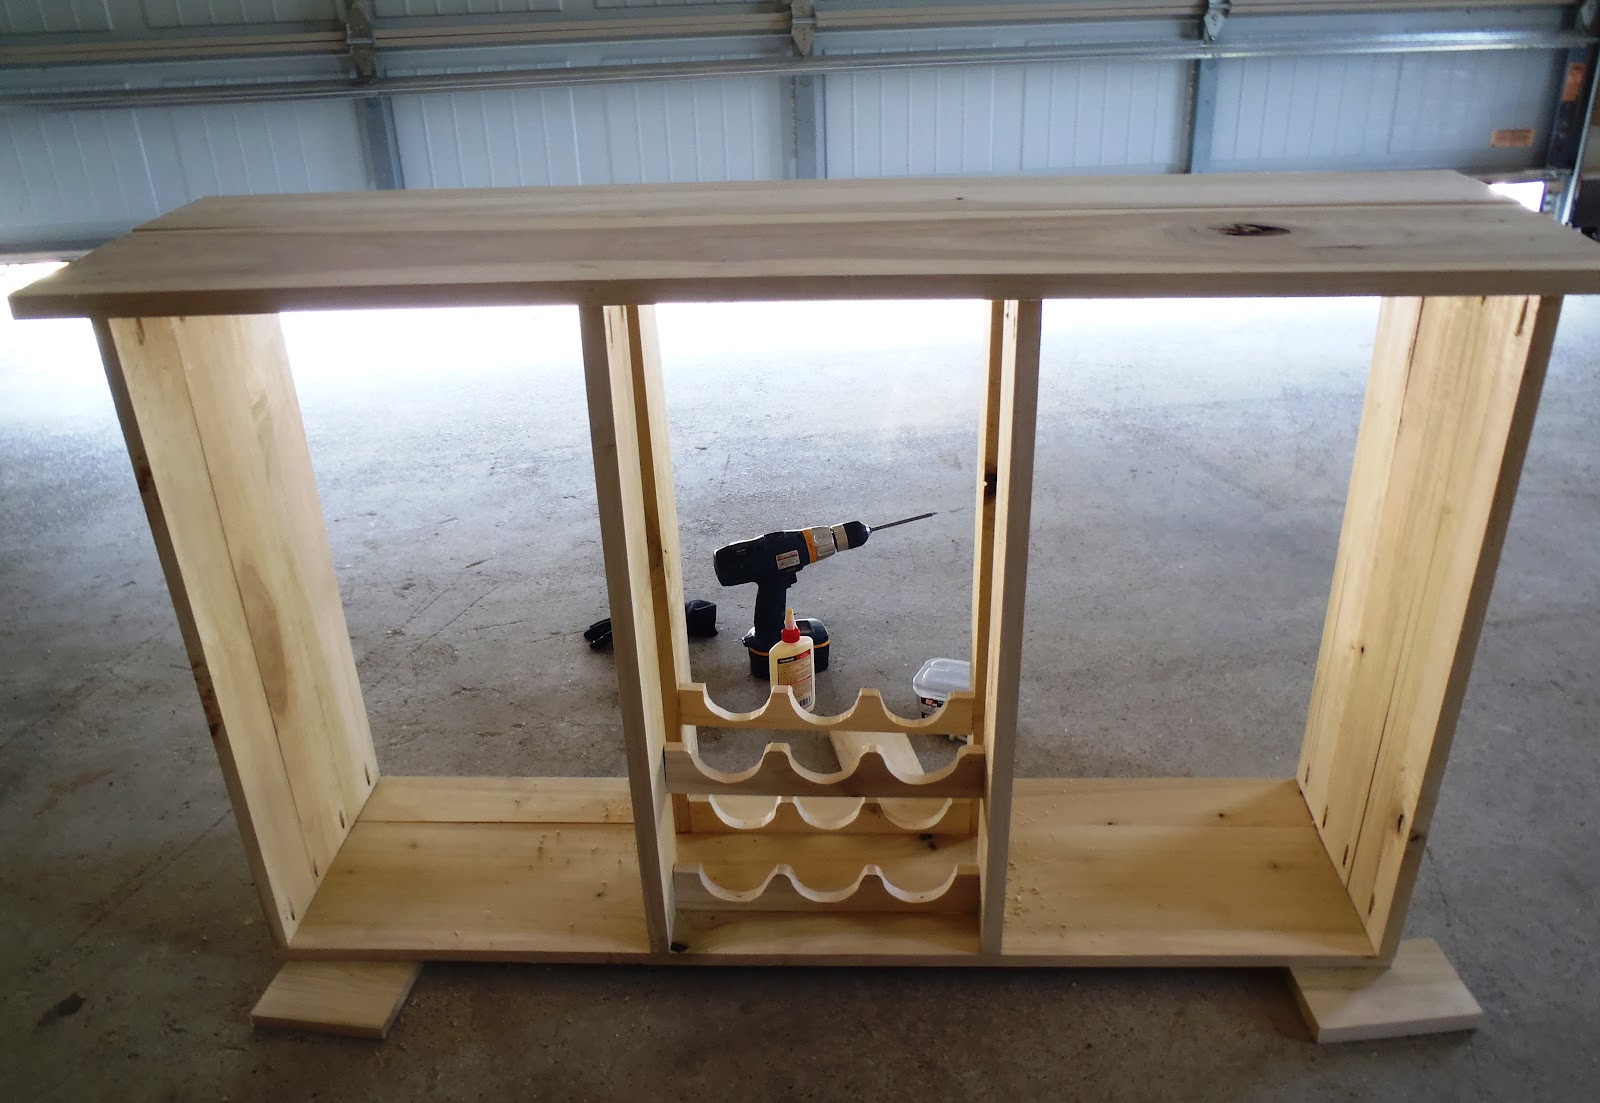
DIY Dining Buffet
Cutlist:
(2) 1 X 8 X 57-1/2 & (1) 1 X 3 X 57-1/2 (top face)
(2) 1 X 8 X 54 (bottom face)
(4) 1 X 8 X 32 (sides)
(4) 1 X 5 X 32 (partitions)
(2) 1 X 8 X 15 (middle shelf)
(4) 1 X 4 X 15 (wine rack)
(3) 1 X 4 X 14 & (3) 1 X 3 X 13 (hanging glass rack)
(8) 1 X 3 X 4 ( legs)
Steps:
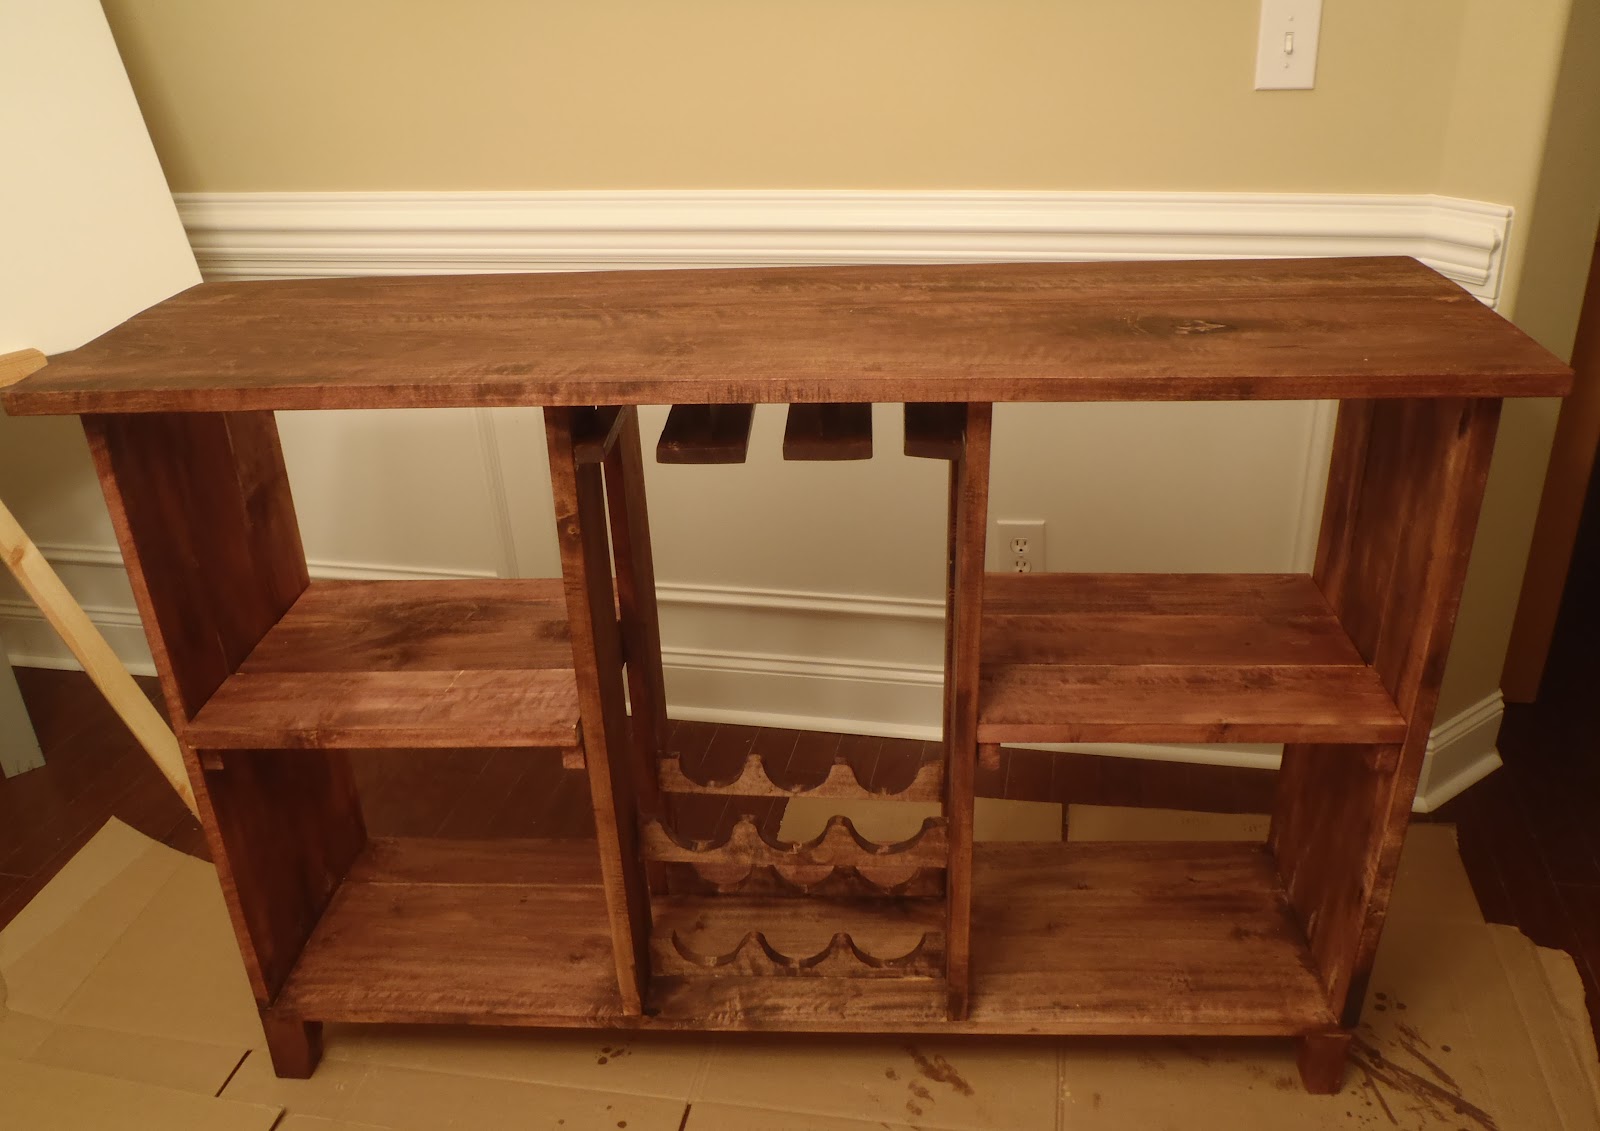
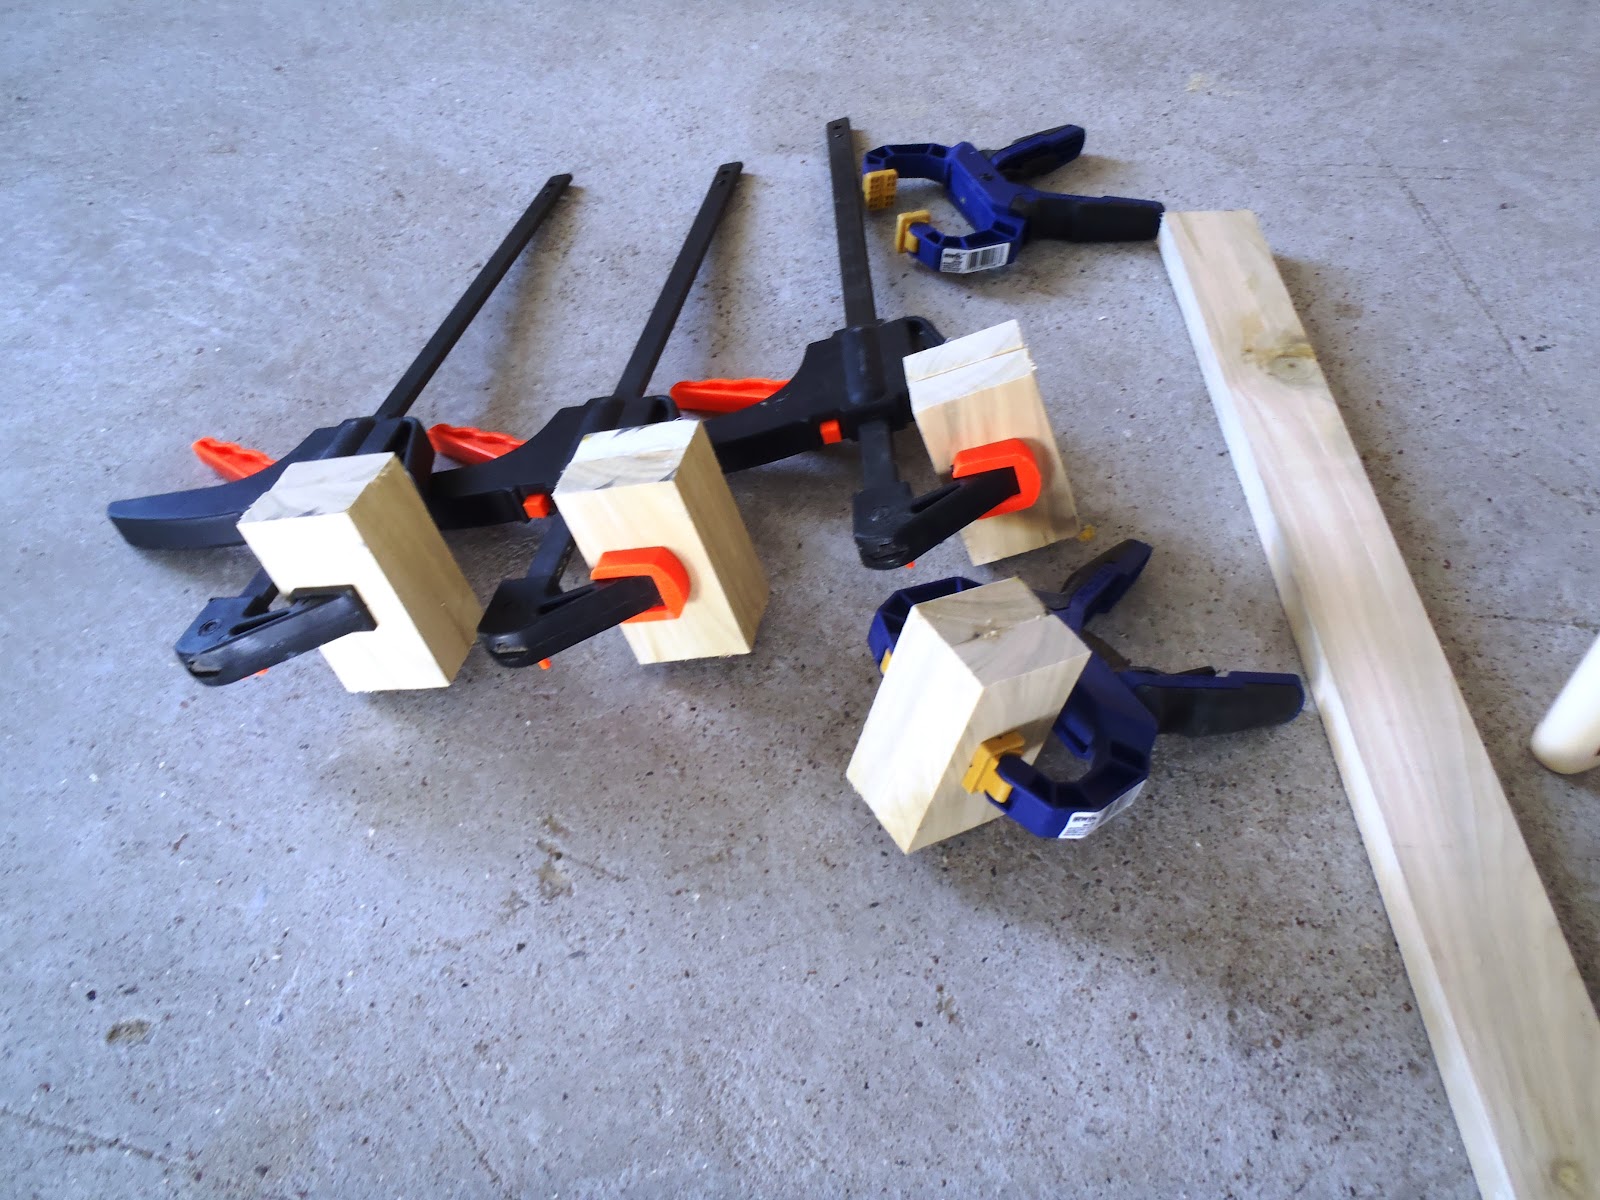
Glue and clamp the pieces listed on the Cutlist to make the top and bottom faces.
Glue and clamp the pieces listed on the cutlist for sides to make the two sides.
Leave the middle partition pieces unglued.
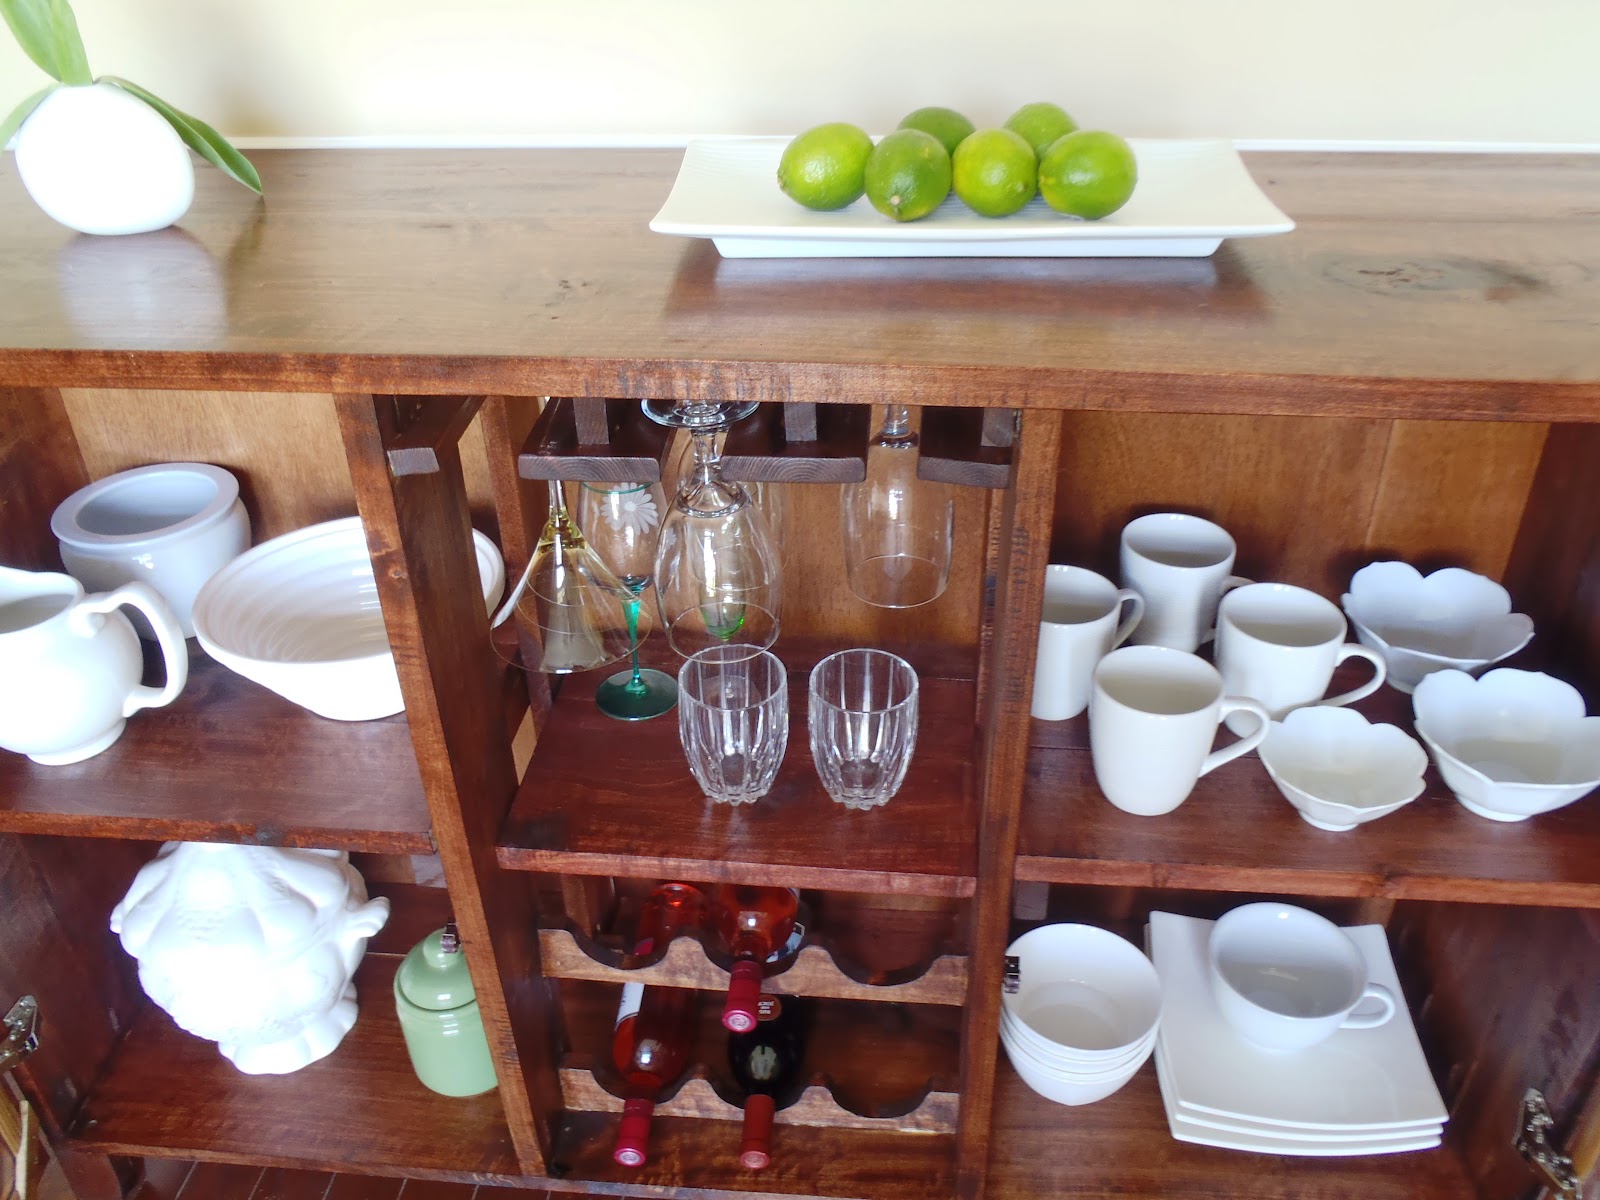
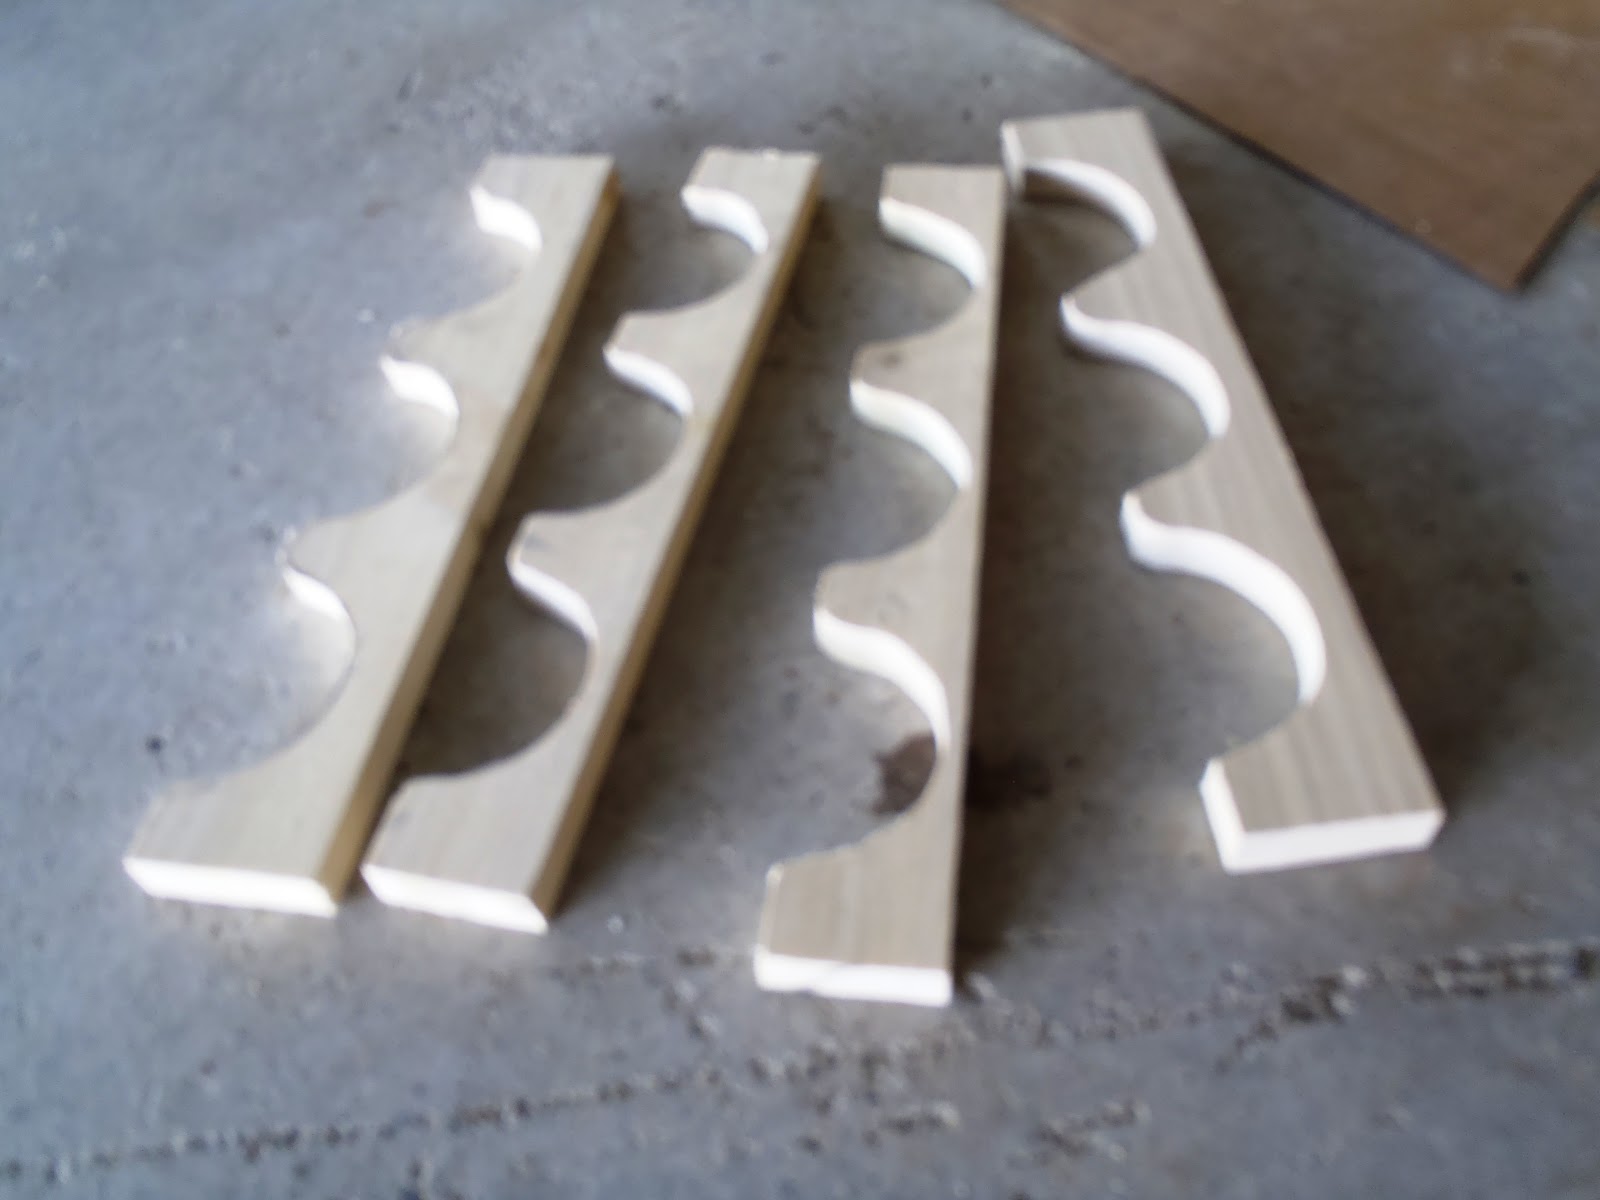
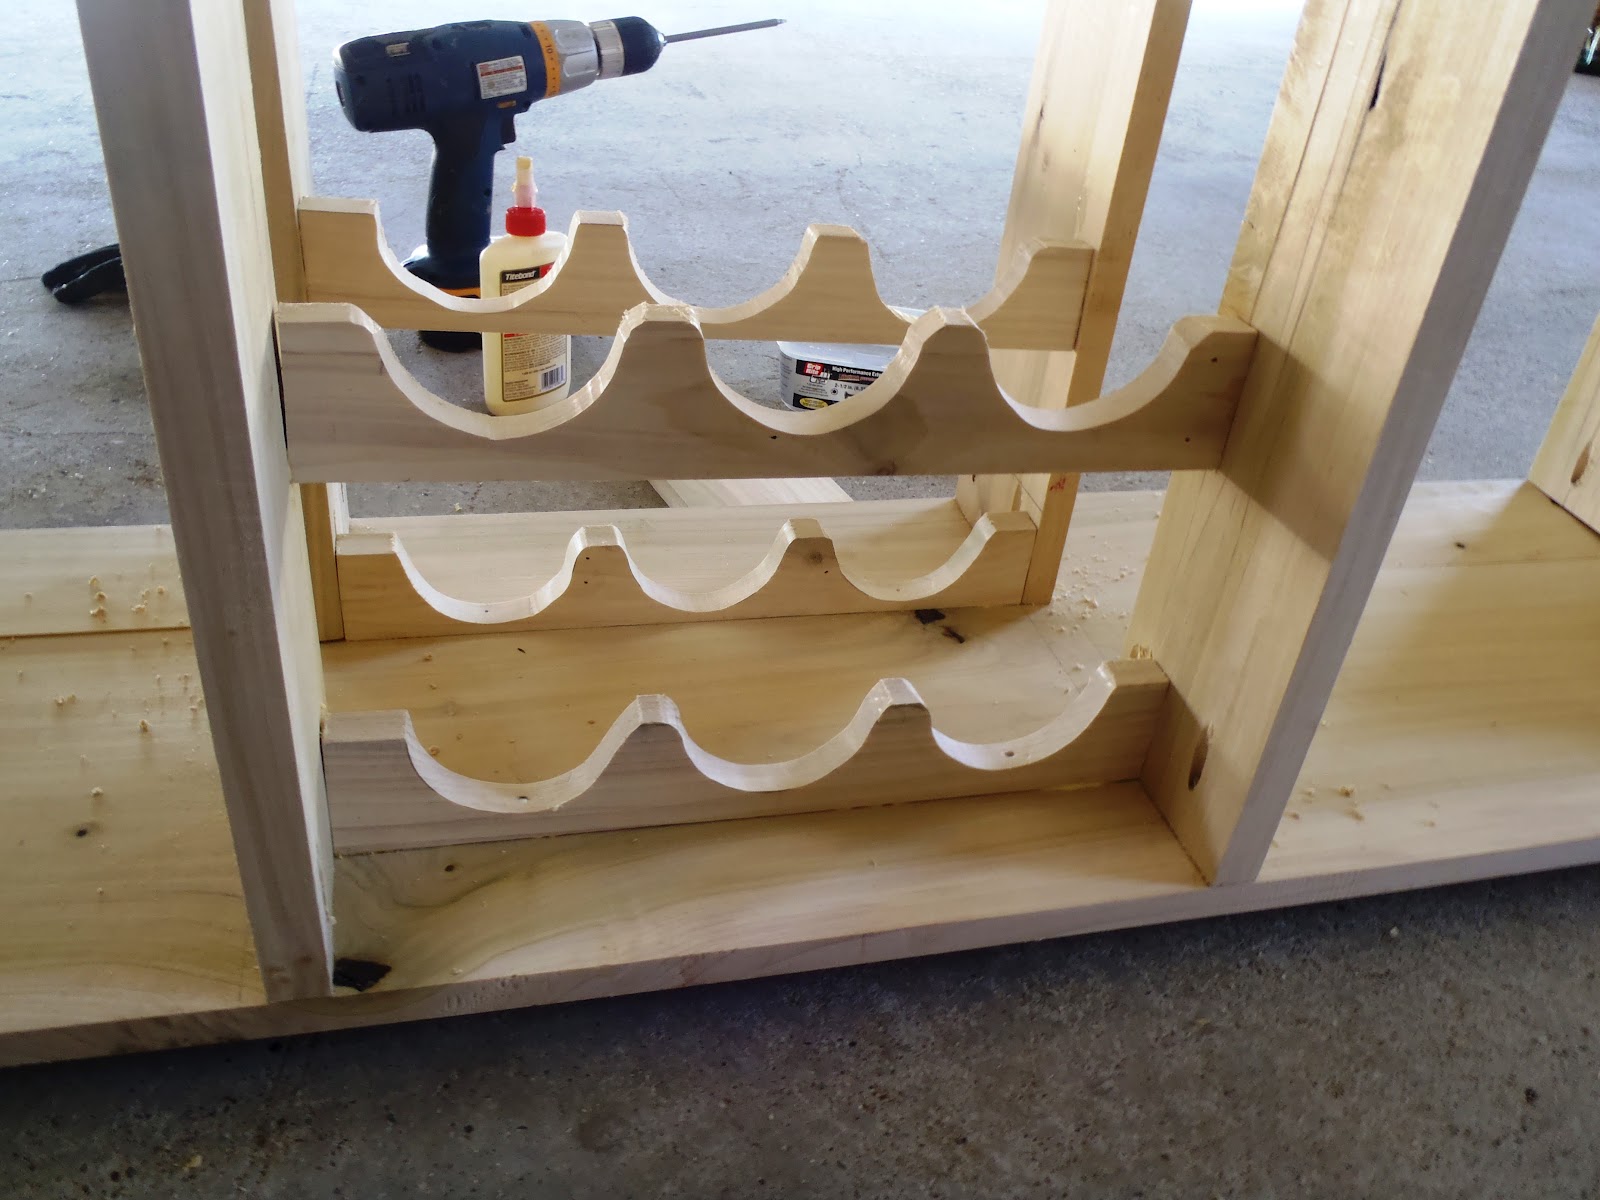
Make the wine rack by cutting three 3-1/2" dia. semicircle (4" if you drink wines that are in big bottles) .
Glue two leg pieces to make four.
On the glued two side parts, make pocket holes using kreg jig,
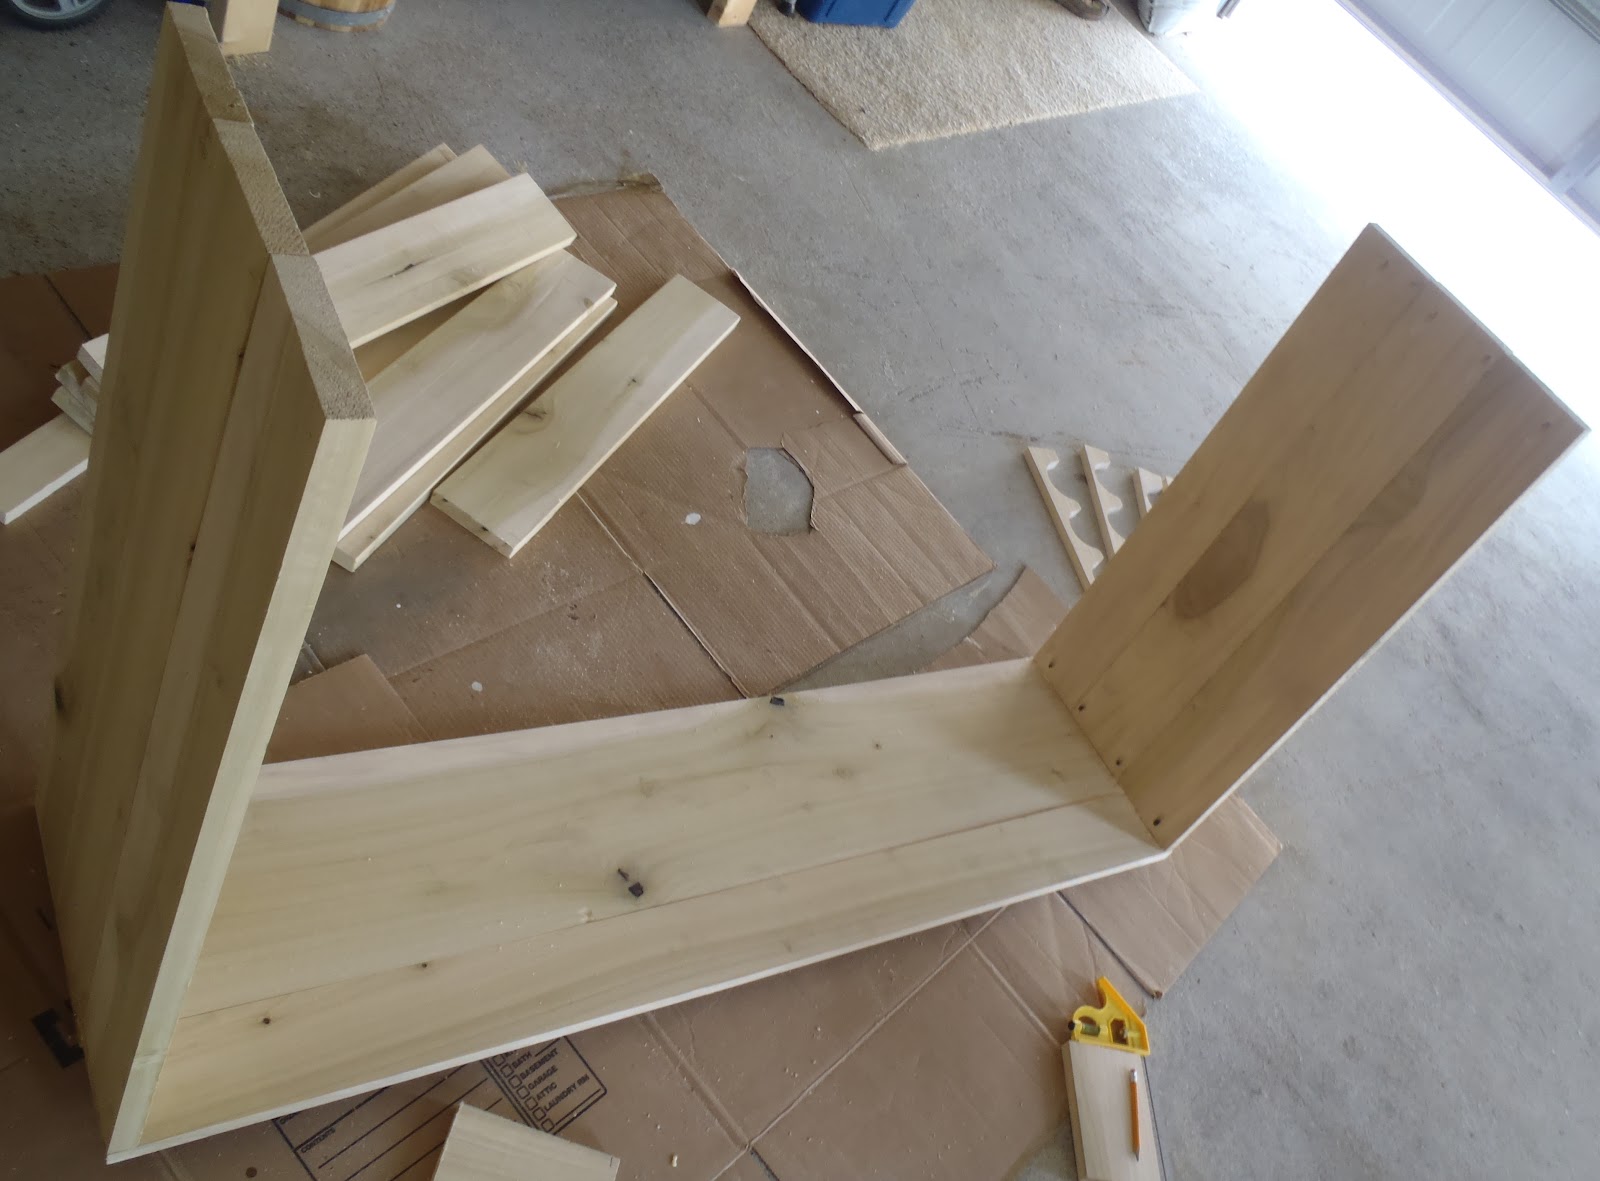
Attach the sides onto the bottom shelf/face using glue and pocket hole screws.
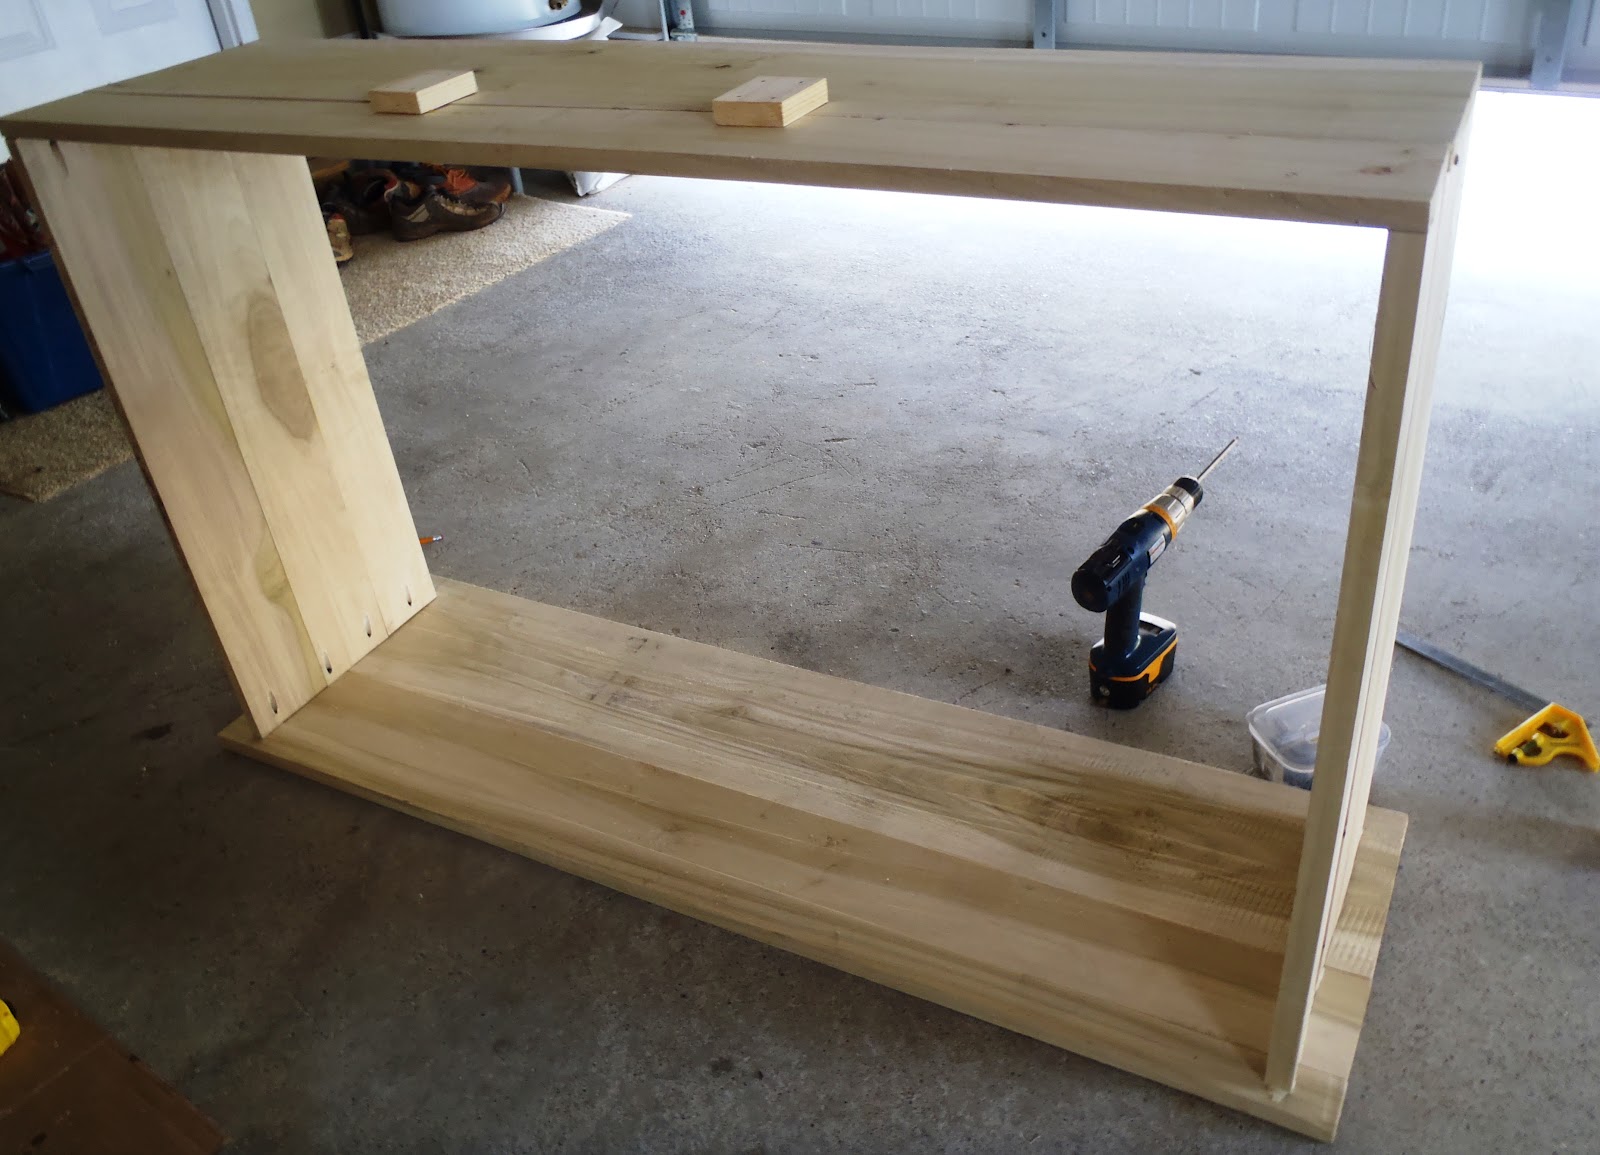
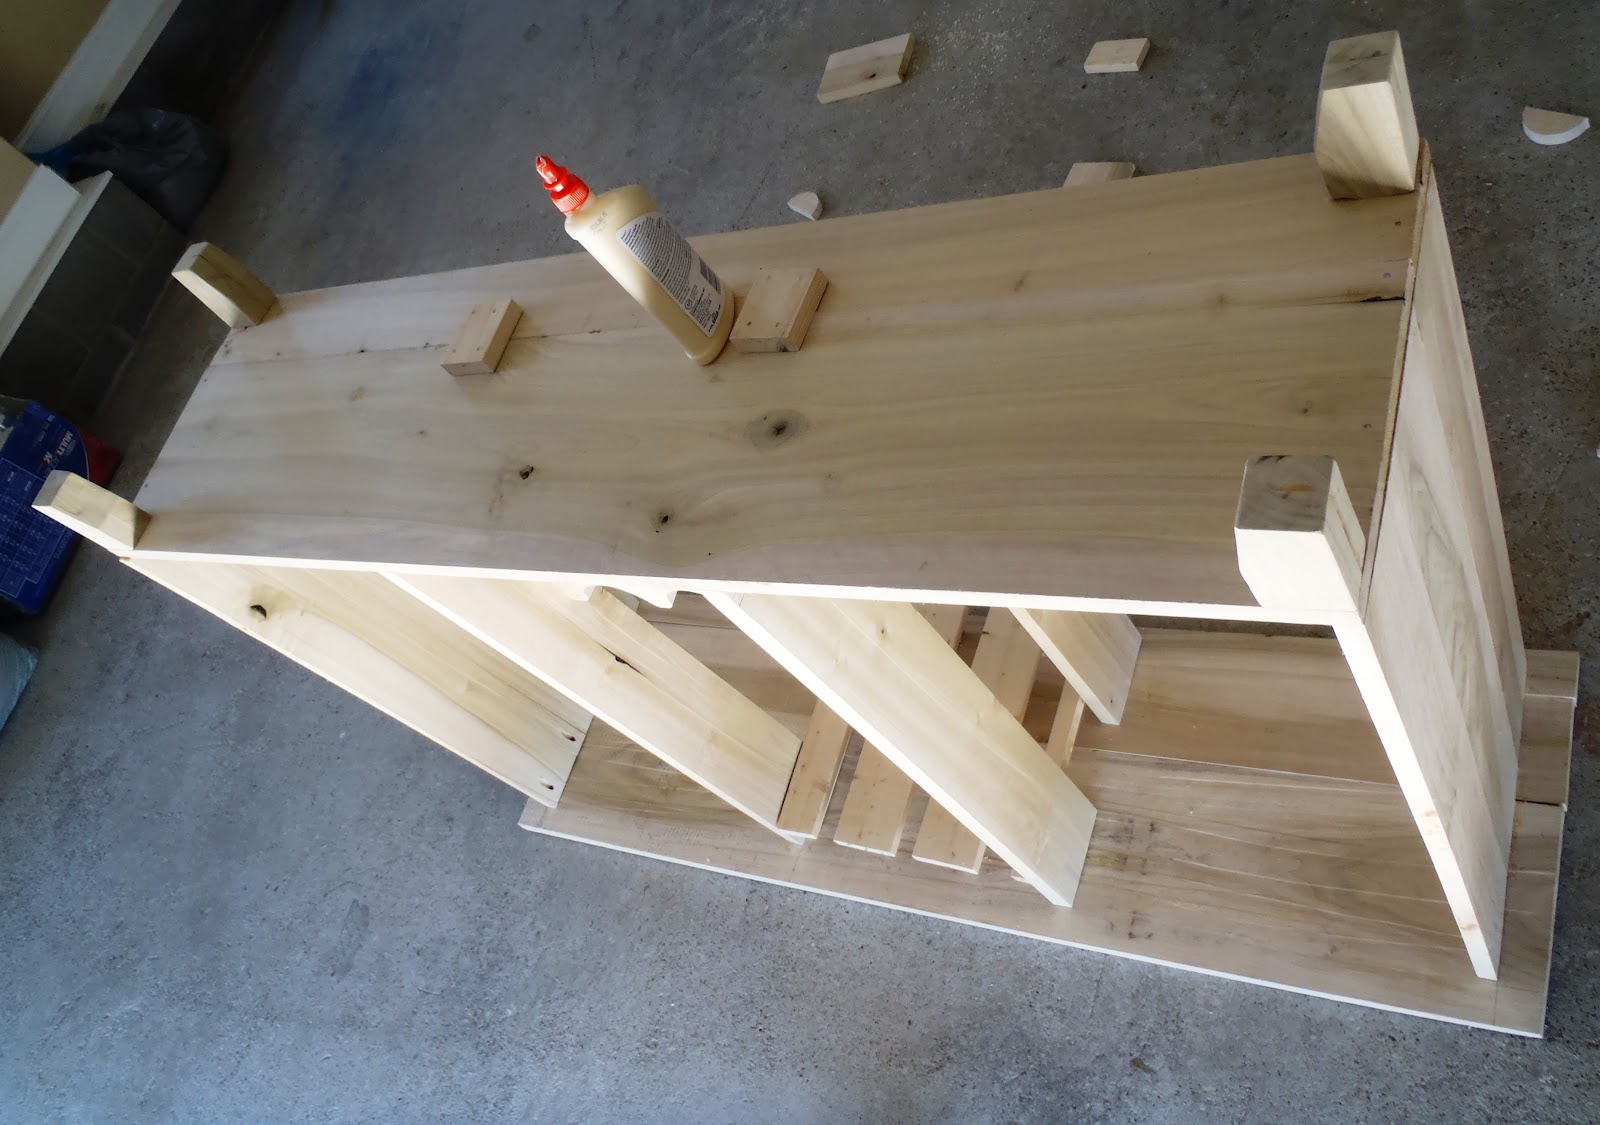
Turn it upside down, attach the top face. Add finishing nails on the bottom face in addition to screws.
Turn it up and put finishing nails for reinforcement.
Add the middle partition 5-1/2" apart (can add one more piece to close the gap, I want the wine labels to show on the sides that's why I built it this way).
Attach the wine racks, make sure the front and back matches.
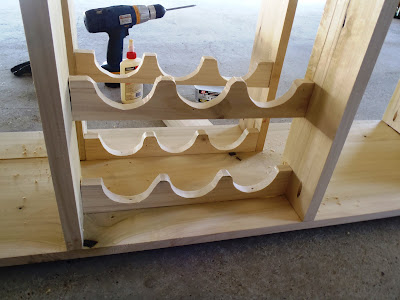 |
| wine rack detail |
Make the hanging glass racks.
Turn the table upside down again (if this table talks it already complained :) and attach the glass rack.
Bevel, sand and attach the legs using glue and screws while on upside down position.
Turn it back up and add screws.
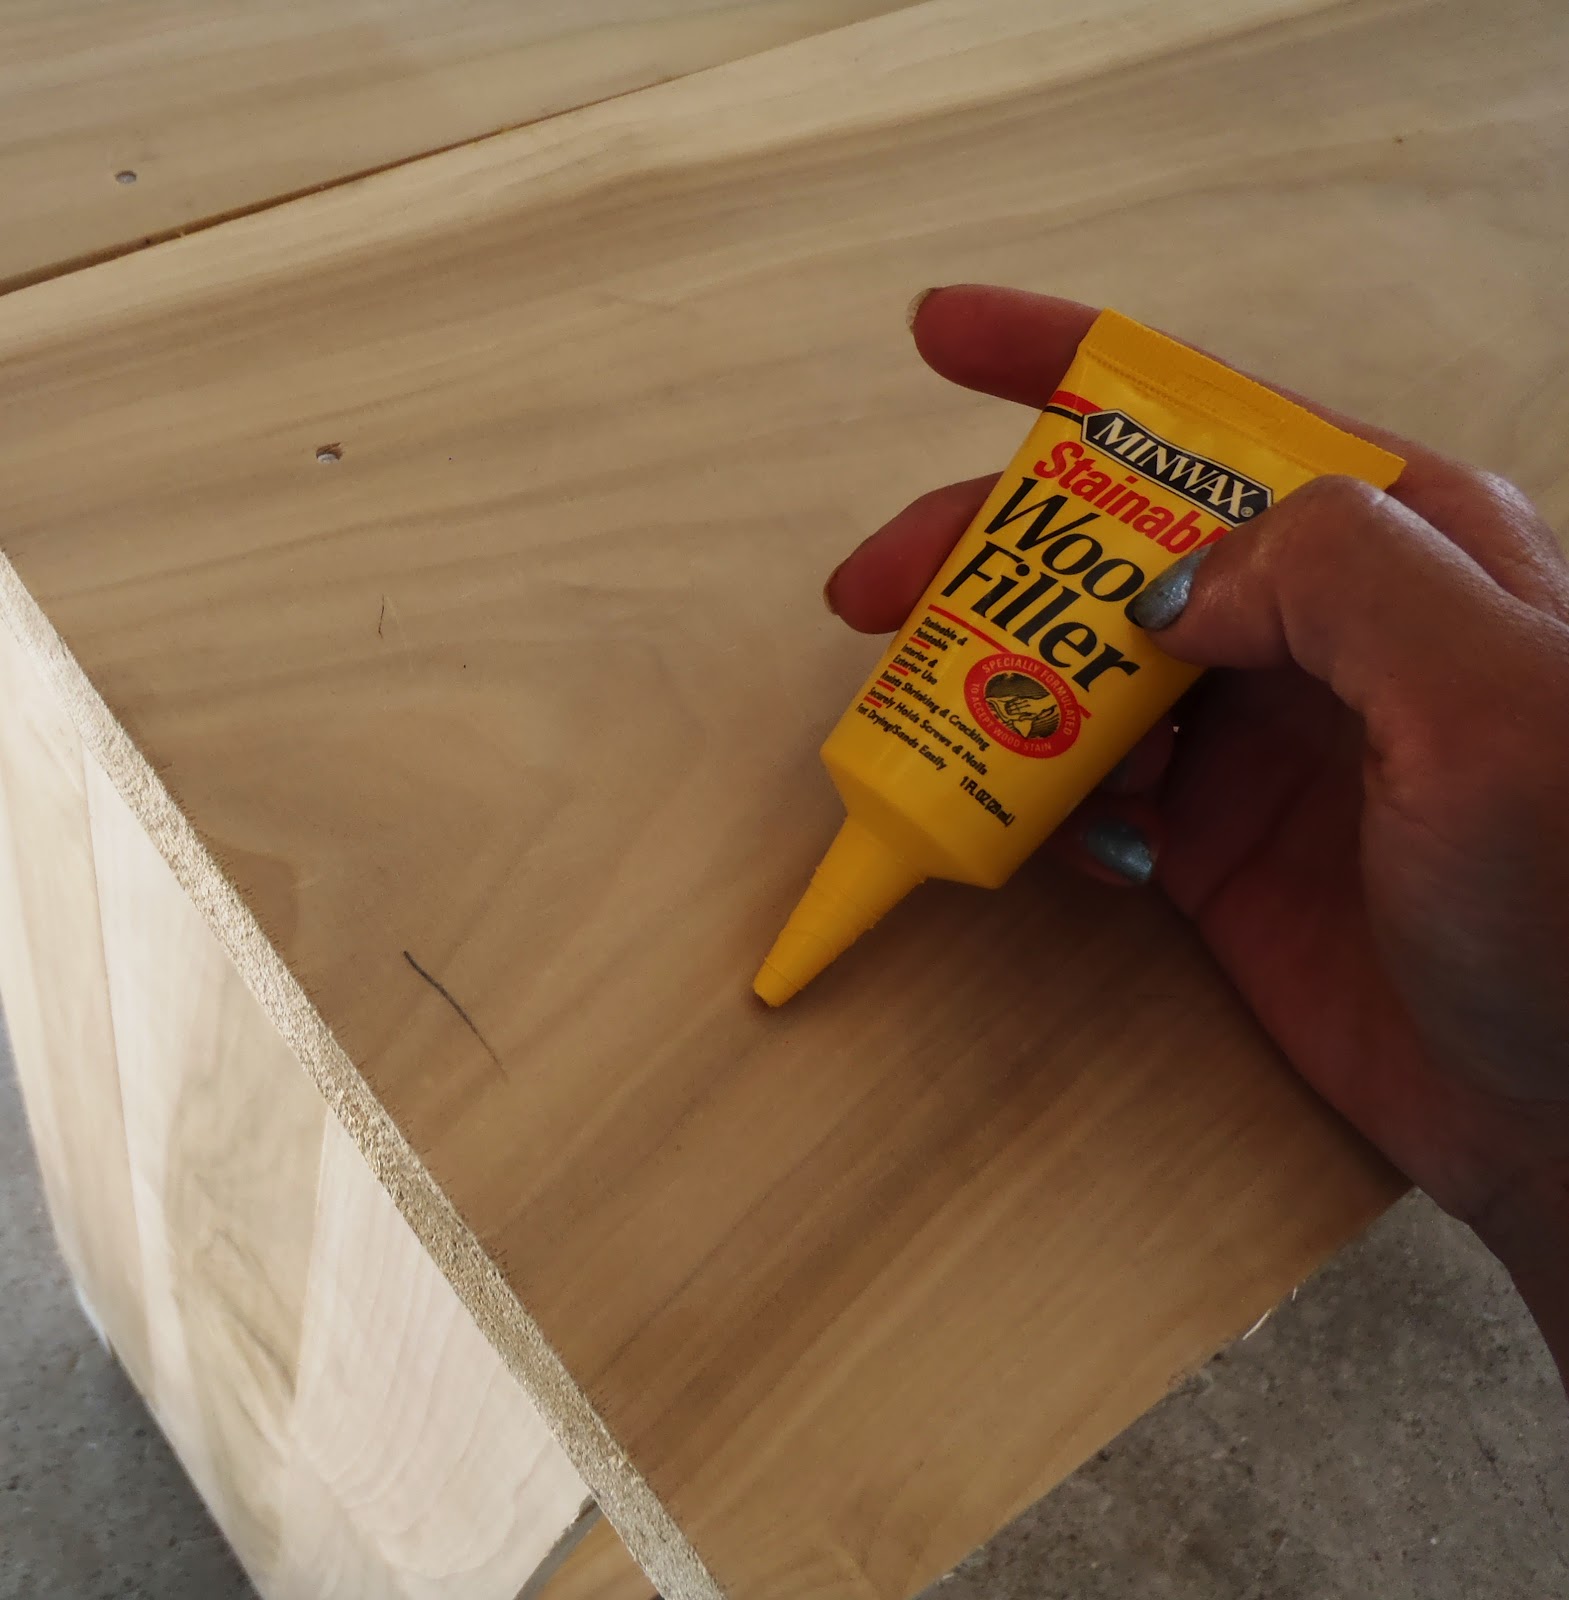
Put stainable wood filler on the nail and pocket holes.
Let the glue and wood filler dry completely and sand.
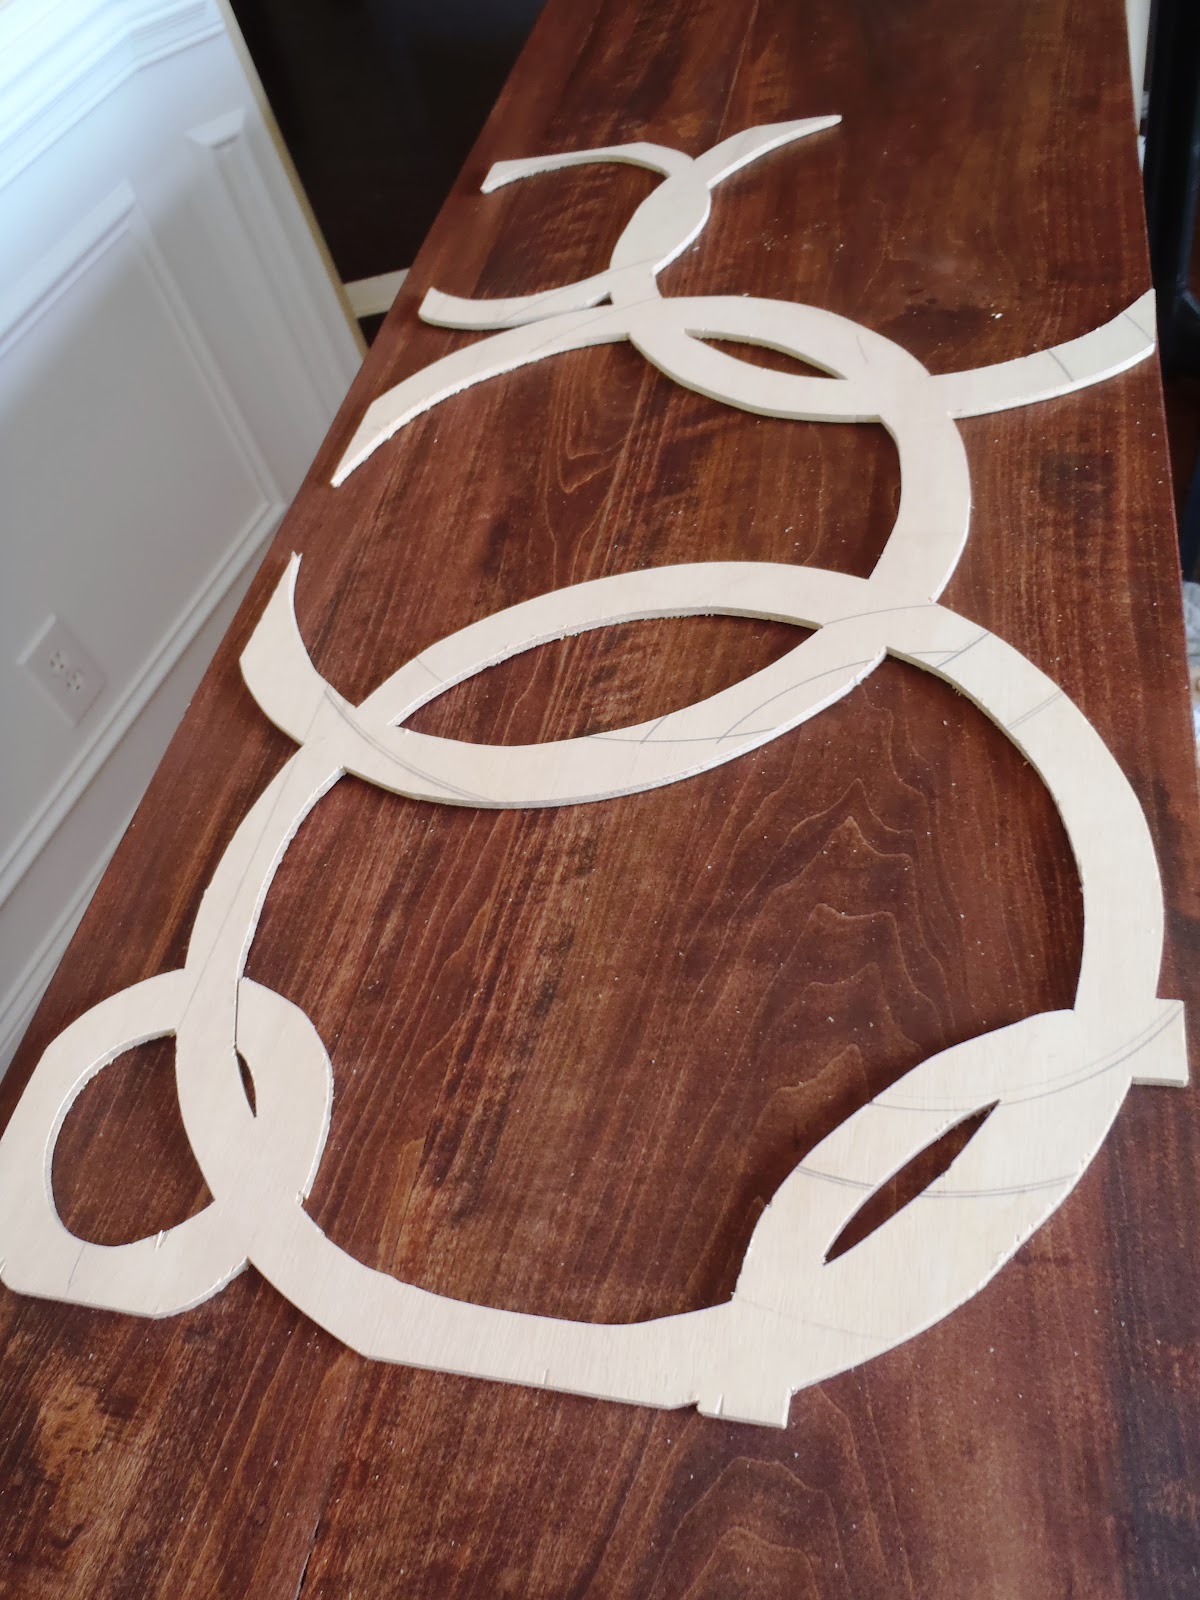
Next would be the back, doors and shelves..........check back later :)
Pin It